Custom fields & tabs are defined per system
You will need the Create/Edit Projects permission to create or edit custom fields.
To define Custom Fields -
Click on the Settings button
 to open up the Settings panel.
Custom Fields & Tabs are defined per System, so select the relevant System from the drop-down list

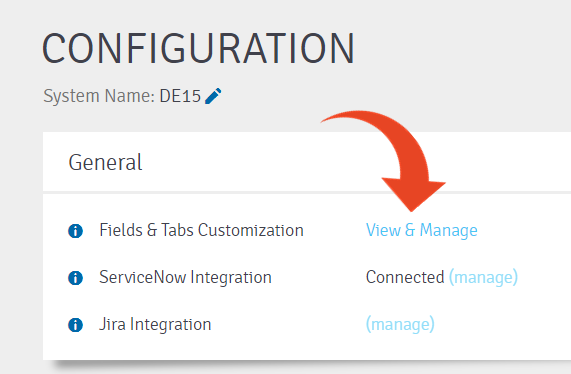
Select to View & Manage Fields & Tabs Customization
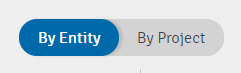
Select the By Entity view.
You will be able to see - the list of Entities (Correction, Defect, Requirement, Step/Planned Run, Test, Users)
For each Entity, the default tab for Custom Fields is shown, in addition to any Custom Tabs previously created.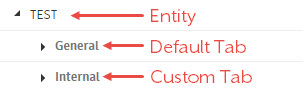
Creating new Custom Fields
Fields must be added to existing tabs, so highlight an existing tab of the relevant activity type and click the New Field button.
In the example below, the new field will be added for the General Tab of the Test Entity. Custom fields can be created for Requirements / Features / Tasks (Levels 1-3), Tests, Test Steps / Planned Runs, Corrections, Defects, and Users.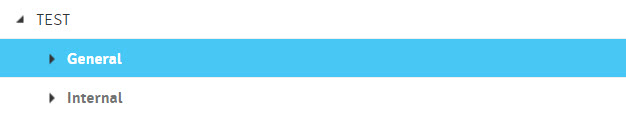

Give the new Custom Field a name (e.g., Location, Business Importance, etc.)

Select the Field Type (see explanation below) -
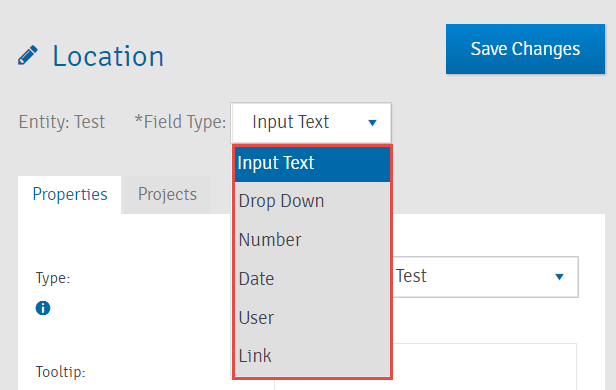
Field Types
Input Text
This field type allows the user to add free text in any string (text, numbers, or a combination of both)

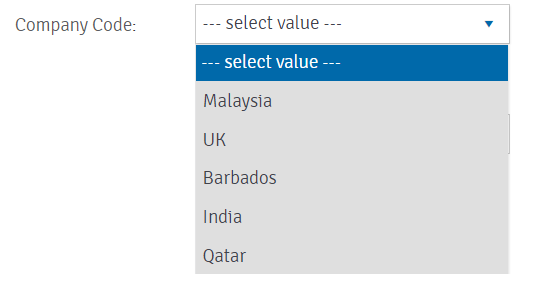
Drop-Down
This field type allows the user to select only a value from a list that will appear in a drop-down list. Drop-down fields support parent-child field dependencies.
 Hiding Drop-Down Values
You can hide obsolete values from drop-down custom fields, helping users focus only on what matters.
Hidden values will not appear in the drop-down list during edit or mass edit.
Existing entities using hidden values will still display them.
Import/Export templates will continue to support all values, including hidden values.
Filters will exclude hidden values by default, but users can toggle a setting to include them.
APIs remain fully supported—all values (visible and hidden) will still be processed as usual.
Number
This field type will allow the user to only type in a numeric value

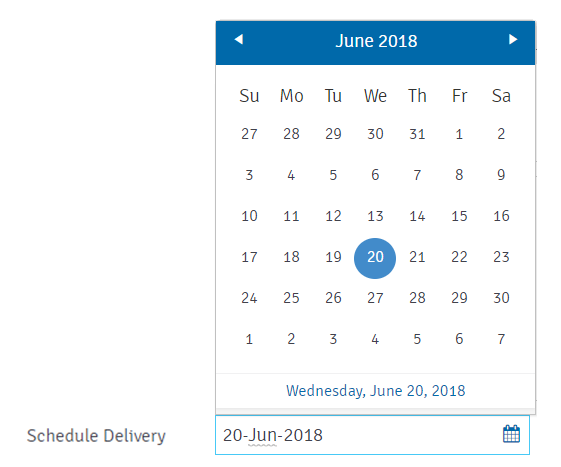
Date
This field type will open a calendar to select a specific date
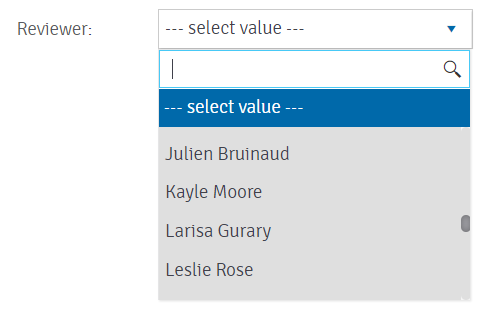
User
This field type will display a drop-down list with all project users to select from
Link
This type of field allows users to paste or type a URL to a website or a shared server path

Field Settings
Set Connected Activities (for Release Dynamix only)
Associate Custom Fields with specific types of Requirements / Features as well as User Stories and Tasks. This capability will allow customizing fields and tabs to only appear for specific management processes and workflows.
Define a tooltip
You can define a tooltip message so that a user can better understand the meaning of the new field.
Define a Default Value
The defined value will be automatically selected when the activity is created.
Assign by default to new projects
If you select this option, new projects created within Panaya (for the current system) will automatically include the new custom field.
Set a Field as Mandatory
If a field is defined as mandatory, the activity will not be saved unless the field is populated with a value.
Mandatory fields will be marked with an asterisk (*).

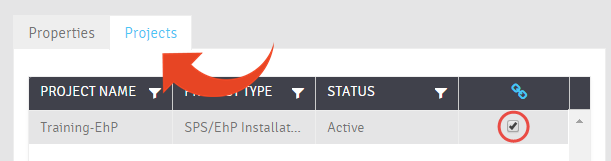
Connect the Field to the Project(s)
Select the Projects tab, and select the relevant projects to include the new custom field.
Select Save Changes to save the new configuration.
Editing an Existing Field
If you wish to edit an existing field, highlight the field on the left pane to view and change the field settings on the right-hand side of the screen.
Limits
Panaya limits the number of fields allowed for each field type as follows -
Input Text - 55
Drop Down - 50
Number - 15
Date - 45
User - 25
Link - 20
For Corrections, Defects, Tests, Steps/Planned Runs -
The limitation is per entity type.
The limitation is on system level.
For Requirements / features / tasks -
The limitation is for the all entity types together (Levels 1,2 & 3).
The limitation is on account level.
Special Characters are supported for Values, however, commas cannot be used in a Value ‘,‘.