Reporting New Defects
There are three ways to report defects in Panaya -
From the Panaya Recorder
If you are using the Panaya Recorder, you can report defects directly from it. This way, the association between the test and the defect, as well as the screenshot, will automatically included in the newly created defect.
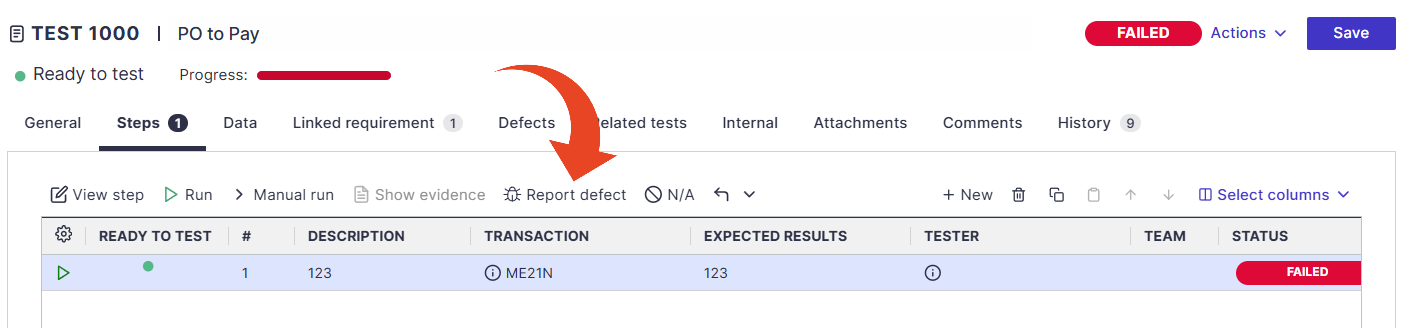
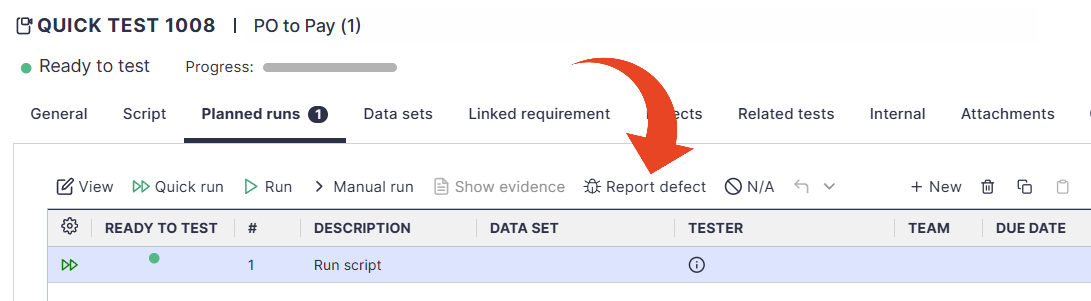
From the Test Steps and Planned Runs tabs
To keep the defect and test association, use the Report defect button in the test steps tab, or in the Quick Test planned runs tab.
From the Defects List
You can also report a defect from the defect list view. Using this method, you will need to manually link the test to your newly created defect.
Select the Defects tab.

In the Defects list, click on the Create Defect button.

Fill in the defect details, screenshot, etc., and click Save.
The new defect is automatically assigned a defect ID, name, priority (High by default), and a reporter (Created by).
Read more below about the available fields and screenshot options.
See also
Defect Details
General Tab
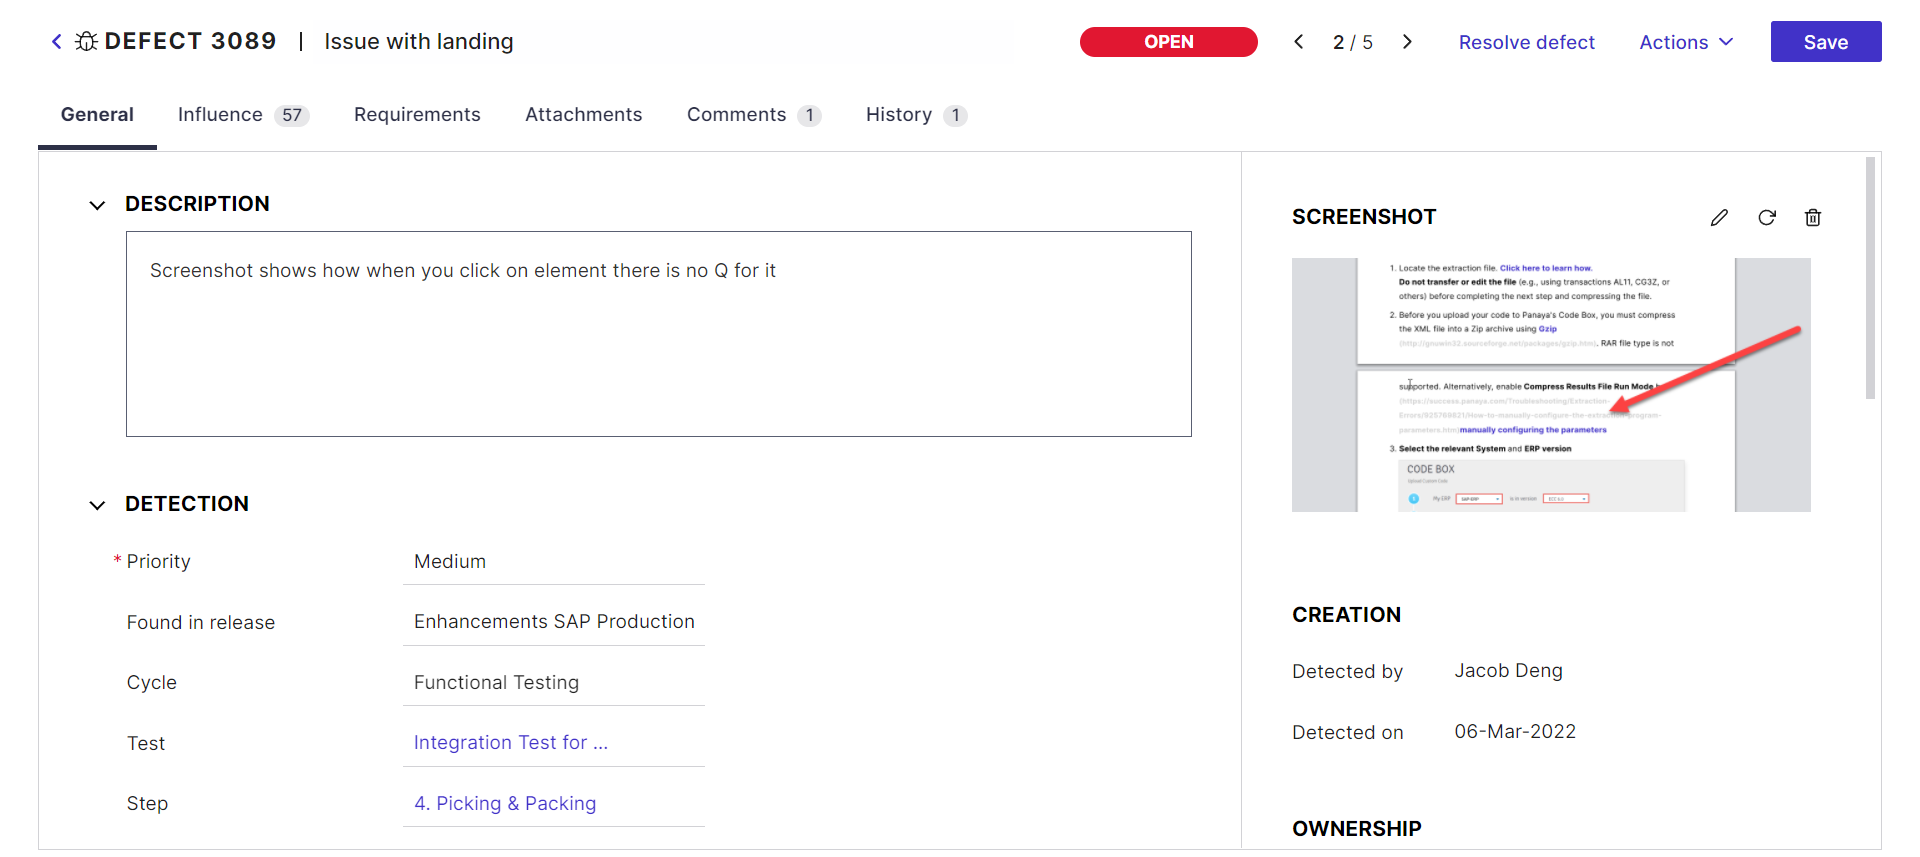
The General tab has several sections. Read more about these sections below.
Description
The description field is a rich-text field editor to add or modify the content.
When copying from web pages (HTML format) and pasting into the description box, use Ctrl+Shift+V (instead of Ctrl+V), to avoid pasting the original formatting. In some cases, the original HTML format may interfere with Panaya when saving the pasted content.
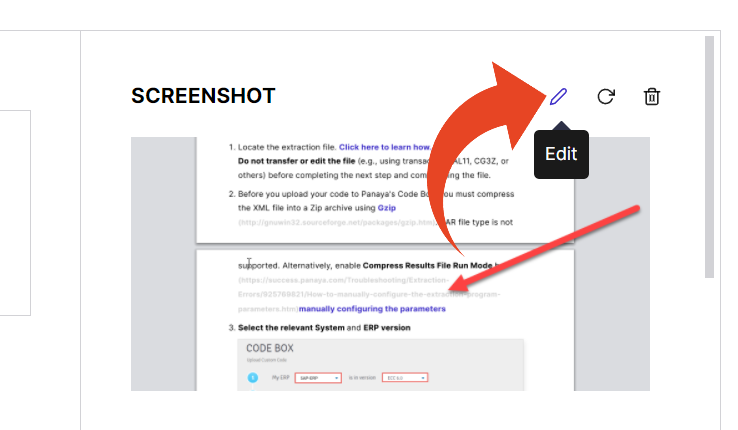
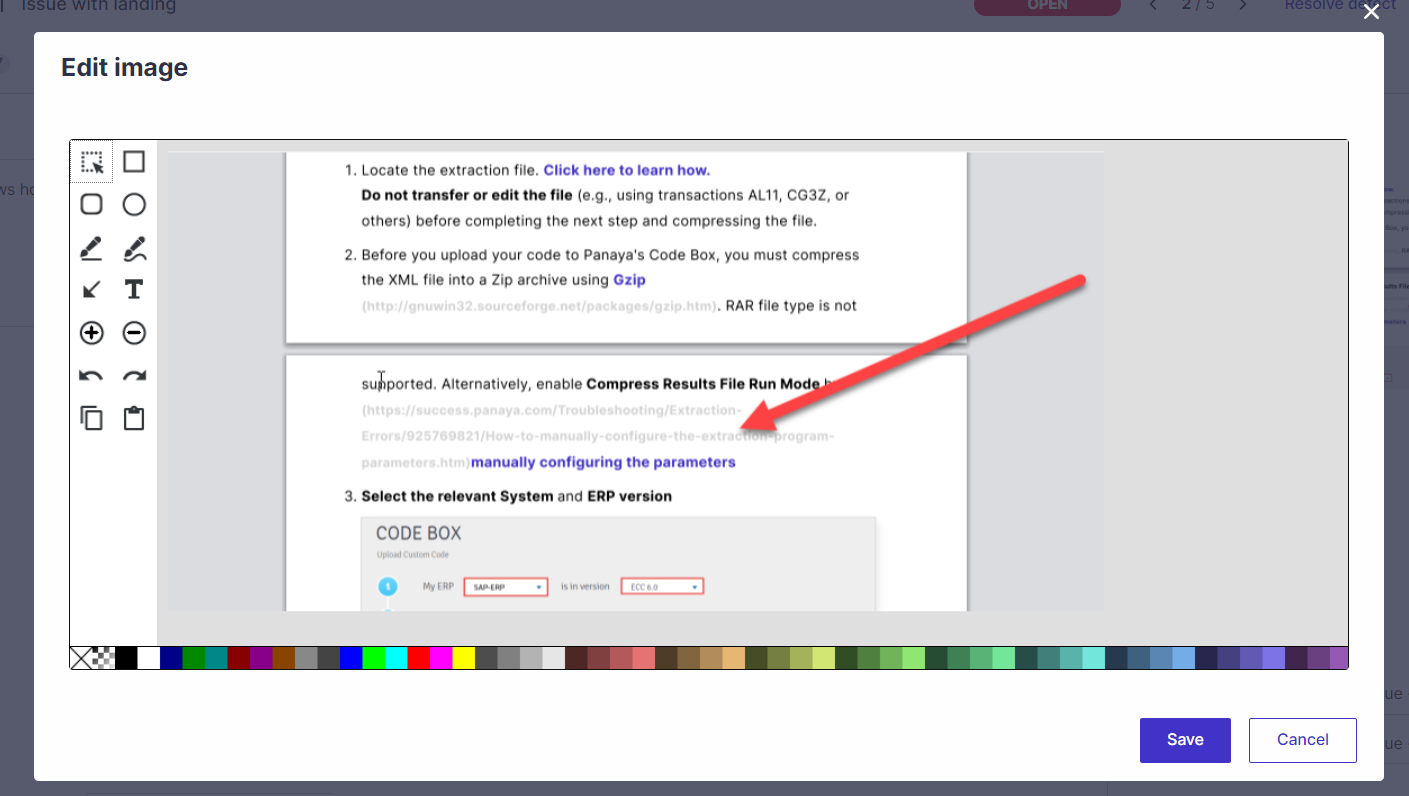
Screenshot
To add a screenshot, you can drag and drop or paste an image using Ctrl+v.
You can then Edit, Replace or Delete the screenshot if necessary.
Creation
The fields in this section are auto-populated and cannot be altered.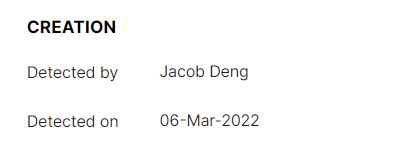
Ownership
This section allows setting the development and testing owners who will be receiving email notifications about the progress of the defect.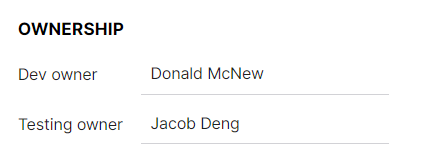
We recommend adding an automatic rule for defects created with no assigned dev owner to initiate an email to the creator. Click here to learn how to set up automation rules.
Detection
The detection section is where you set the priority, associated cycle, tests, steps transaction/object/application, and hashtags.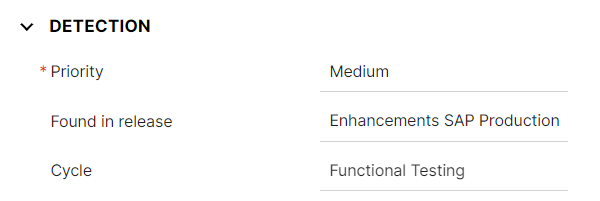
Blocking
For defects reported using the Panaya Recorder, you can set the test as blocking (default) or not blocking the next step of the test. Select No to allow testers to continue to the next step of the test, despite the new Defect.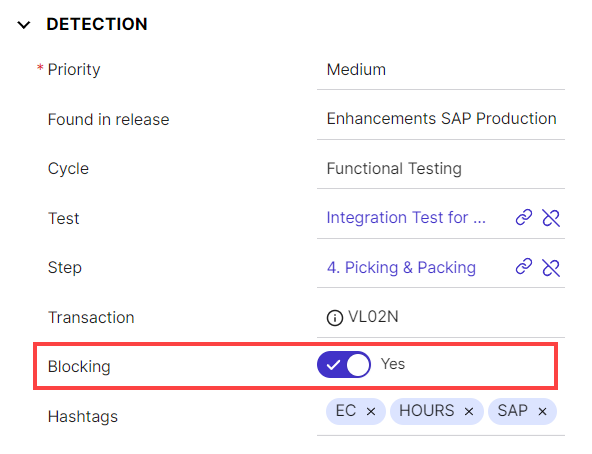
Resolution
Use this section to assign a release, a due date, planned efforts, and more, depending on the project type.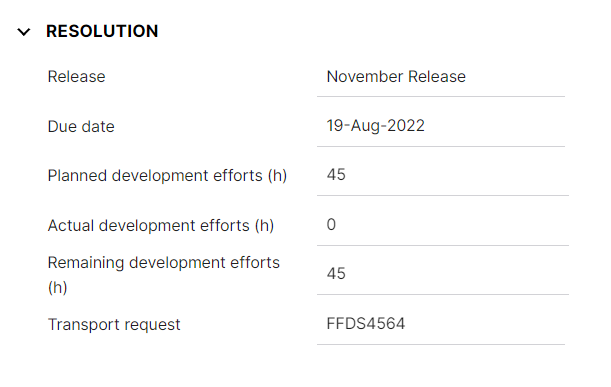
Additional Info
In this section, custom fields that are not associated with any custom tabs will appear.
Influence Tab
Learn more about defect influence
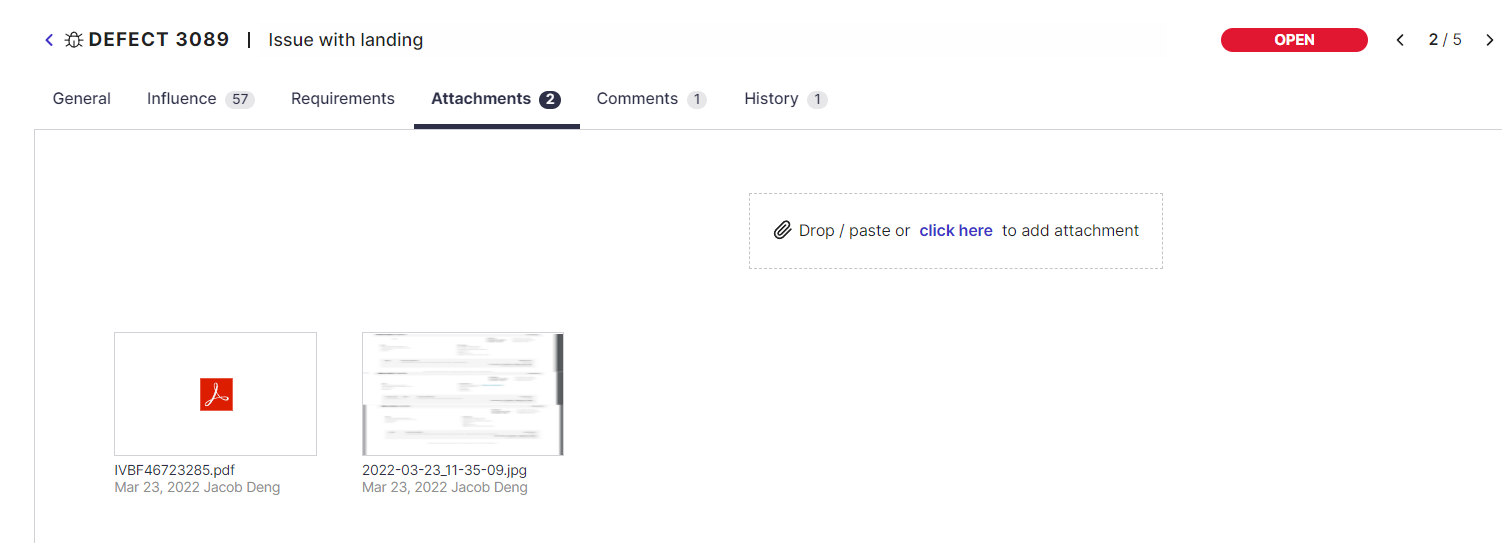
Attachments Tab
Attachments can be files - images, documents, archive files, or they can be links.
You can drag and drop or paste files using ctrl+V, so they appear here for all stakeholders to review.
Click on the Edit Details button to edit the details of the attachment by adding a description that will appear as a tooltip for the attachment.
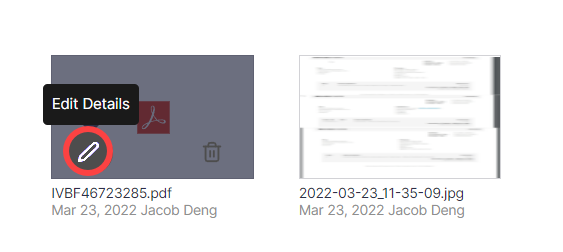
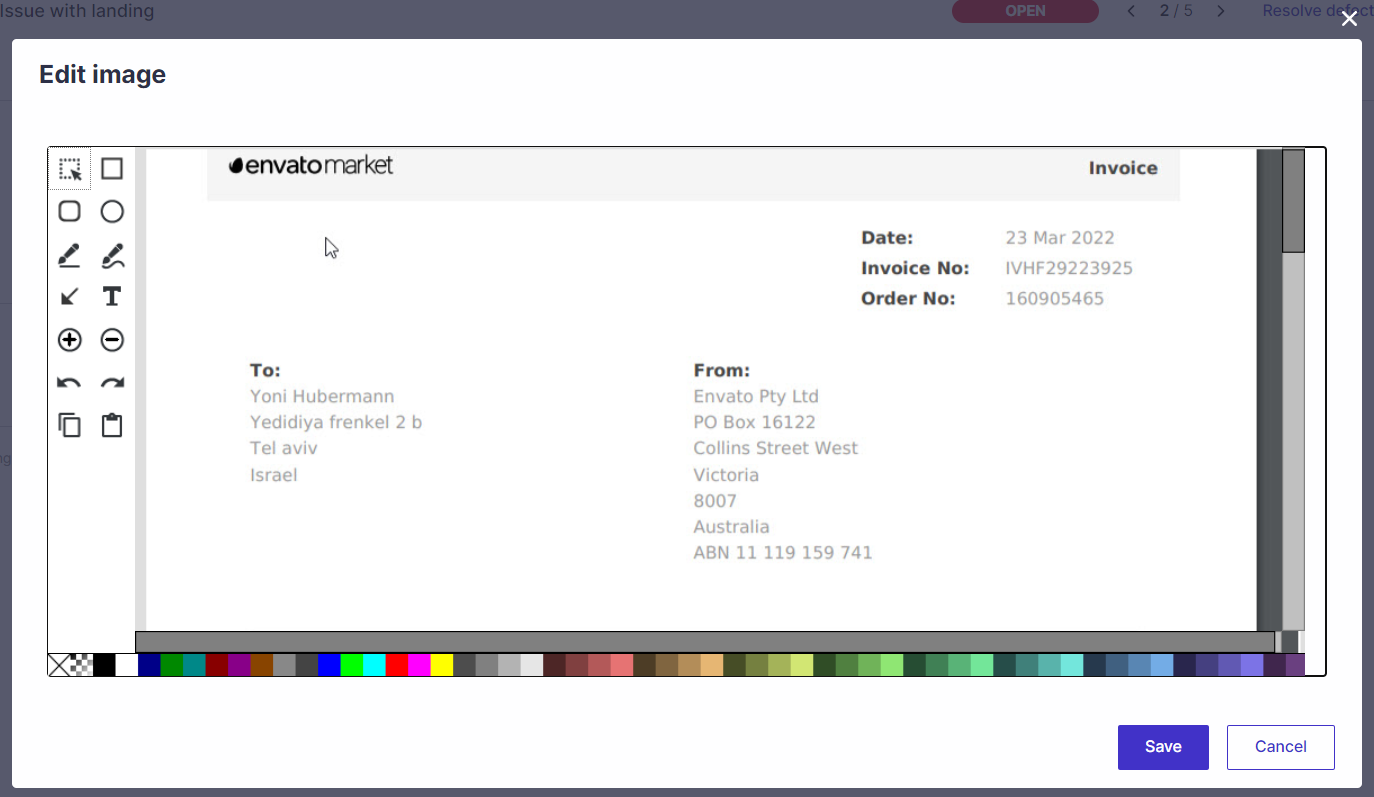
You can click on the Edit Image button to open the image editor for images.
Comments Tab
Click here to learn about how comments work
History Tab
Click here to learn about the history tab
Requirements / Features Tab
Any associated requirements or features (level 1 activities)will appear here for Release Dynamix subscription projects.