Use the Attachments tab to add documents, images, presentations, and archived files. You can upload the files or paste a Link URL (internal or external).
You can add attachments and links to the following -
Requirements
Tests
Test Steps
Defects
Corrections
The maximum attachment size is 20 MB per file.
To attach video or EXE files, archive them as ZIP and attach them to the test activity.
Open a Requirement, Development Activity, Test, Test Step (by highlighting a Step and clicking View Step), Defect, or Correction.
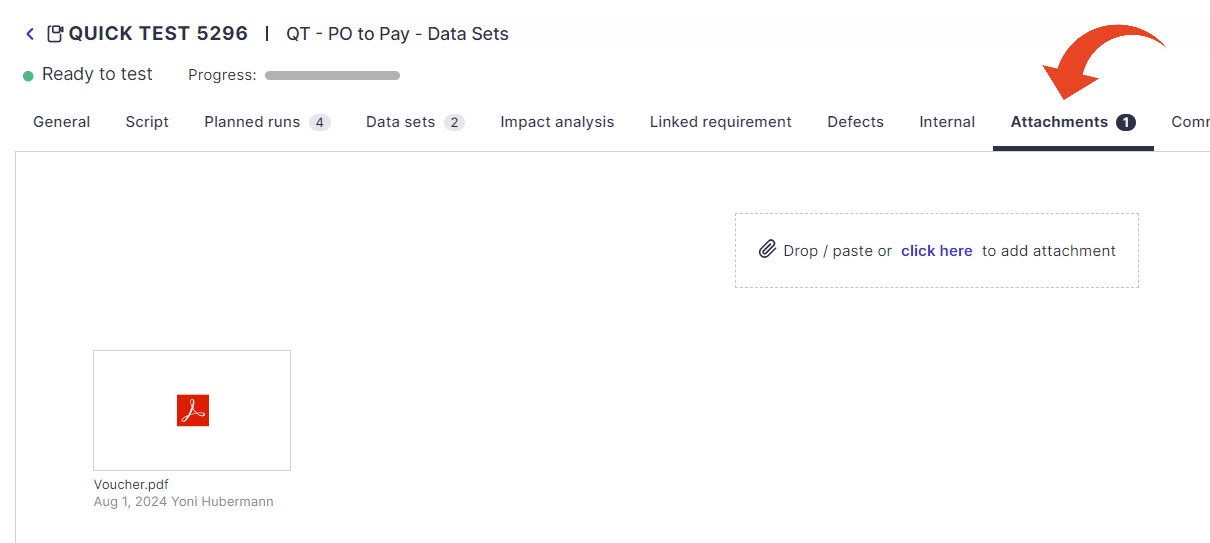
Select the Attachments tab.
To add an attachment, Drop a file, Paste an image, or click on the click here.
The Add Attachment button allows you to select whether to upload a File or use a Link.

Adding a File
Click on Choose File to browse and select the file, add a Description, and click Add.
Adding a Link
Paste the URL in the Address field, and define the Link Text and Description. Then click Add.
Once your file has been added, you can hover over the attachment to Edit the Details.
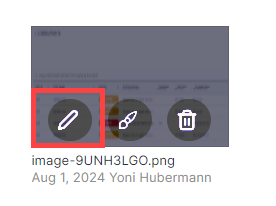
Use the image editor to add annotations, highlights, text, arrows, and more.

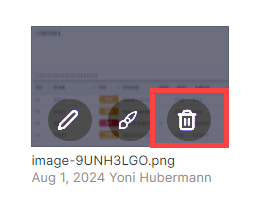
To remove an Attachment, hover over the attachment and click on the Delete button.
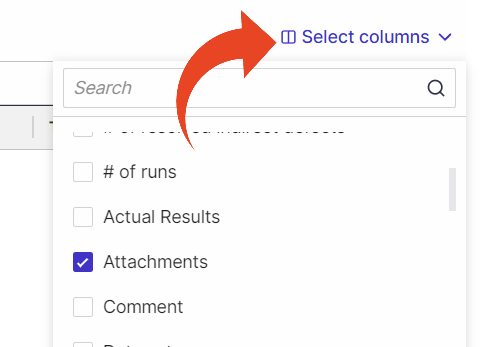
Attachments in Lists
You can add the # of attachments column to the following list views - Development, Requirements, Corrections, Steps & Defects. To add it, use the select columns button in list views.
In the Corrections, Steps & Defects lists -