Components can be run in an automated test, allowing their reuse in multiple areas of your automation repository. Instead of writing repetitive actions from scratch, you can reference the pre-existing components and create new automated scripts by combining them.
Converting Script Instructions to Components
You can convert existing script instructions to a component.
In ScriptBuilder, use the Ctrl or Shift keys to multi-select consecutive instructions.
Click on the Convert to component button.

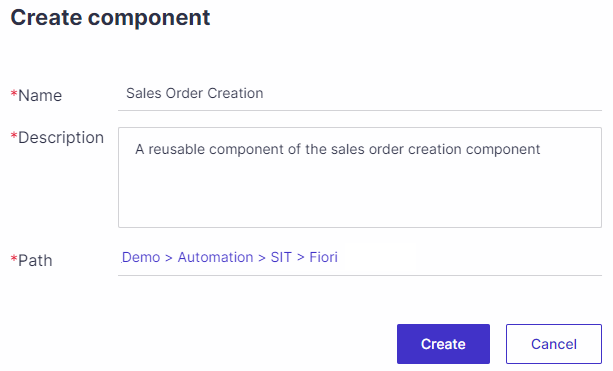
Set a name and a description for the new component.
Did you know?
AI can automatically generate relevant naming and descriptions for your components, reducing manual efforts, improving clarity, and enhancing searchability.
Click here to learn how to enable AI featuresClick on Select from tree to select the the location where you wish the component to be created. You can create a new component in the same or another system or project.
Record Components from Scratch
To create a component -
From within a Project - Hover over the Tests tab and then Test Tree.

Highlight a Cycle, Folder, or Business Process in the tree.
Right-click a Cycle, Folder, or Business Process where you wish to create the Component and select Add > Component.

Your Component will appear in the tree with the following icon.

To add instructions to the component script, select the component in the tree, then click on the Script tab.
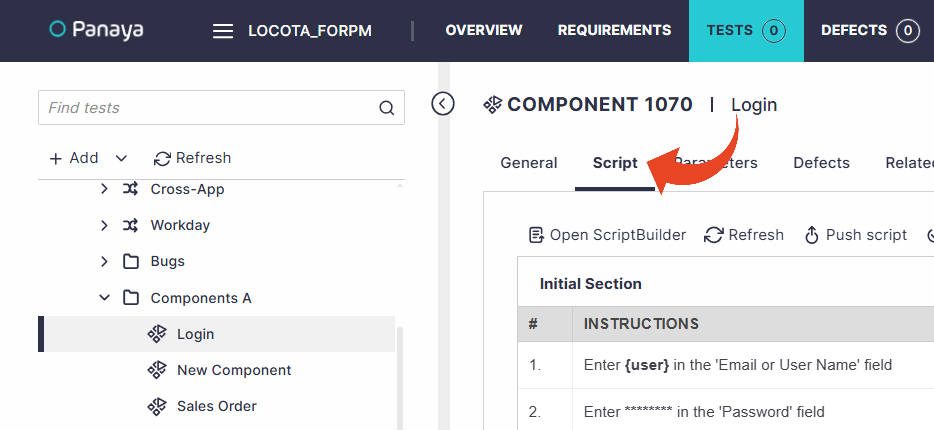
Click on the Open ScriptBuilder button.
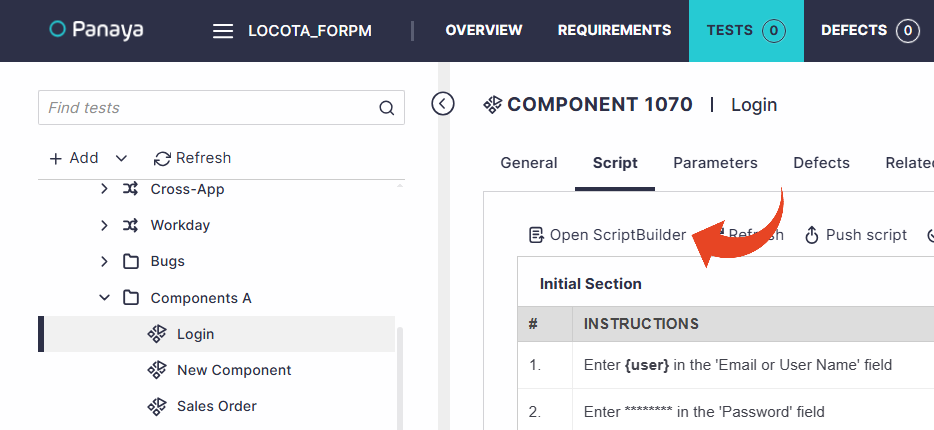
Click Record to begin capturing instructions for the newly created component. Use the Add Instructions button to add instructions manually.

Upon completion, Save your script.
Click here to learn how to nest your component in a script and play it.
Good to Know!
You can nest components within components.
It is recommedned to give your components clear and descriptive naming. This will make it easier to search for the component for later reuse. You may also want to organize your components into separate folders such as “Form Actions," "Page Navigation," or "Validations".