You can define new defect resolution reasons for testers to select when resolving Defects.
- Click on the Settings button
 to open up the settings panel. Defect Resolutions are defined per system, so select the relevant system from the drop-down list on the top left corner of the screen.
All Projects associated with the selected system will be affected.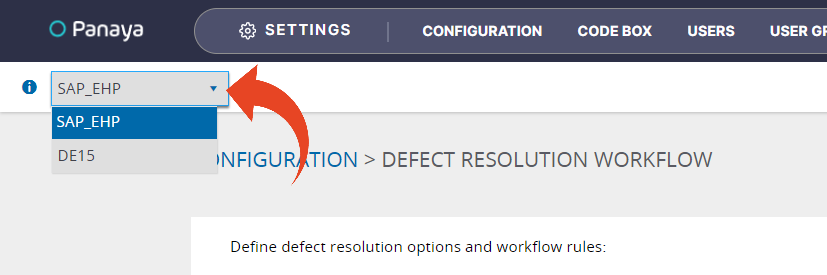
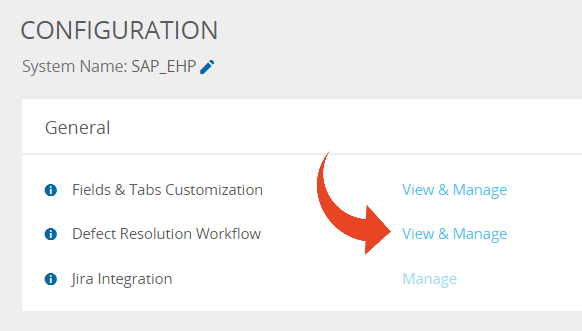
- Under General, click to View & Manage Defect Resolution Workflow
- Click on Manage
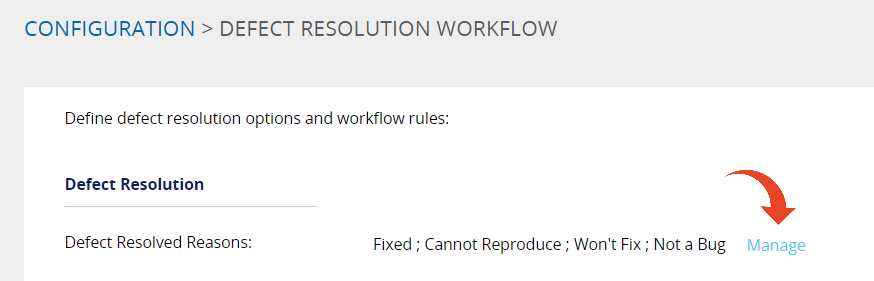
- Type the value name and click Add
The new field will be available for selection when resolving Defects.
Rules
Defect Custom Fields may be configured as visible upon Defect resolution. You can set the fields as mandatory or optional for selection.
Use the Rules section to show custom fields for users to select when Resolving Defects. You can display them Always or only when specific Resolved Reasons are selected. Additionally, you can set the defined field to mandatory or optional and decide whether to display the field when defect status is Open.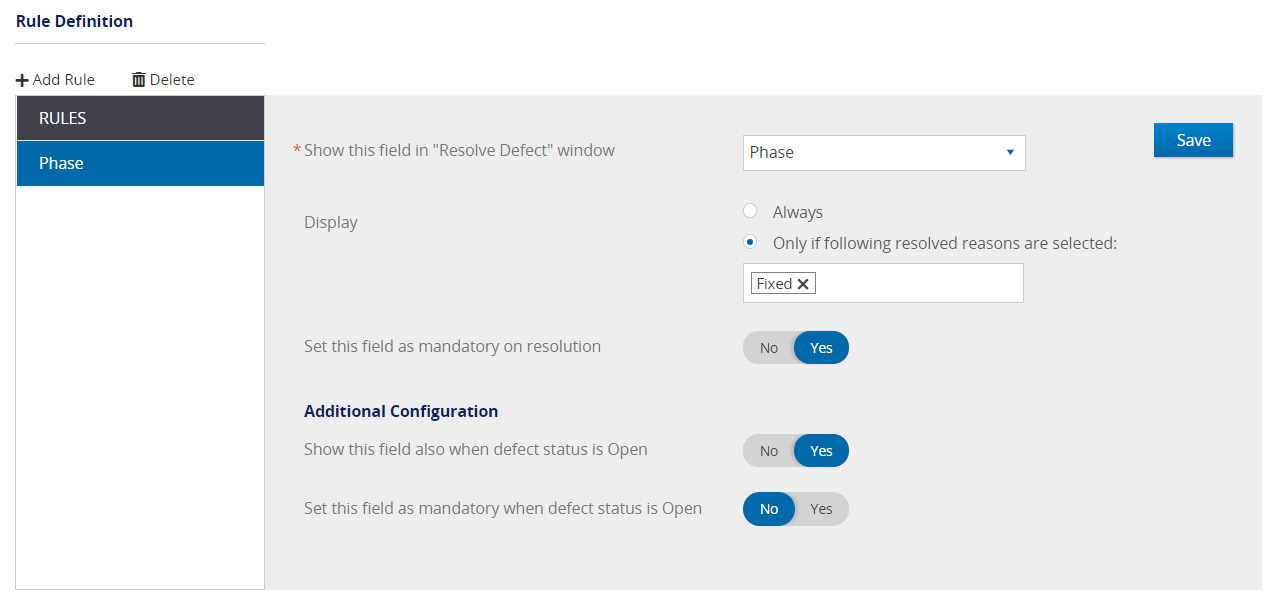
What can I do with this feature?
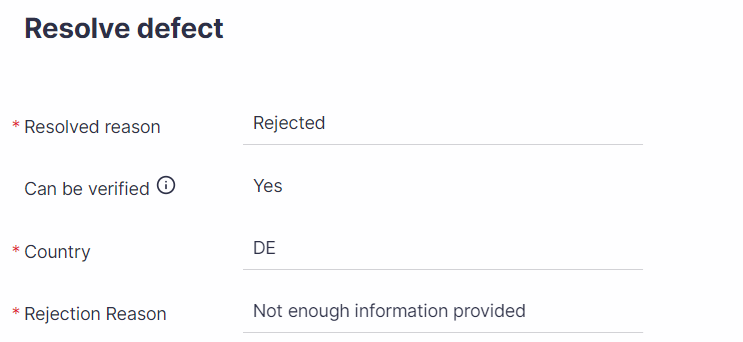
You can allow users to set a Defect as Rejected and force them to indicate the reason for rejection when resolving the defect.
To do so -
- Create a new custom field and name it Rejection Reason
Then, follow the instructions in this article and -
- Add Rejected as a new Defect Resolution Reason
- Set the field to be displayed when the selected Resolved Reason is Rejected
- Set the field as mandatory
- Define the field so it is not displayed when the defect is in Open status