- Set up a Panaya user with API permissions and Administrator role, connected to no more than one Panaya account.
- Install the Panaya ChaRM Connector per the steps in this article.
Panaya Connector Configuration
- Login to your SAP system, using client 001.
- Use transaction /n/panaya/admin to launch the Panaya Connector Configuration screen.
- Select Configure Connector under Setup.
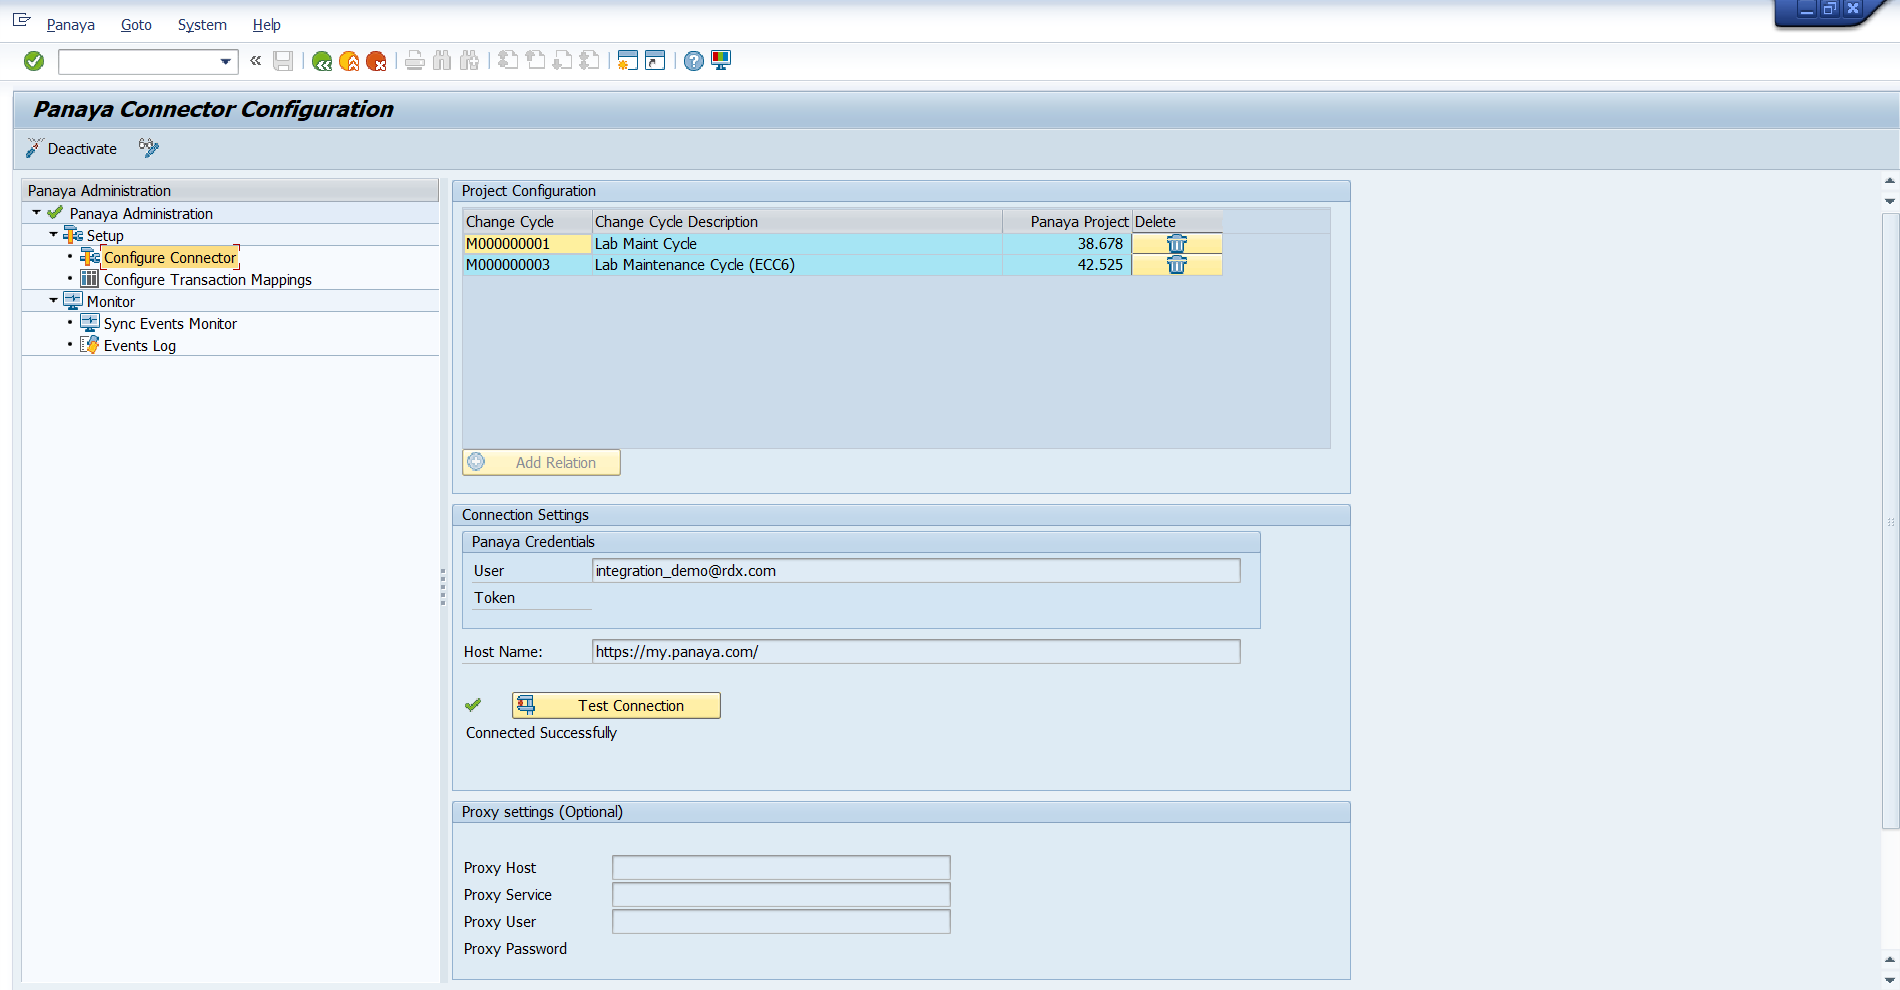
- Select Change/Edit mode.
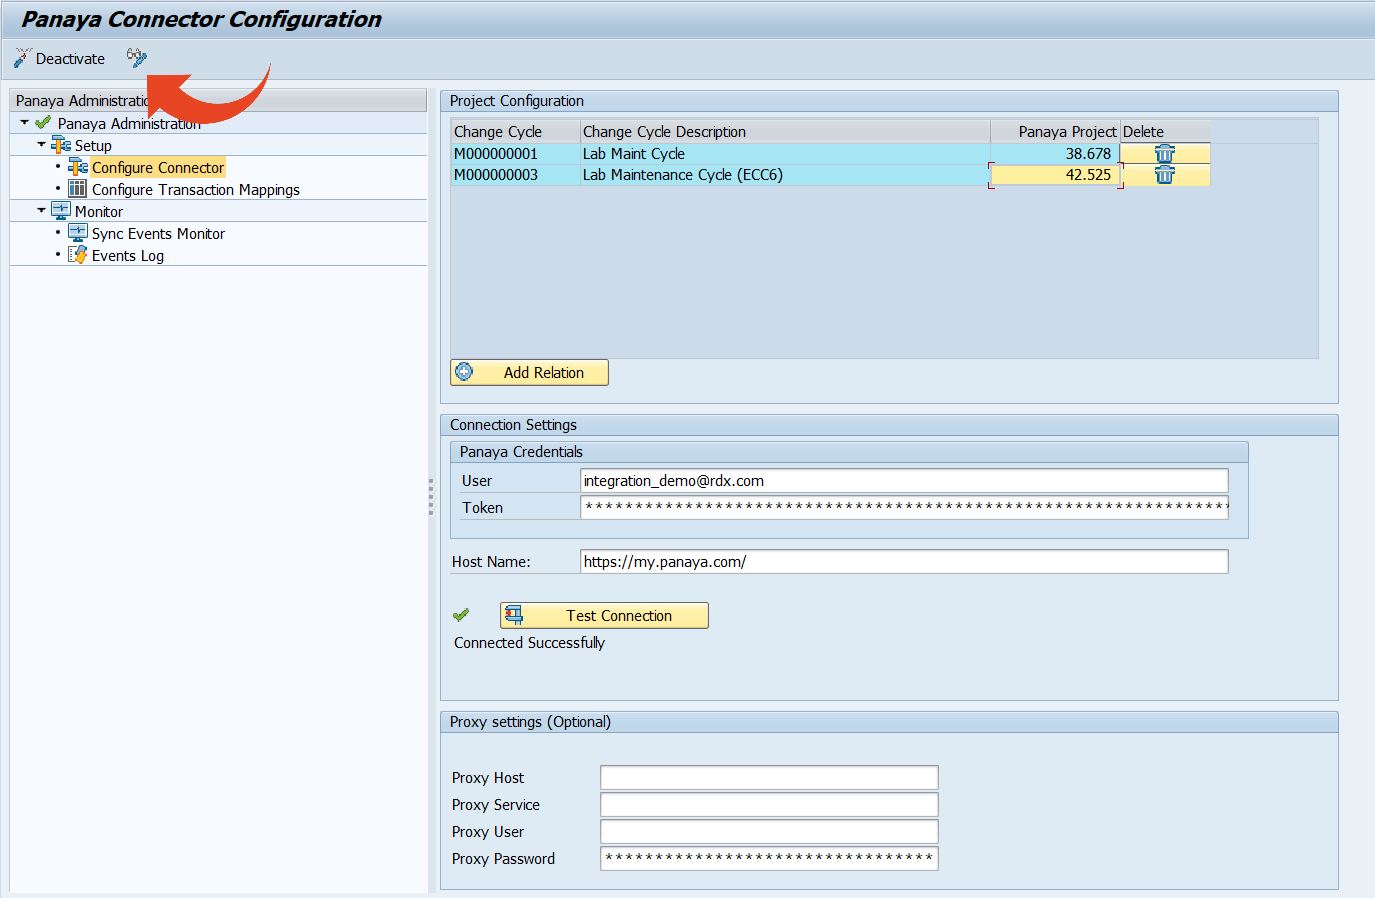
- Click on the Add Relation button, then add Change Cycles which are relevant for the integration and map them to the corresponding Panaya project ID.
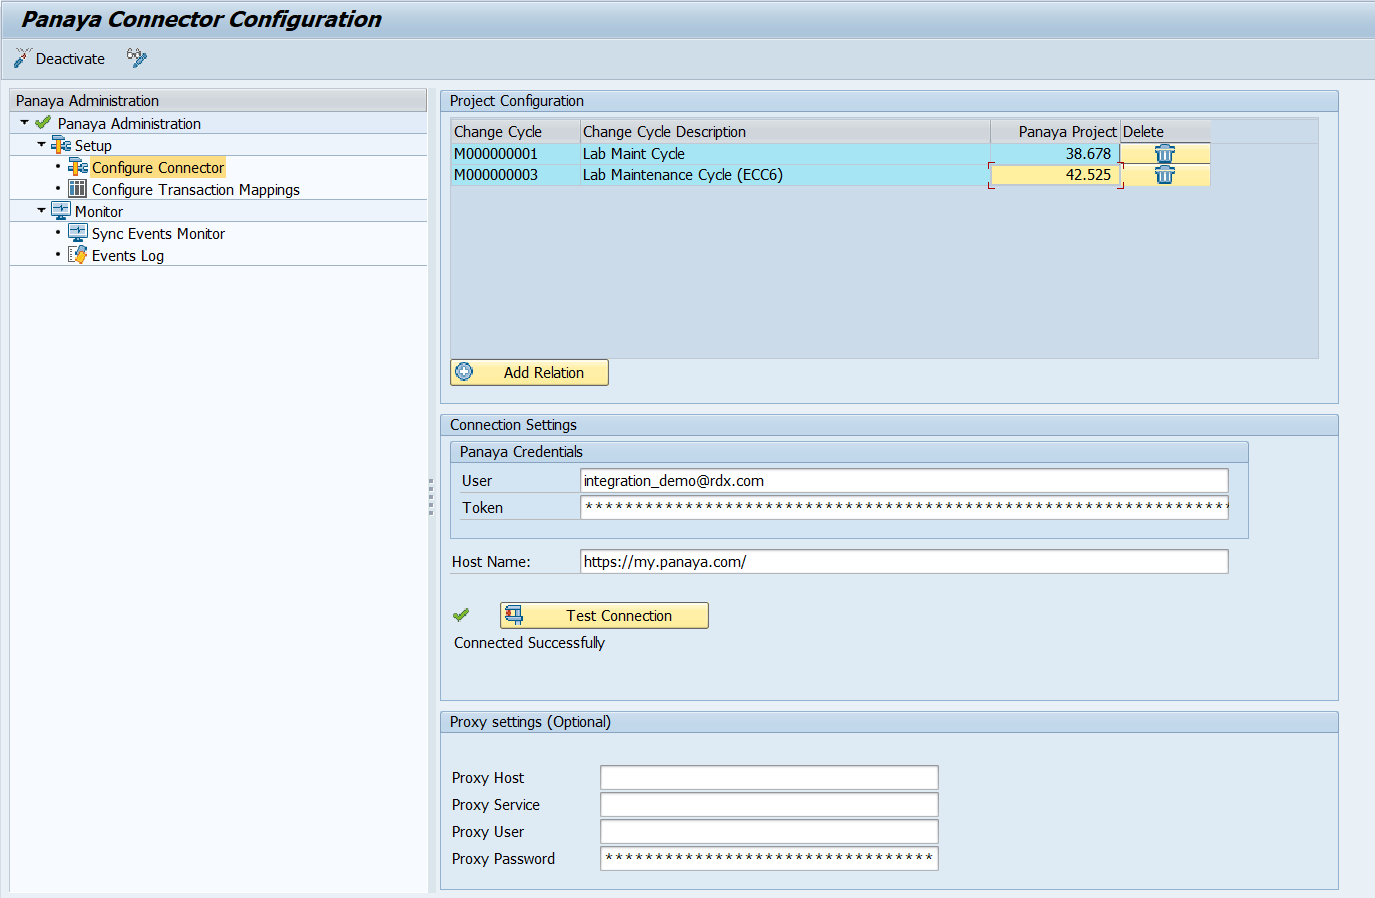 Note
Note
Only one project ID can be assigned to a specific change cycle. - In the Panaya Credentials section - add the user and the access token to access Panaya. (username is case sensitive).
- In the Proxy settings, if the SAP system is behind a proxy, fill in the Proxy host, service (port) and or Proxy user and password.
- Add the Panaya host name - https://emea.panaya.com/ or https://my.panaya.com/
- Click on Test ConnectionIf you encounter an error when testing the connection and have already set up the HTTPS/Certificate import, please also see the troubleshooting steps in this article.
Transaction Mappings
- Click on Configure Transaction Mappings
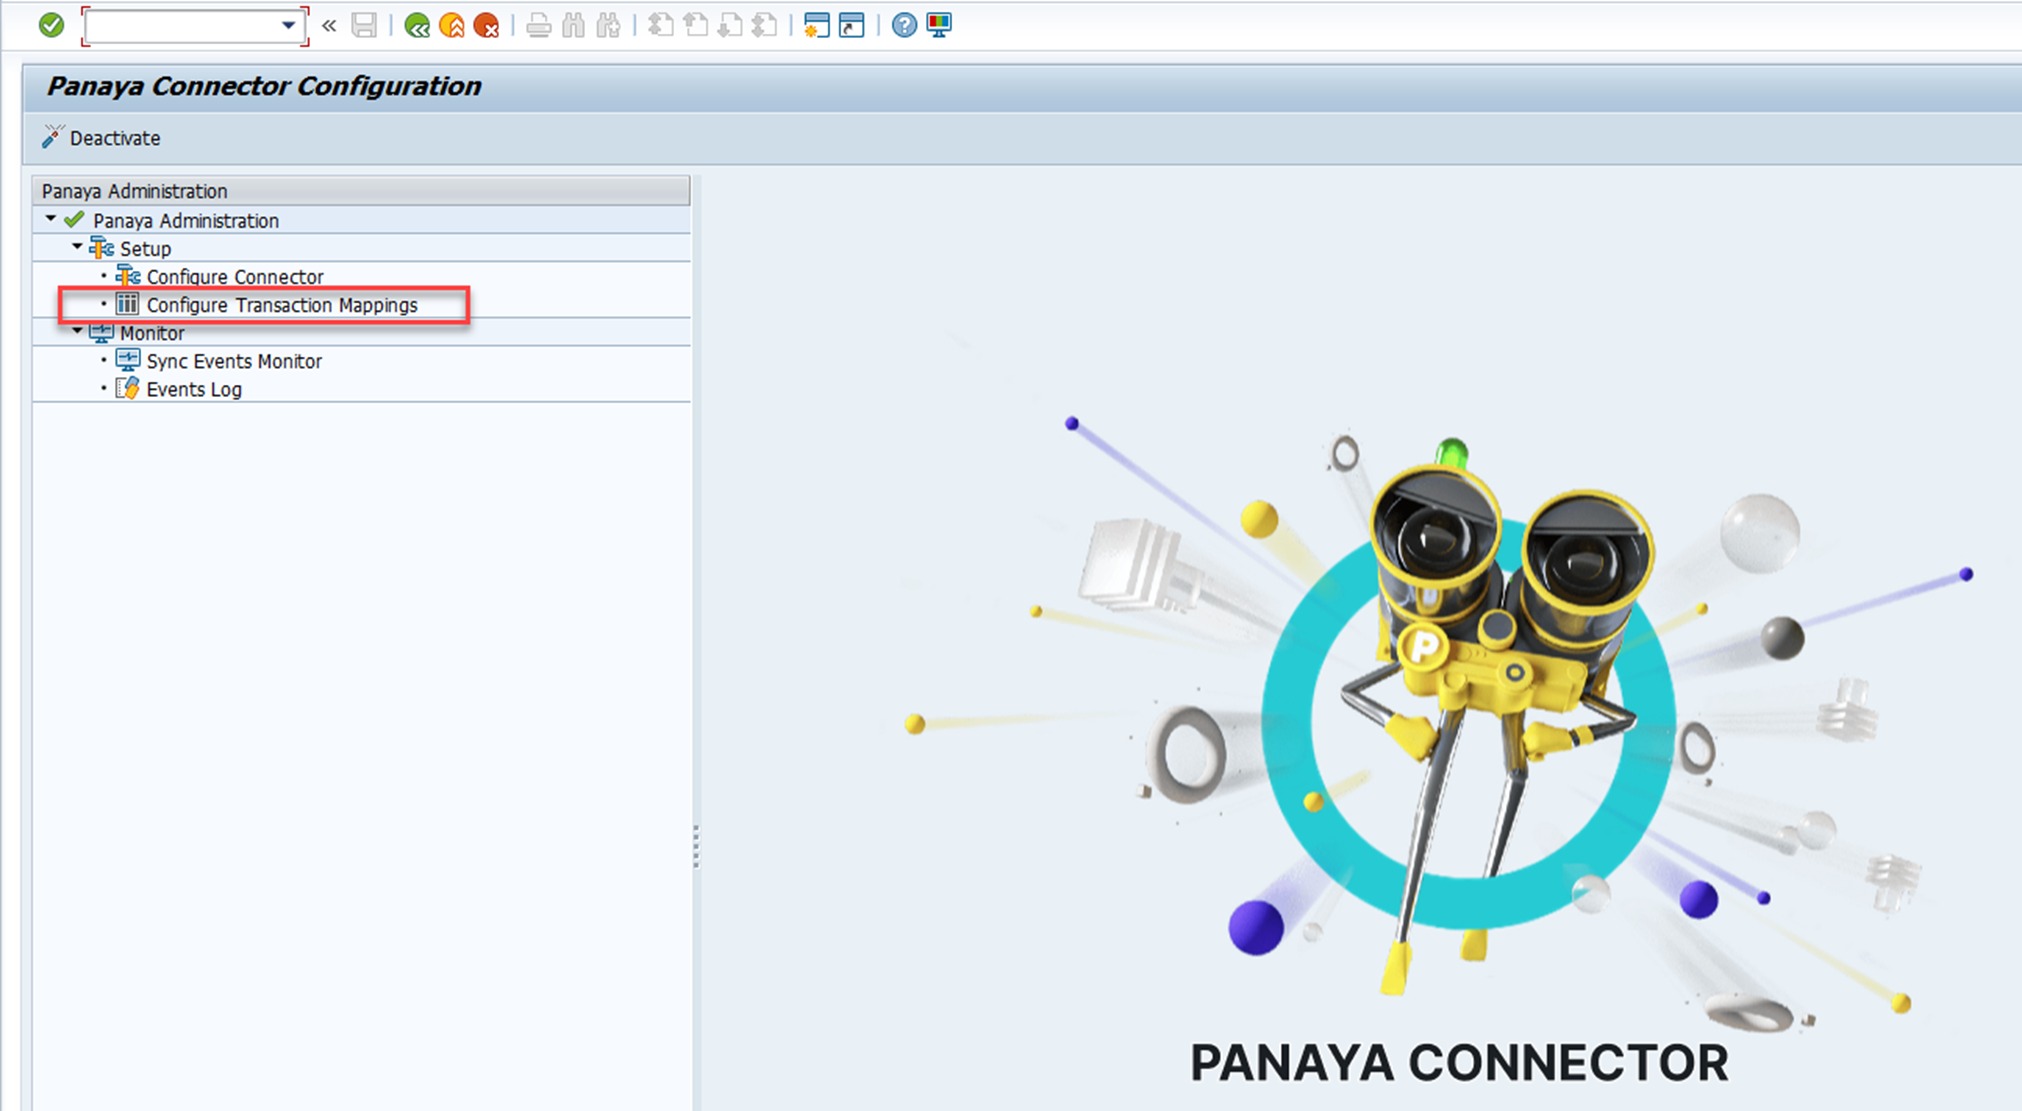
- Highlight the Define Process-Types folder and click on the New Entries button
- Select the Transaction Type input box
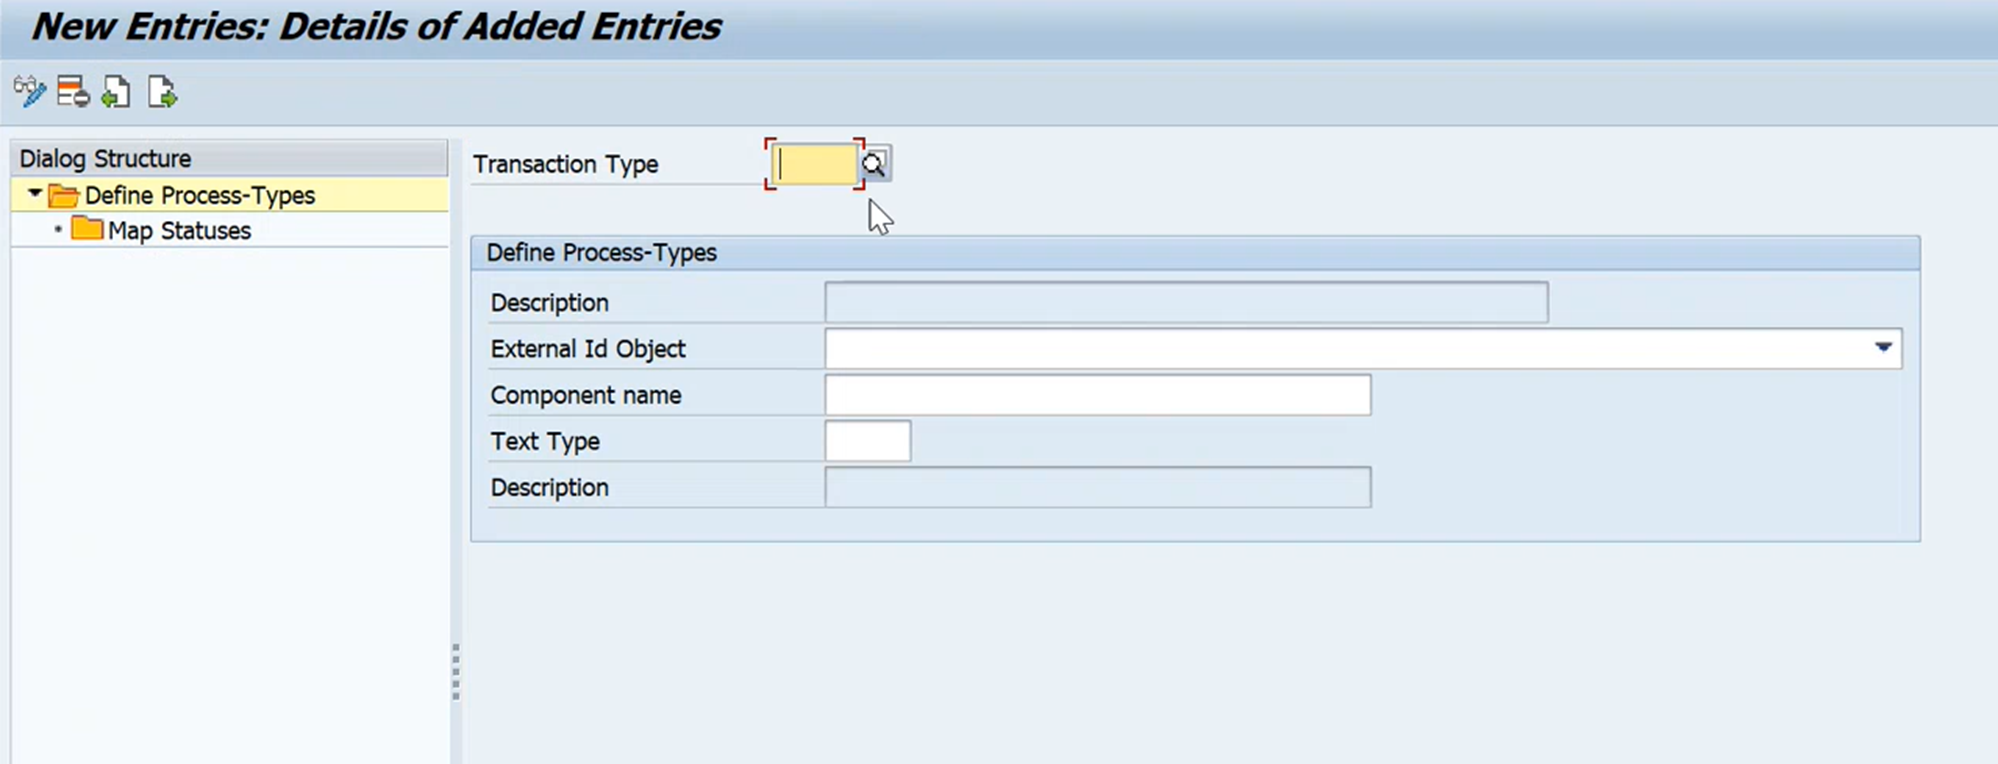
- Select a "Normal Change" flow like shown below:
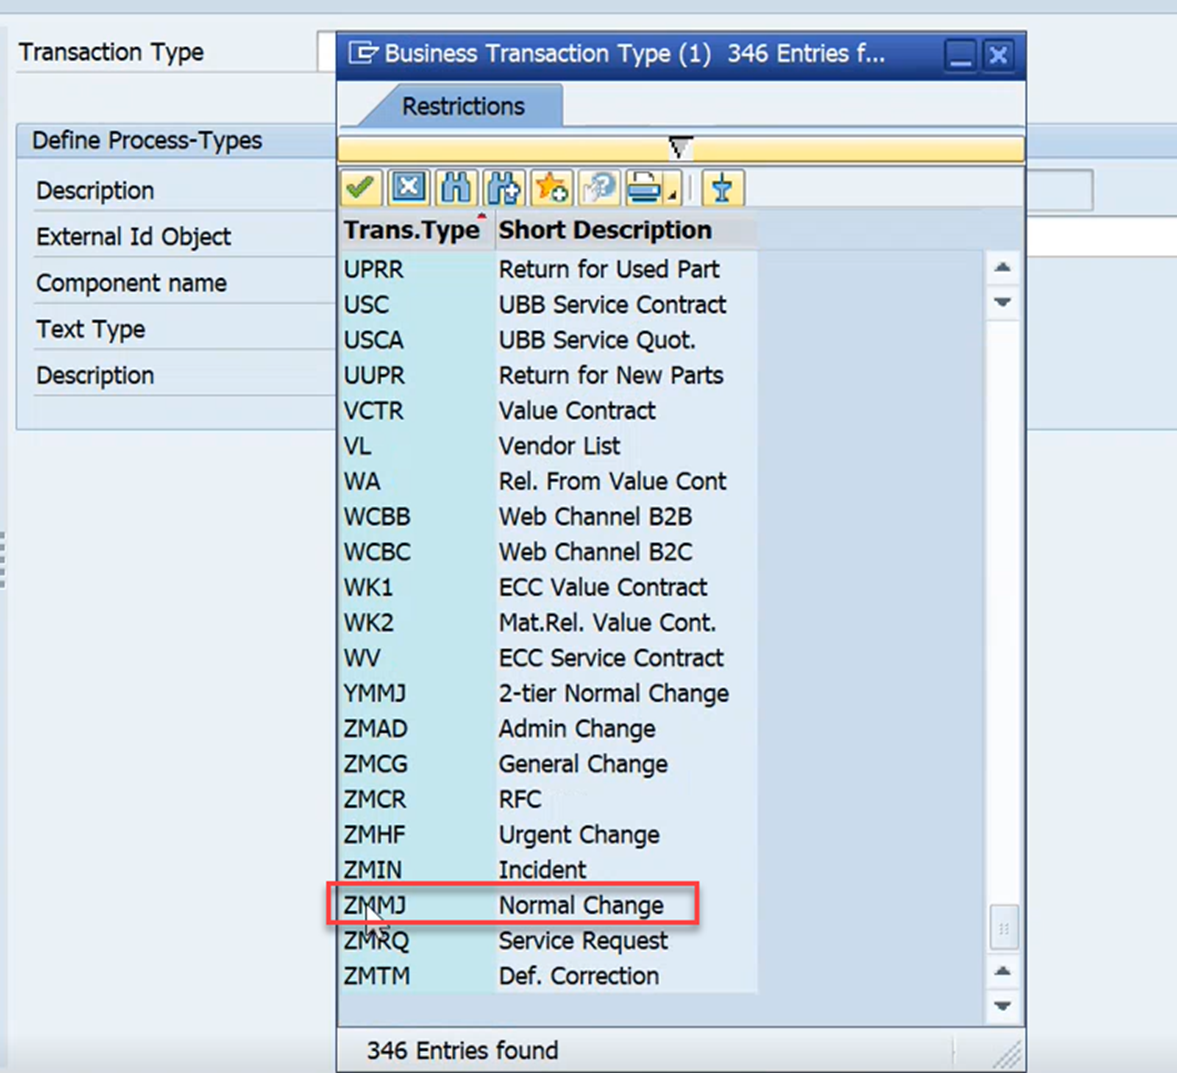
- Be sure to set the Text Type as 'CD03' (General Note).
- Save your selection.
- Double click on Map Statuses then click on the New Entries button
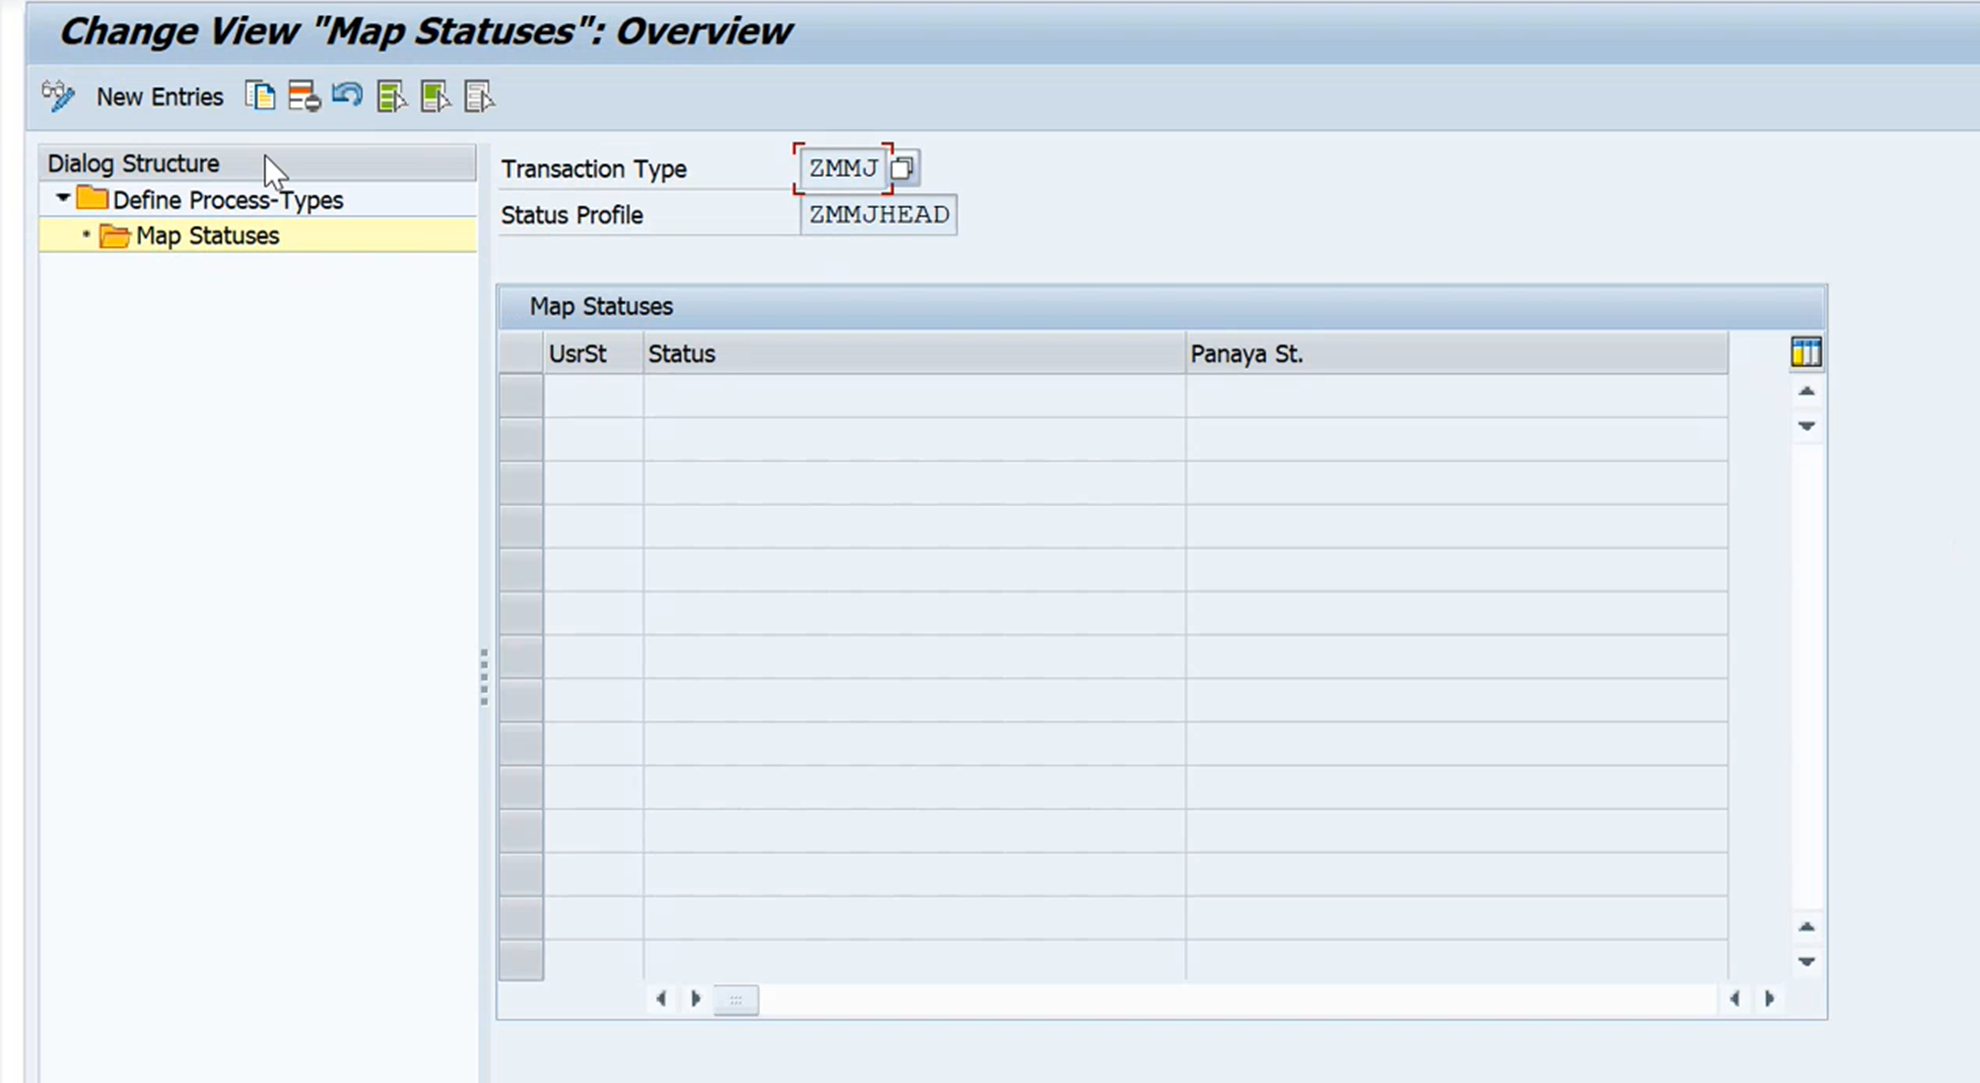
- Click on a the first row of the UsrSt column then select the status from the list.
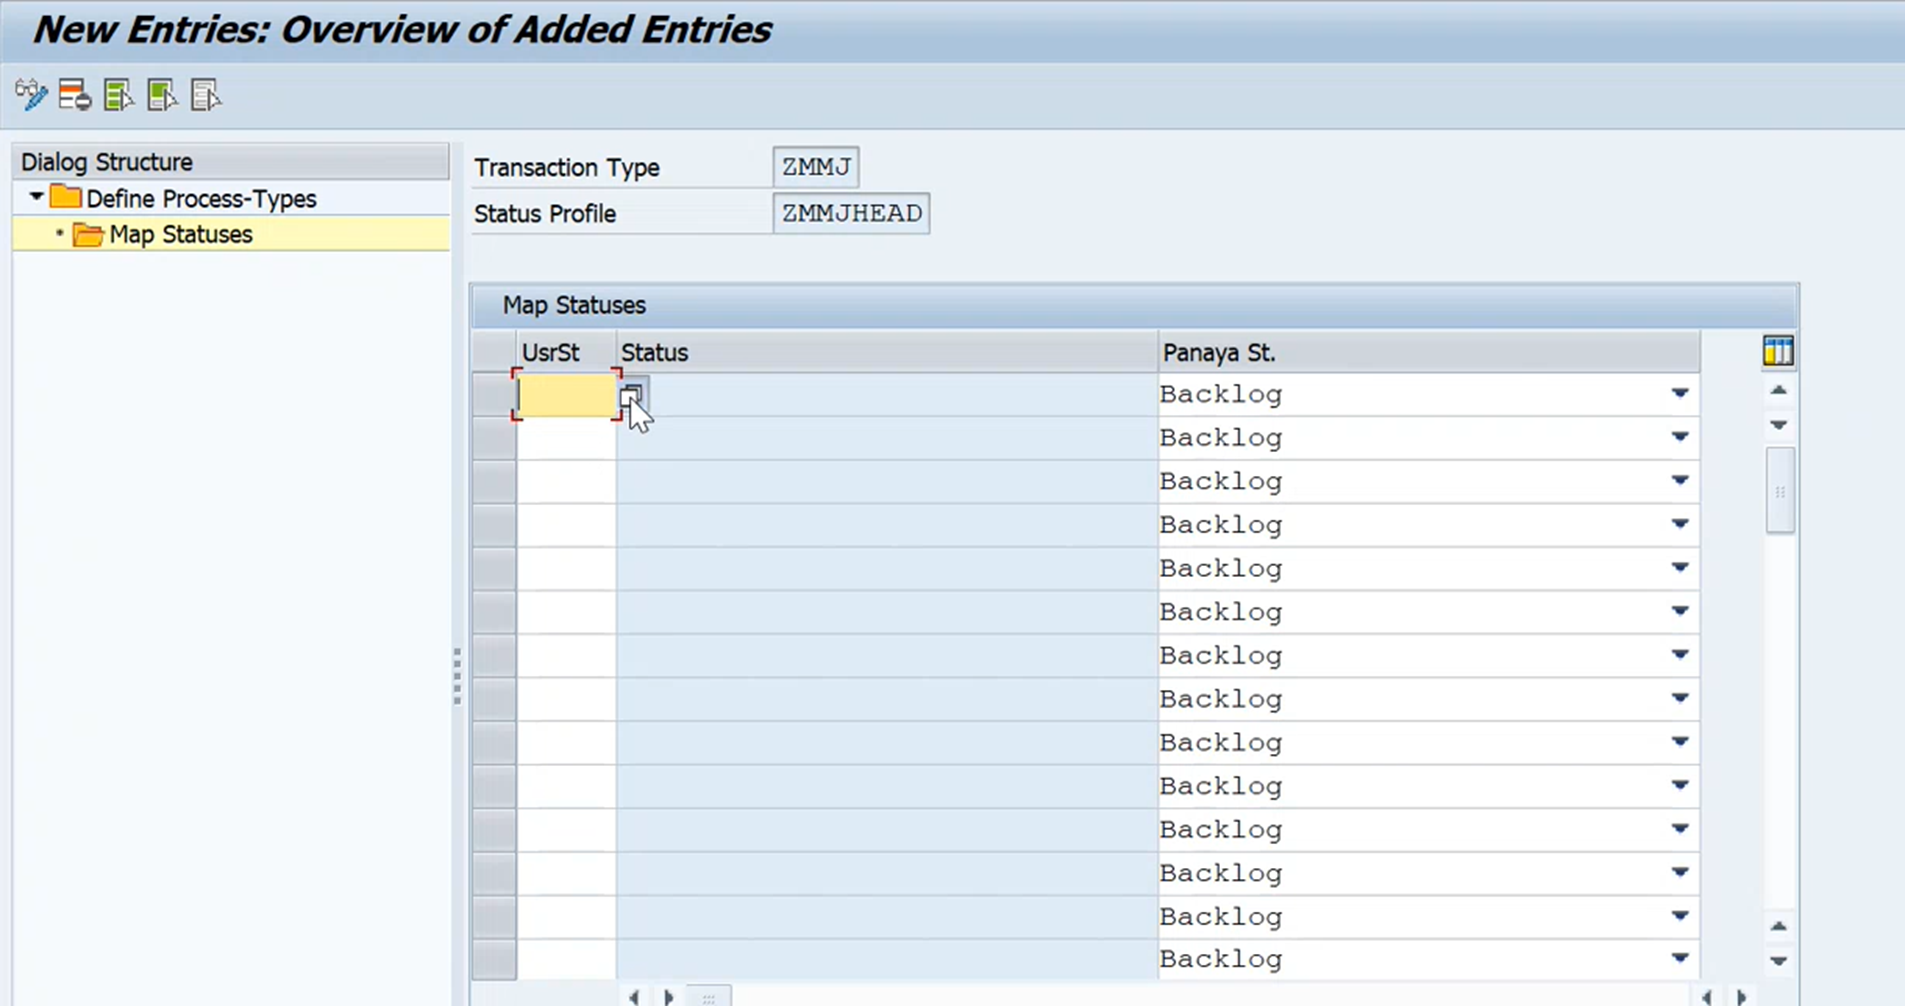
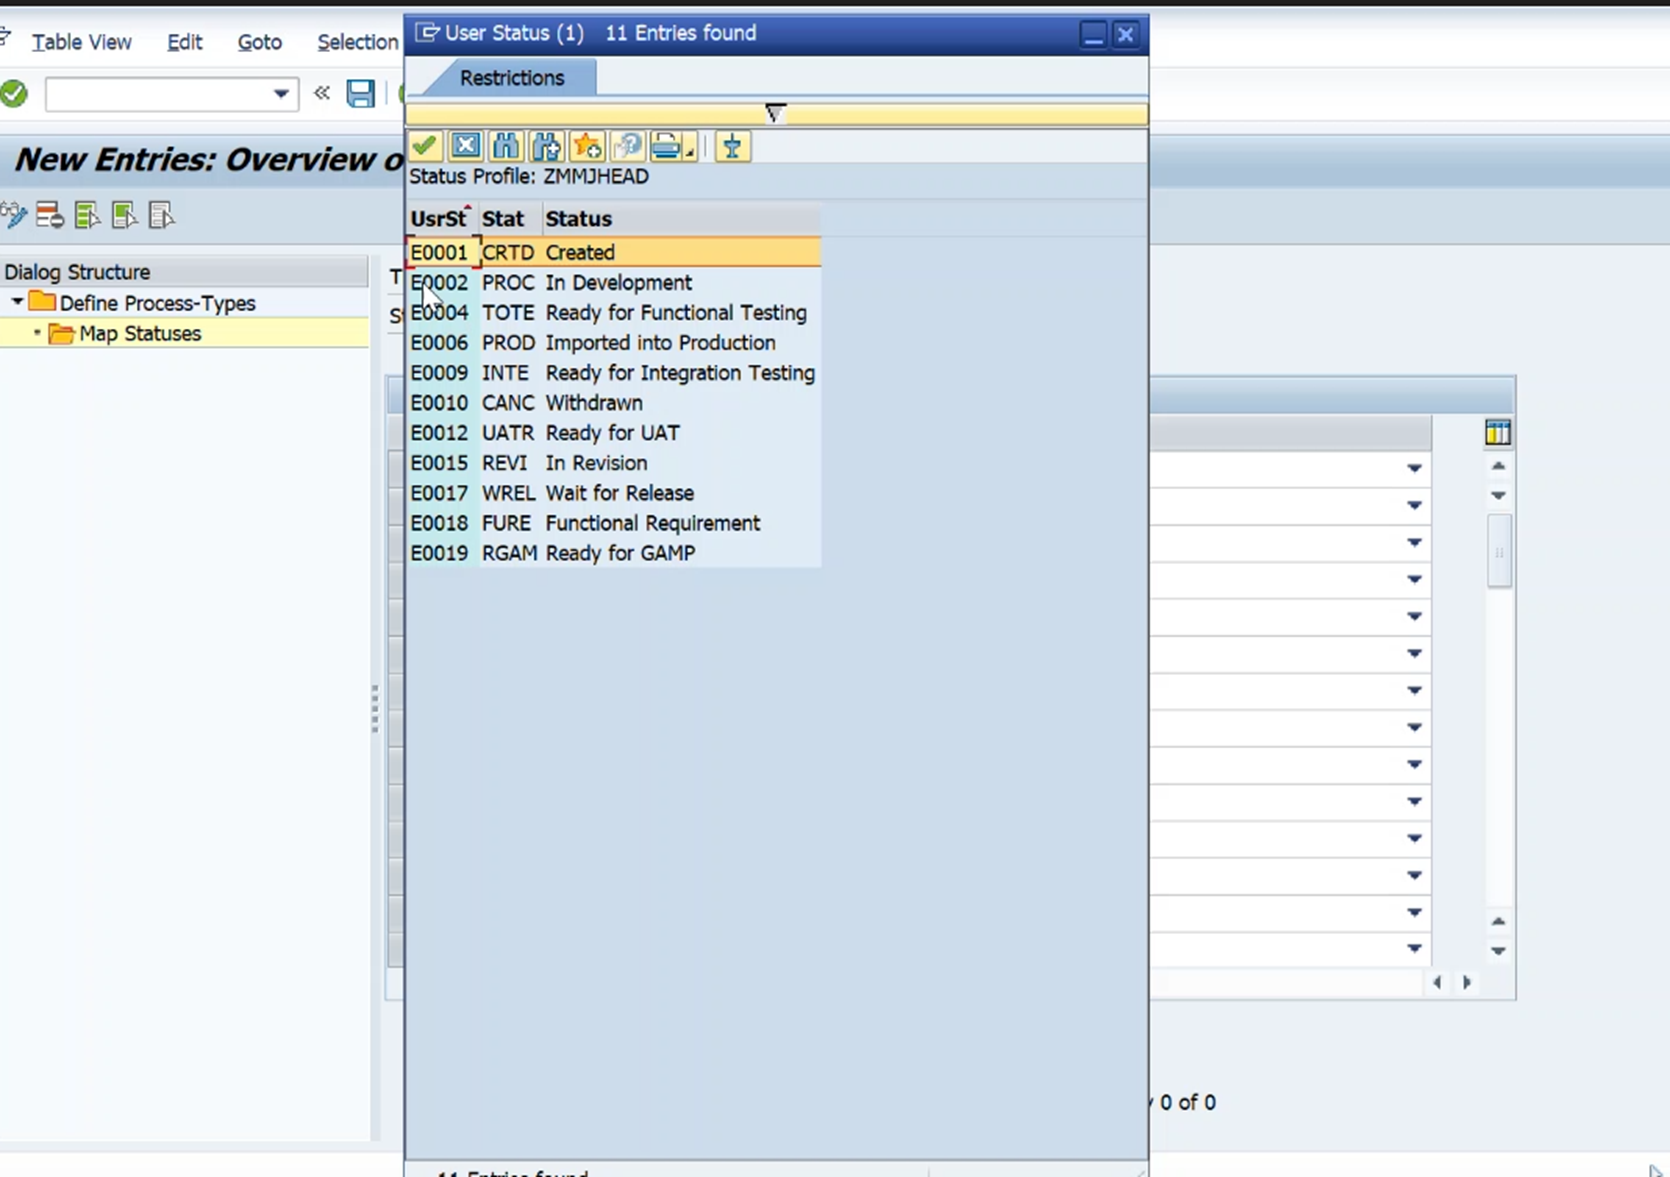
- Define the corresponding status in the Panaya St. column
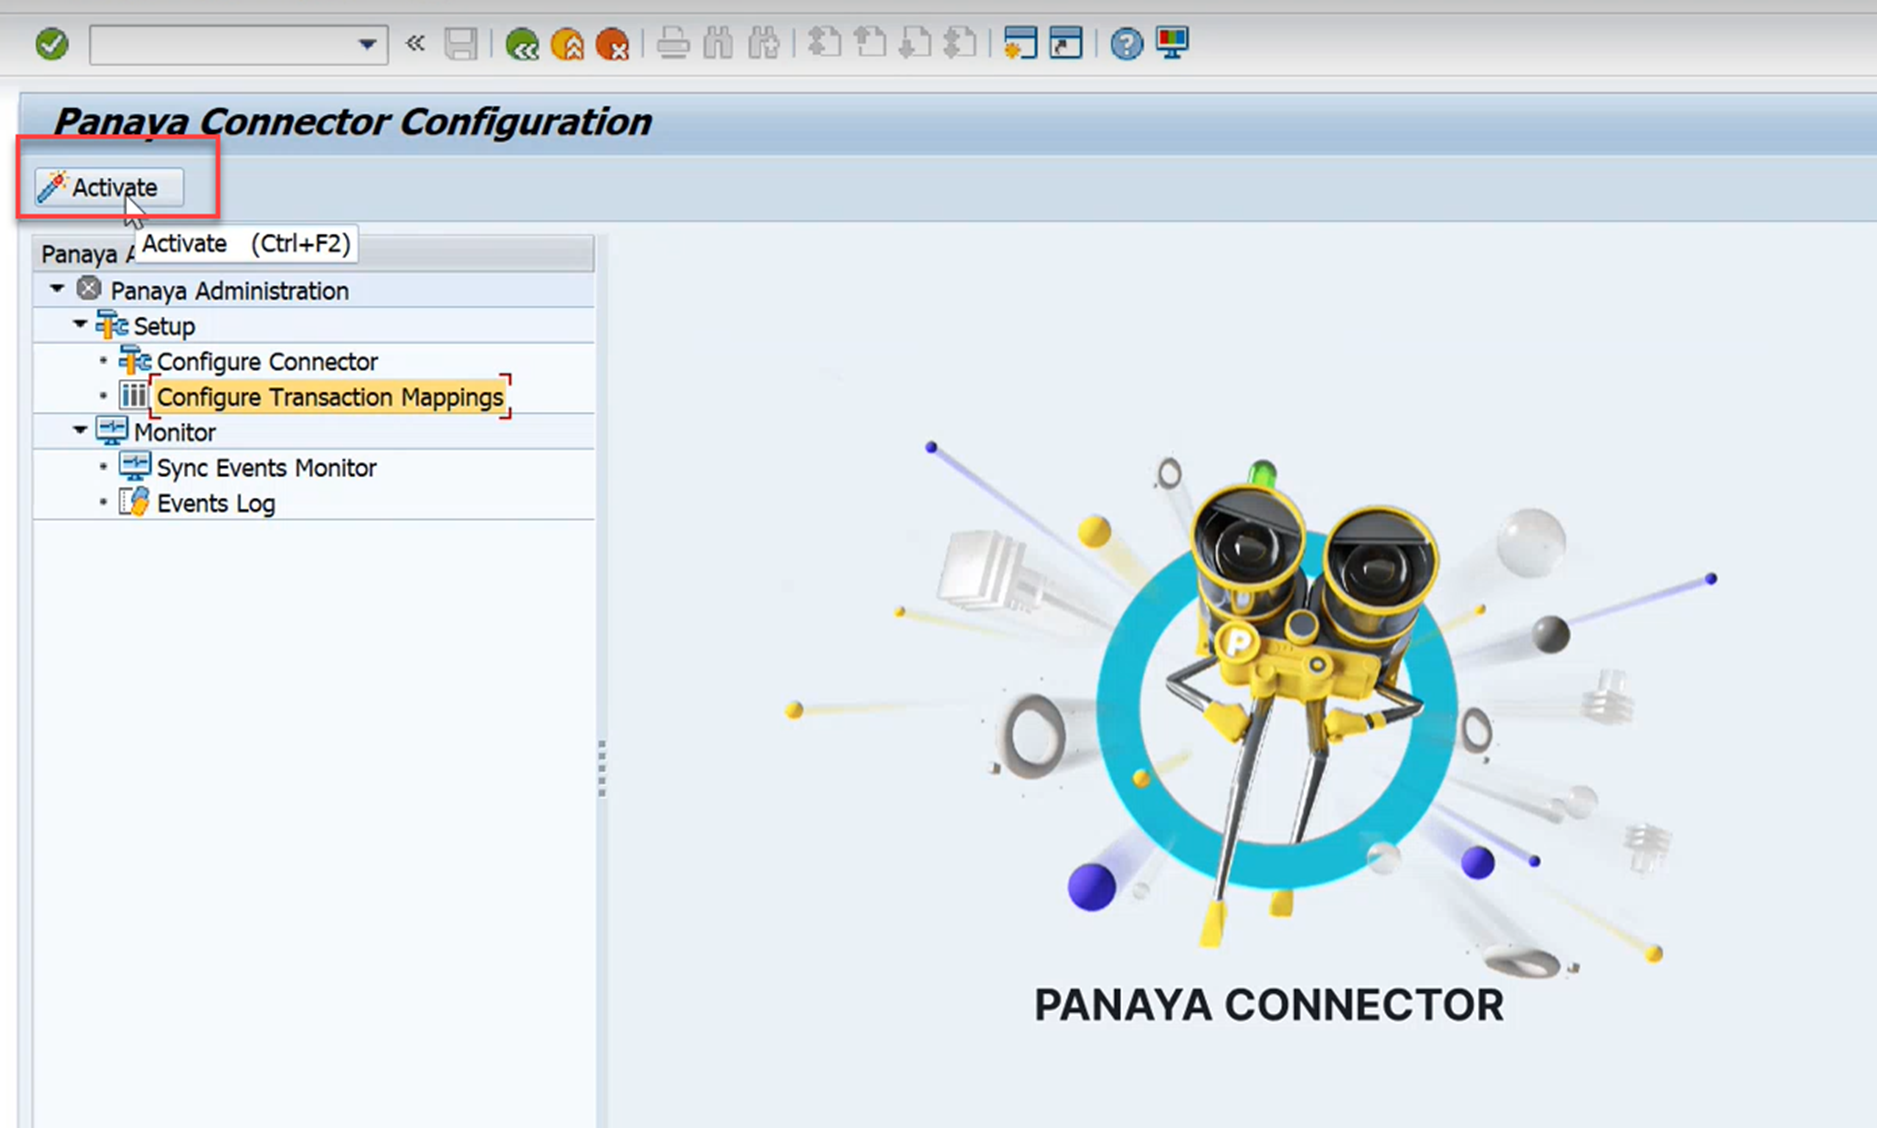
- Save your changes and activate the Panaya Connector
- Create a Change Request (Normal Change) in SAP Solution Manager, such as in the example below.
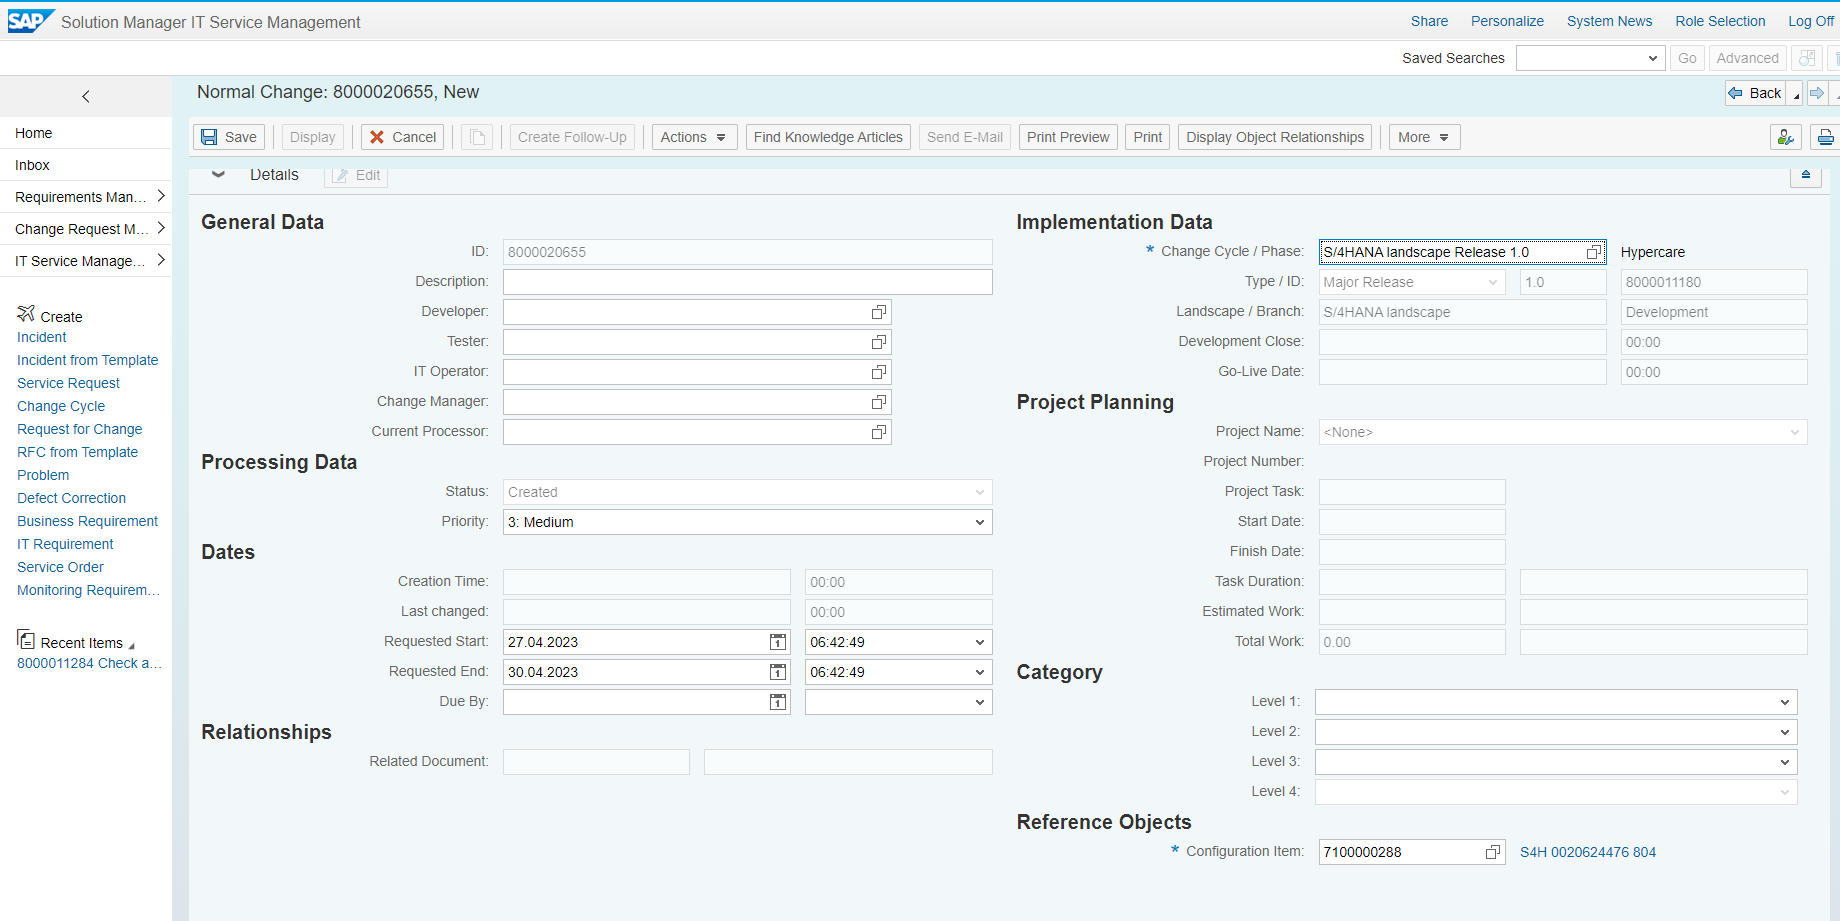
- Fill in the details for the General Data section and save your changes.

- Select the TEXT tab and check to see the link to a Panaya requirement in the Text Log section
.png)