Panaya offers a built-in Jira plugin that automatically syncs Jira Issues to Panaya Requirements and allows tracking of the Panaya testing progress from the Jira.
Getting the plugin
Download the Panaya Jira Plugin from the Atlassian Marketplace

Account level configuration
Once the app exists in your Jira, you need to link it to your Panaya account.
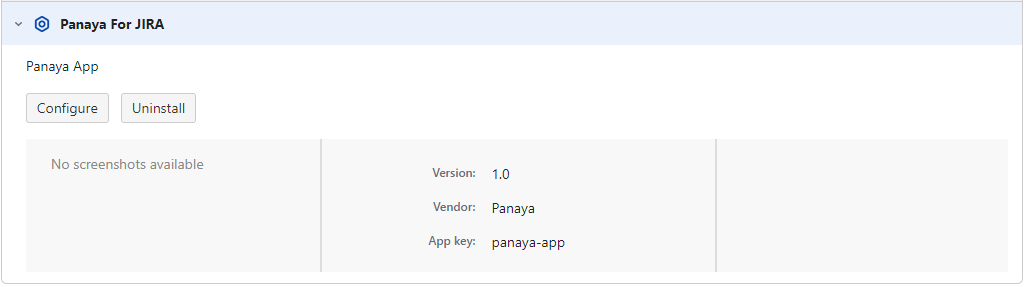
In Jira, under the Apps menu, select “Manage your apps”, and then expand the “Panaya For JIRA” app, and click “Configure”.
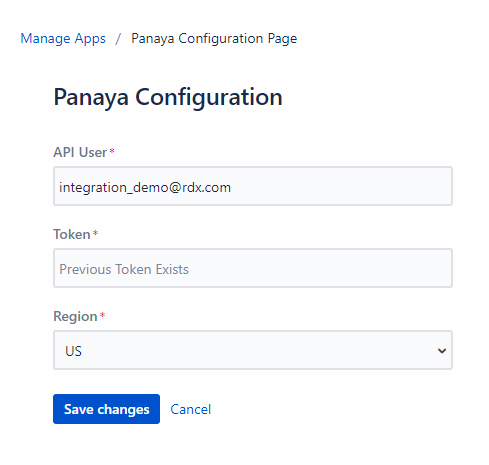
In the configuration screen shown below, please enter a user assigned to your account that has “API User” privileges, and also enter the Panaya access token and your Region US or EMEA (US for my.panaya.com accounts / EMEA for emea.panaya.com accounts).
For details on how to obtain the token, check out this article.
Project level configuration
Once the account level configuration is done, you can proceed with the Project level configuration.
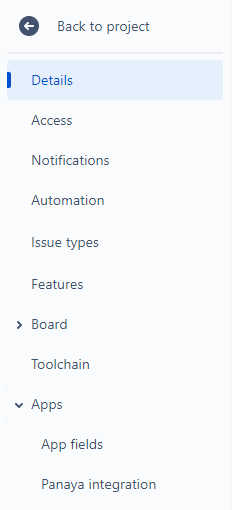
In Jira, in the main project page, click “Project Settings”, and in the settings menu, select the “Apps” submenu and then “Panaya Integration”.
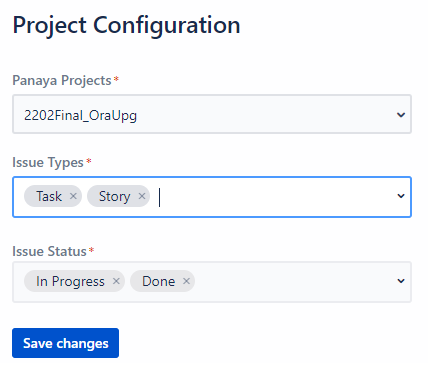
In the Panaya integration setting screen, you need to choose the Panaya project, in which the Jira issues will be created as Panaya requirements, and where the testing will be done.
You can select which Issue Types the Panaya requirements will be created for, and also which issue statuses trigger the requirement creation.