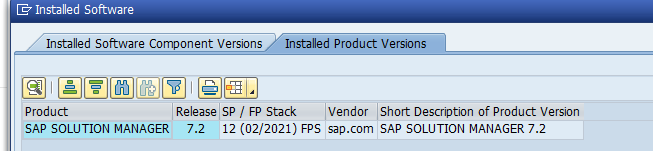
This article described how to Install the Panaya ChaRM add-on on your ChaRM System. The add-on must be installed on an SAP system that has installed software Solution Manager 7.2:
After the installation, refer to this article for the required configuration and mapping.
Below are two methods by which you can install the Panaya ChaRM add-on -
- Using a SAR file (Recommended)
- Using a PAT file
Downloading the PAT / SAR file
- Click on the Settings button

Verify that the relevant System is selected in the drop-down list
- Click on Download PAT or Download SAR
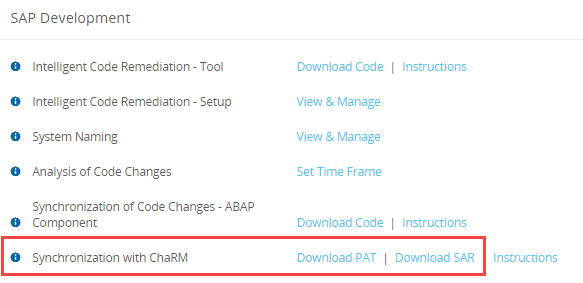 If you cannot see the Synchronization with ChaRM option, contact Panaya Support.
Installing the add-on
SAR File Installation (Recommended)
- Enable Read, Write, and Execute permissions
- Log into the relevant SAP system using client 000 and a user with sufficient privileges to update the Data Dictionary.
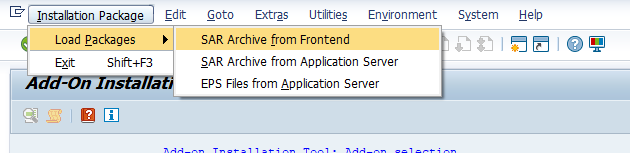
- Run transaction SAINT and select the Installation Package > Load Packages > SAR Archive from Frontend.
 Locate the SAR file and click Open.
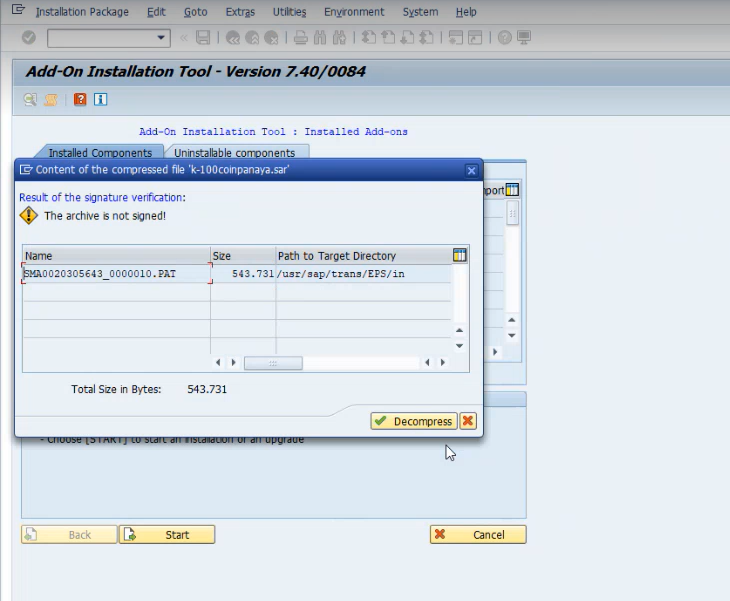
- Click on Decompress.
- Click on Start.
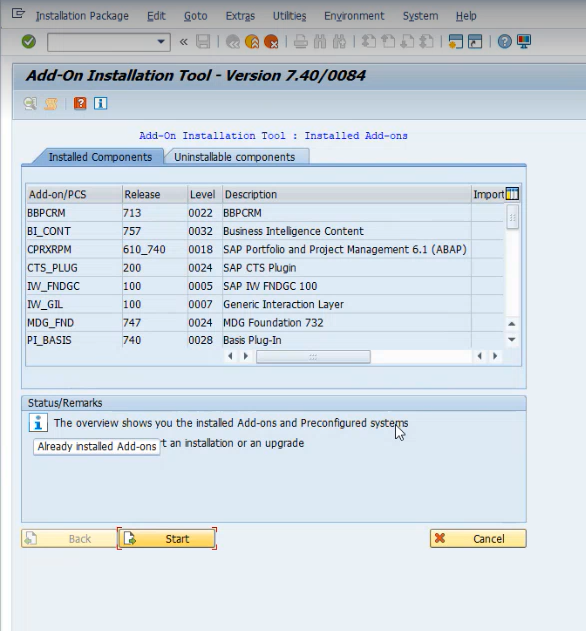
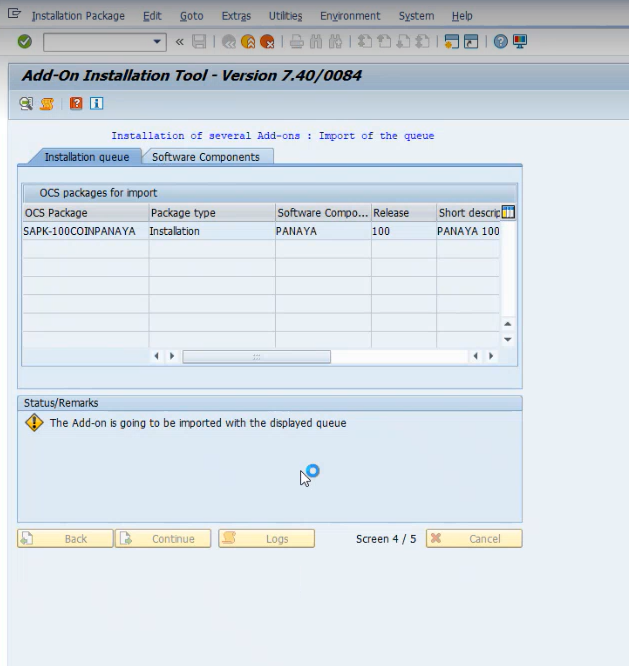
- Select the Panaya package and click continue.
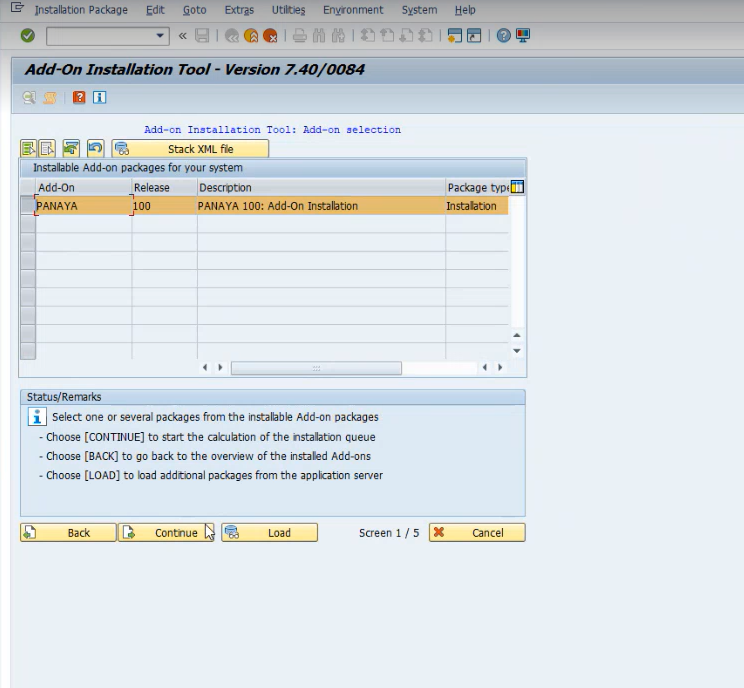
- Click on Continue.
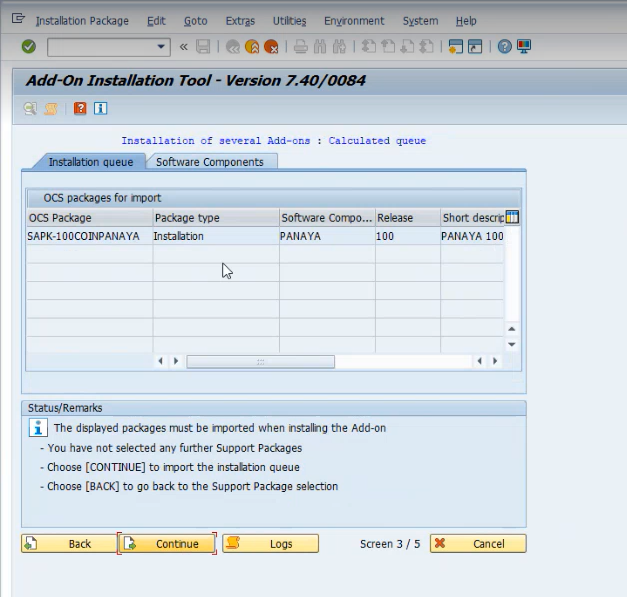
- Click on the import button (Ctrl+F1).
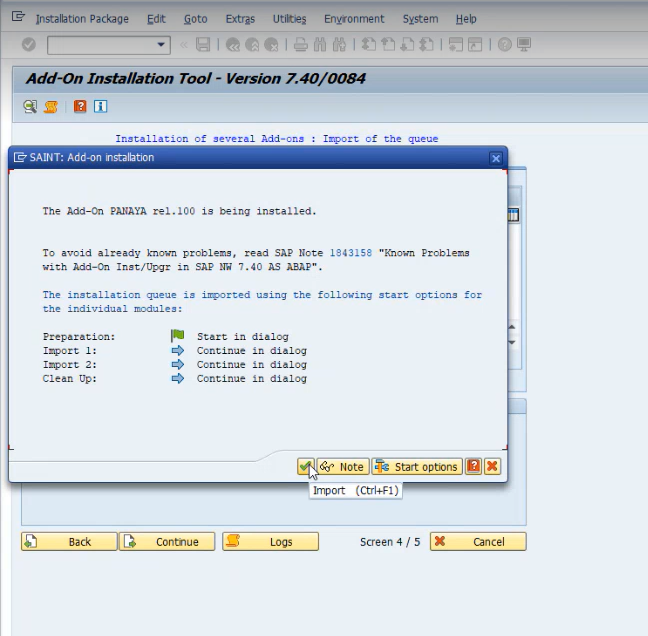
- If you encounter the below error/warning message, click Ignore.

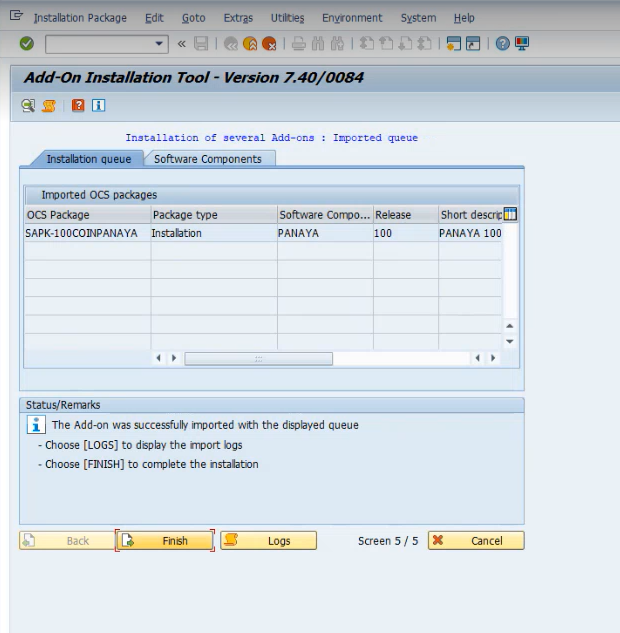
- Click on Finish to confirm the installation queue.
PAT File Installation
- The authorization mode of the files must be set to 777
- Enable Read, Write, and Execute permissions
- Copy the downloaded PAT file to the following path in your SAP system -
/usr/sap/trans/EPS/in - Log into the relevant SAP system and use client 000 and a user with sufficient privileges to update the Data Dictionary.
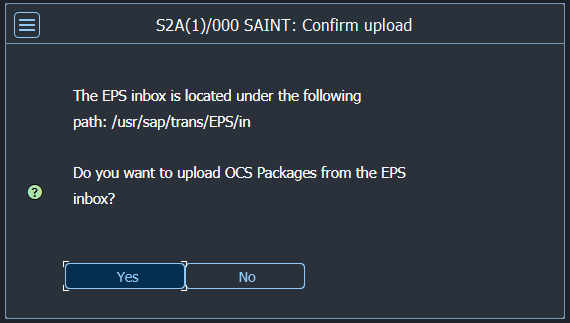
- Run transaction SAINT and select the Installation Package > Load Packages > EPS Files from the Application Server menu option.

- You will be asked if you want to upload OCS Packages from the EPS inbox. Select Yes.
- Following the summary ALV, return using the Back button (F3).
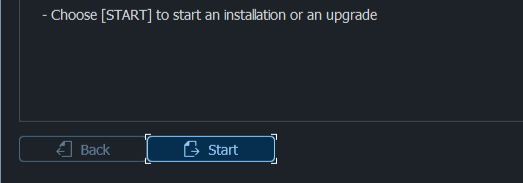
- Click Start and select the PANAYA Add-On package. Then click Continue.
.png)
- Select the Support Package selection tab.
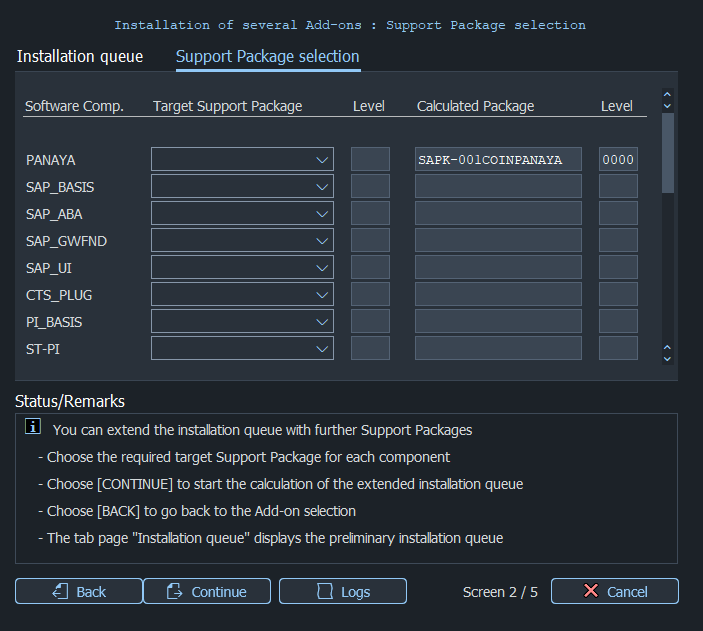
- Click Continue to display the Installation queue tab.
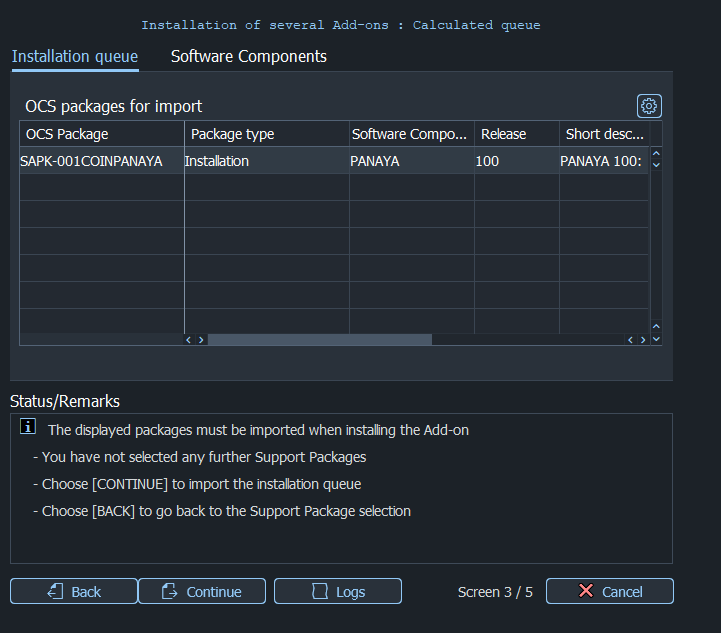
Click on
 to start the installation of the Panaya add-on. Upon completion, click on Finish to complete the installation.
Upon completion, follow this article to set up the integration mapping.
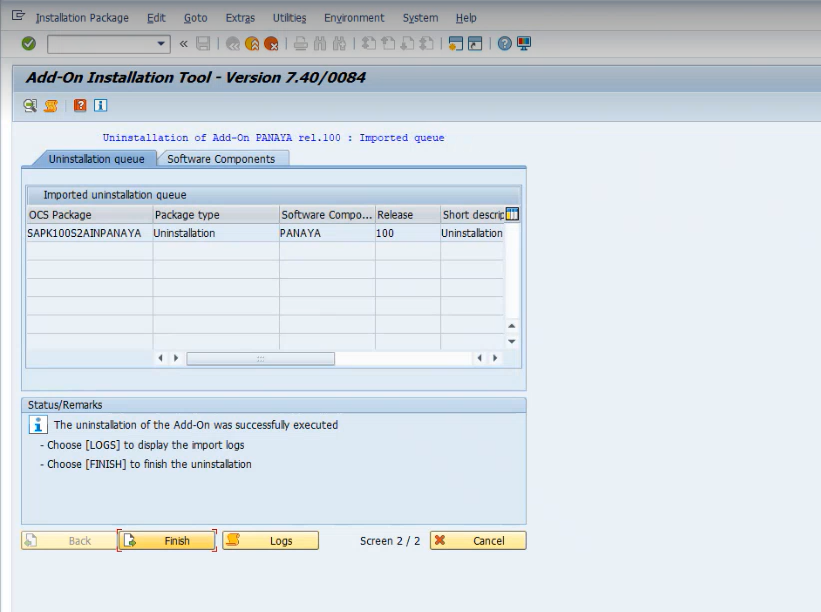
Uninstalling the add-on
- Login to your SAP system, using client 001.
- Use transaction /n/panaya/admin to launch the Panaya Connector Configuration screen.
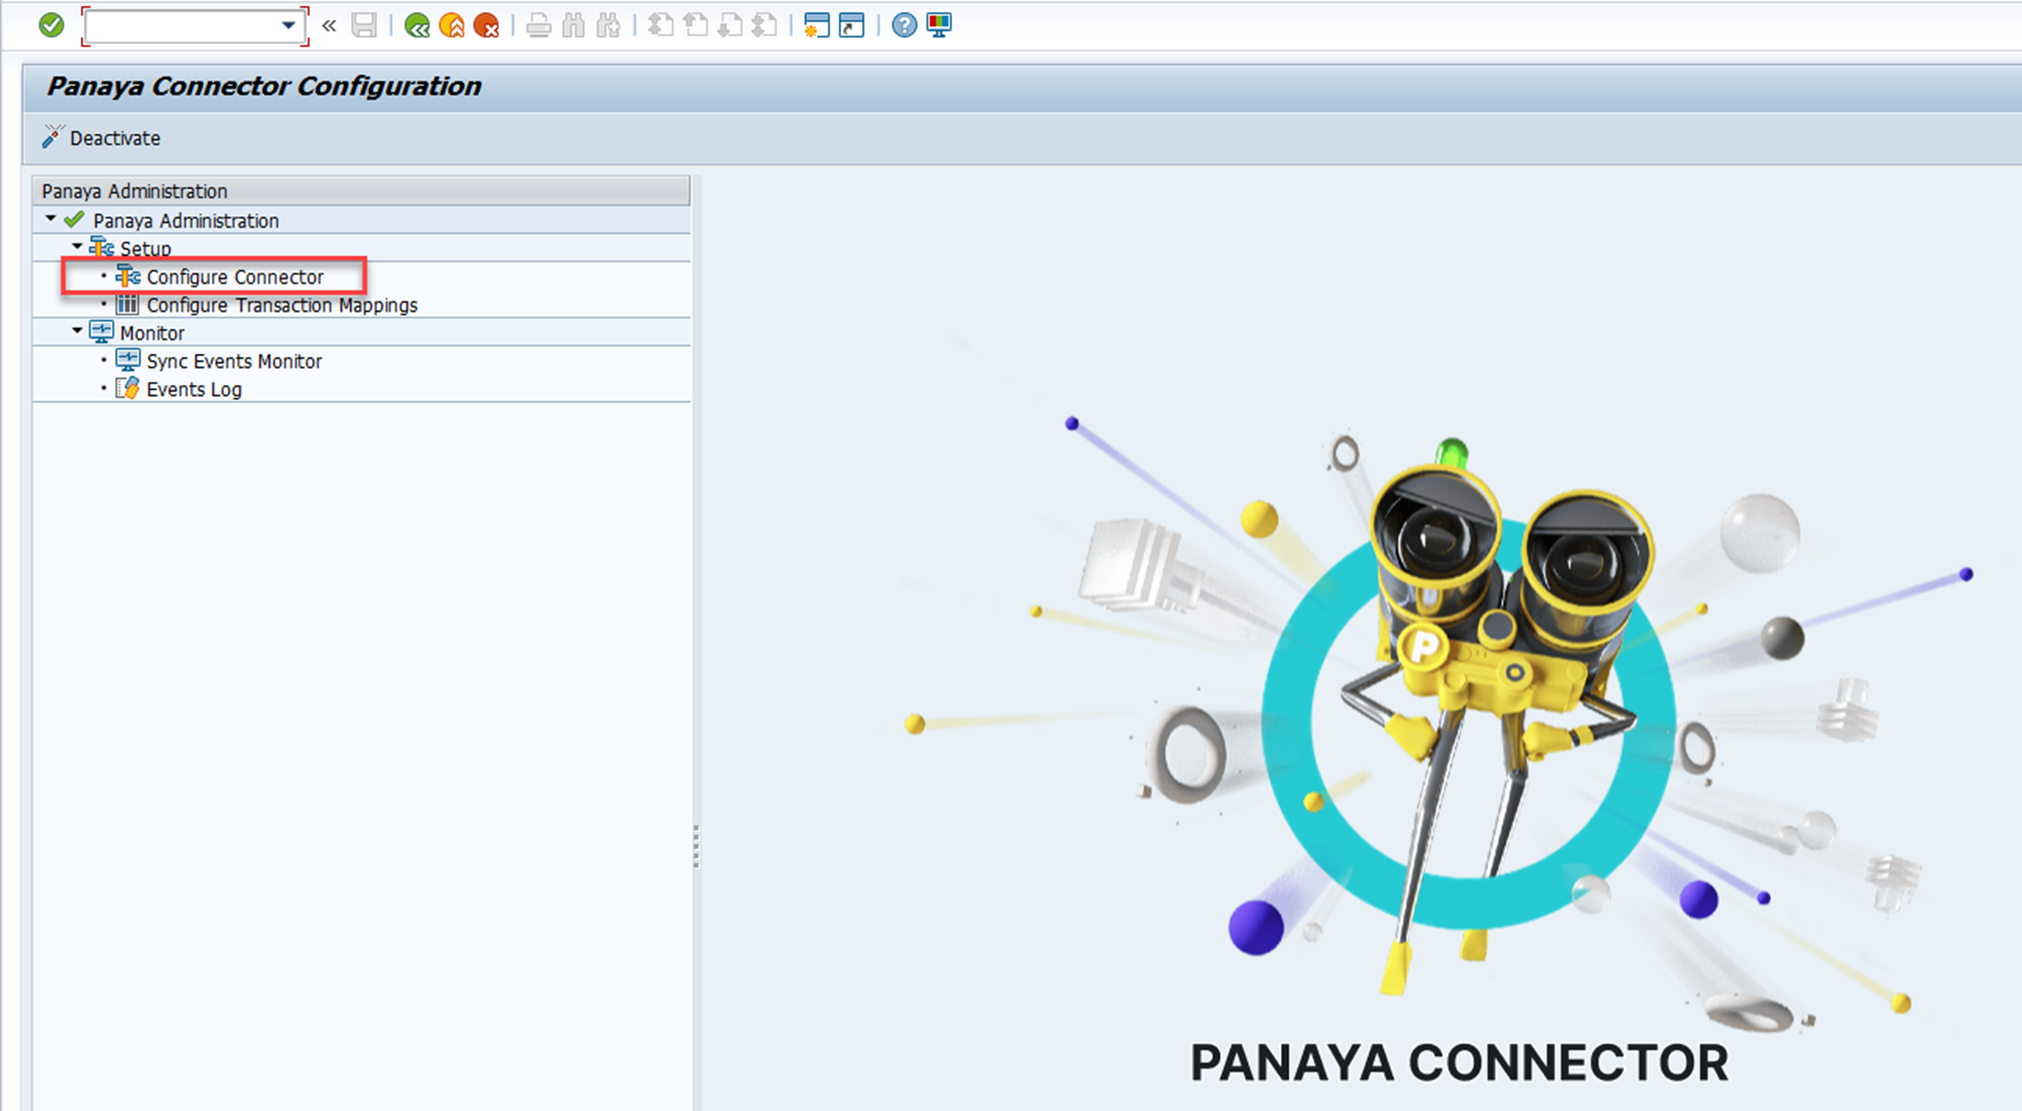
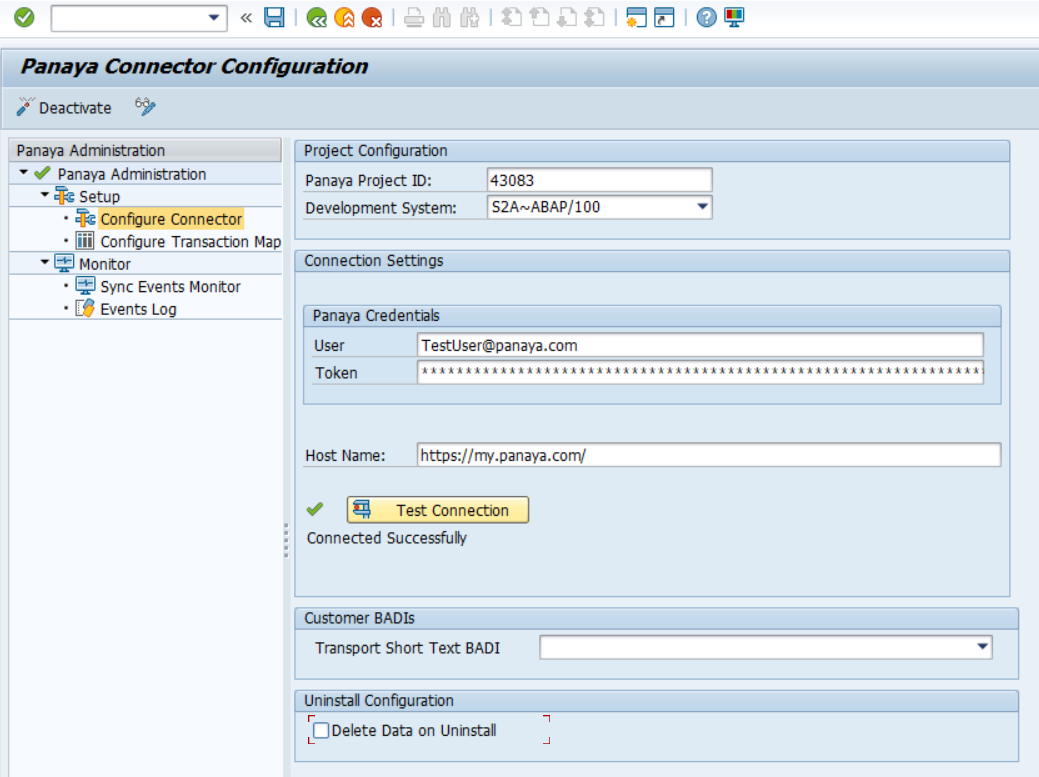
- Select Configure Connector
- Verify that the "Delete Data on Uninstall" flag is unchecked, this will allow the retention of all previous configurations. If it is checked, go into edit mode, uncheck it, and save your changes.
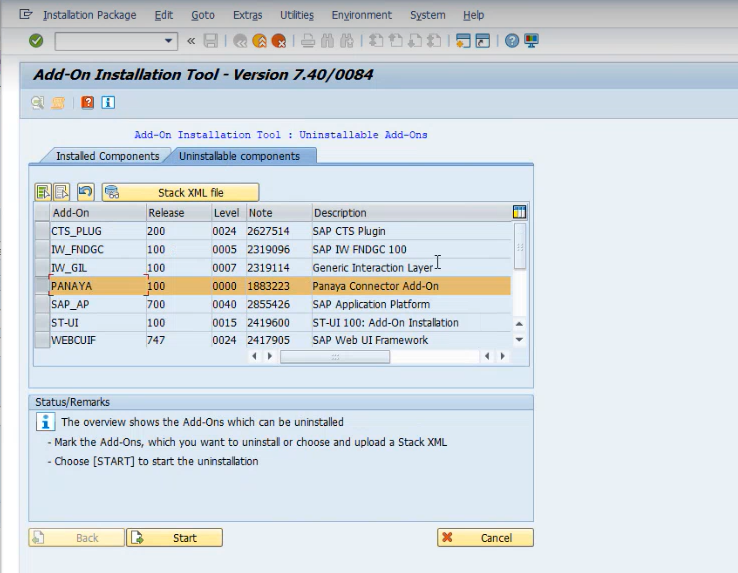
- Login to your SAP system, using client 000, and run transaction SAINT.
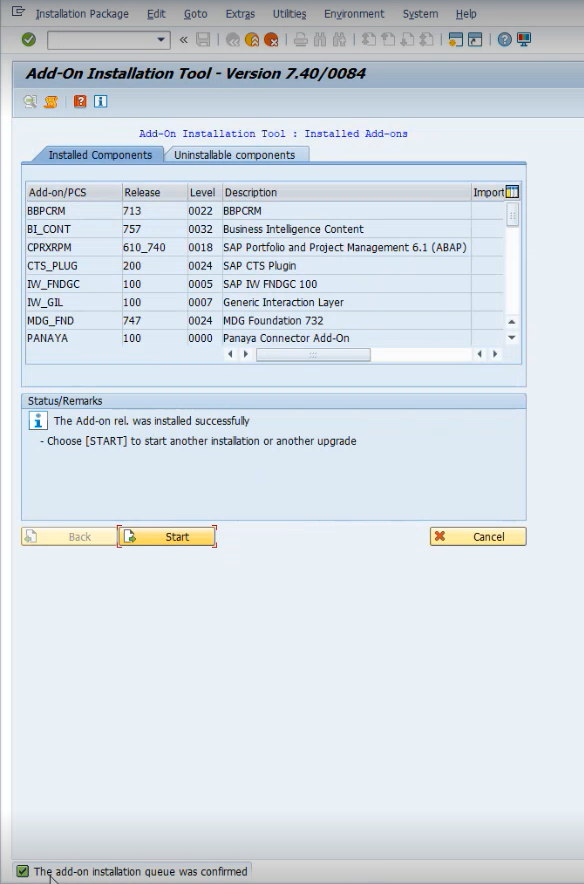
- In the Add-On Installation Tool view, select Panaya and click Start.
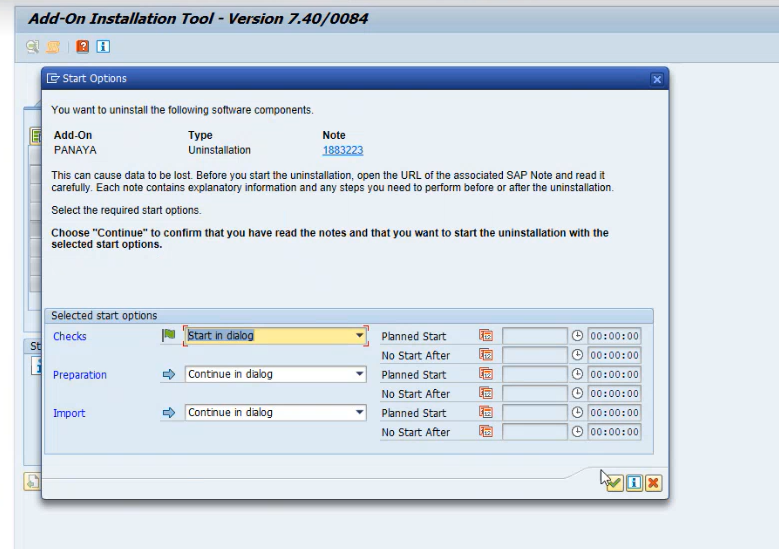
- Click on the Continue button.
- Click Finish