To create a new project -
- Login to Panaya
- Click on the Menu button
 and select All Projects
 - In the Project list, click the Create Project button

- From the list of Project Types, select the applicable project type and then the Create button.
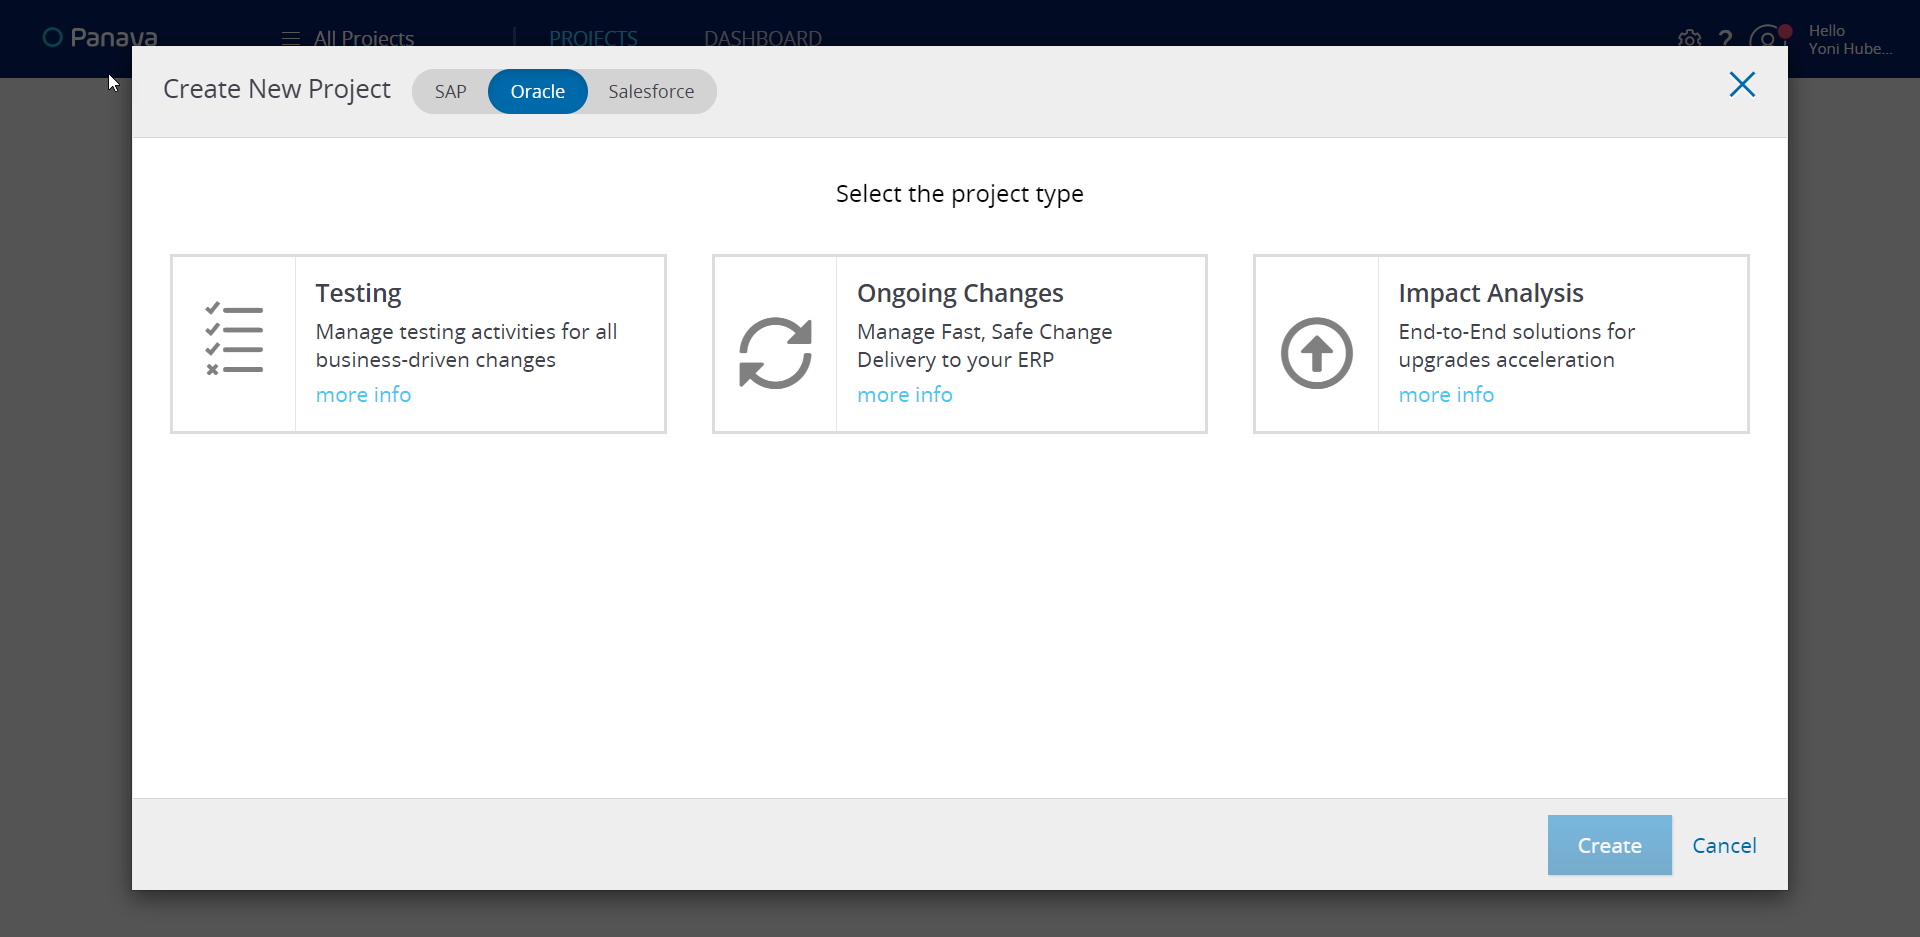
- If you have access to more than one Panaya Account, select the relevant Account from the list. The selected account will define which set of users you will be able to connect to this project
- Then, select the relevant ERP system The selected ERP will define which set of Roles will be available for the project users
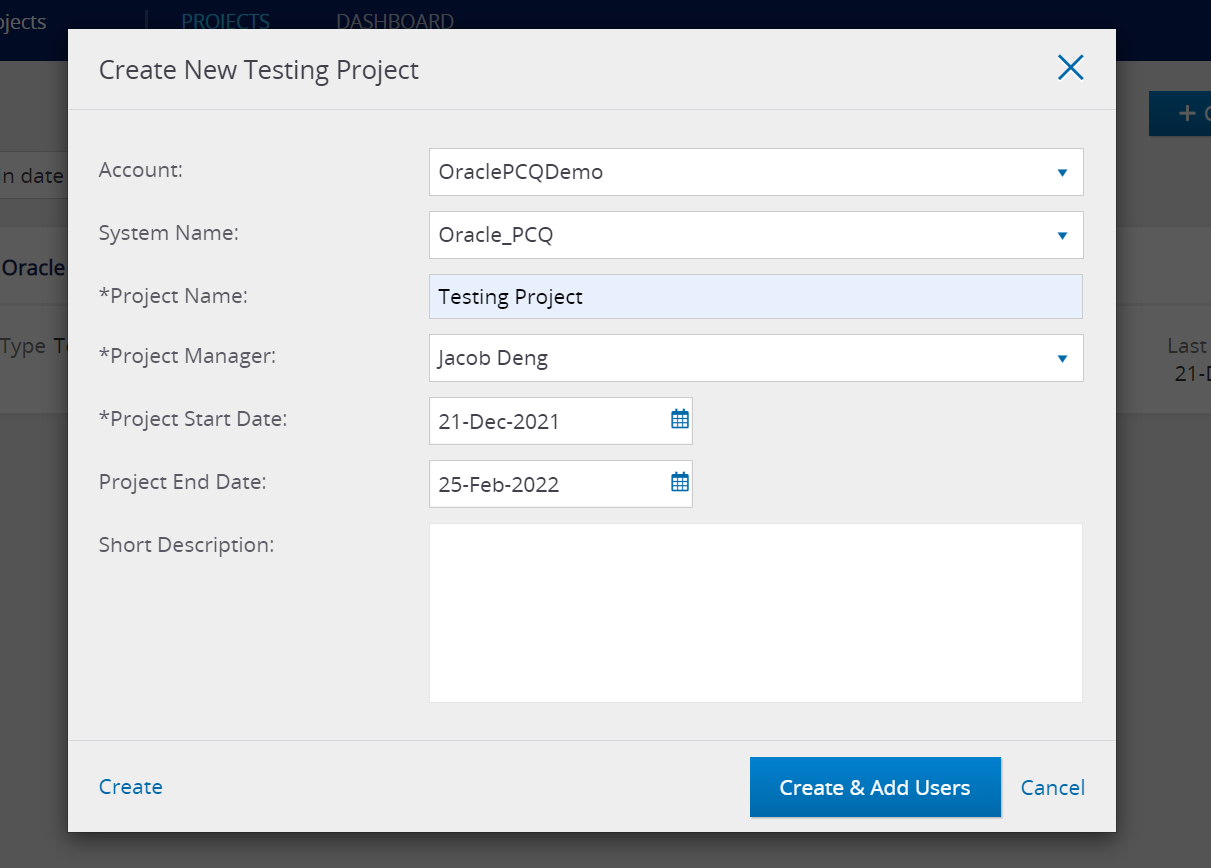
- Now, set a meaningful name for the project. This can be changed at a later time.
- Select the Project Manager from the list of users. This user will be granted the Project Manager Role, with all relevant permissions as defined in the Roles and Permissions console.
- Now define the project Start Date. Defining the end date for the project is optional.
- It is recommended to add a short description of the purpose and objectives of this project
Once created, Panaya will offer to connect users to the newly created project. You can do this either now or later from the User Management Console.
Initially, the project status will appear as Processing.
You should receive an email notification once the project is ready for use.
Good to Know!
If a user creates a Project, the user will be automatically assigned the Project Manager Role for the created project
Click here to learn more about Roles and Permissions