You may encounter scenarios where an element cannot be found or is not visible, preventing the ScriptBuilder or Agent from executing an instruction.
By using the browser Developer Tools (F12), you can determine the exact XPath that is required and update the Locator accordingly.
More information about Locators can be found here.
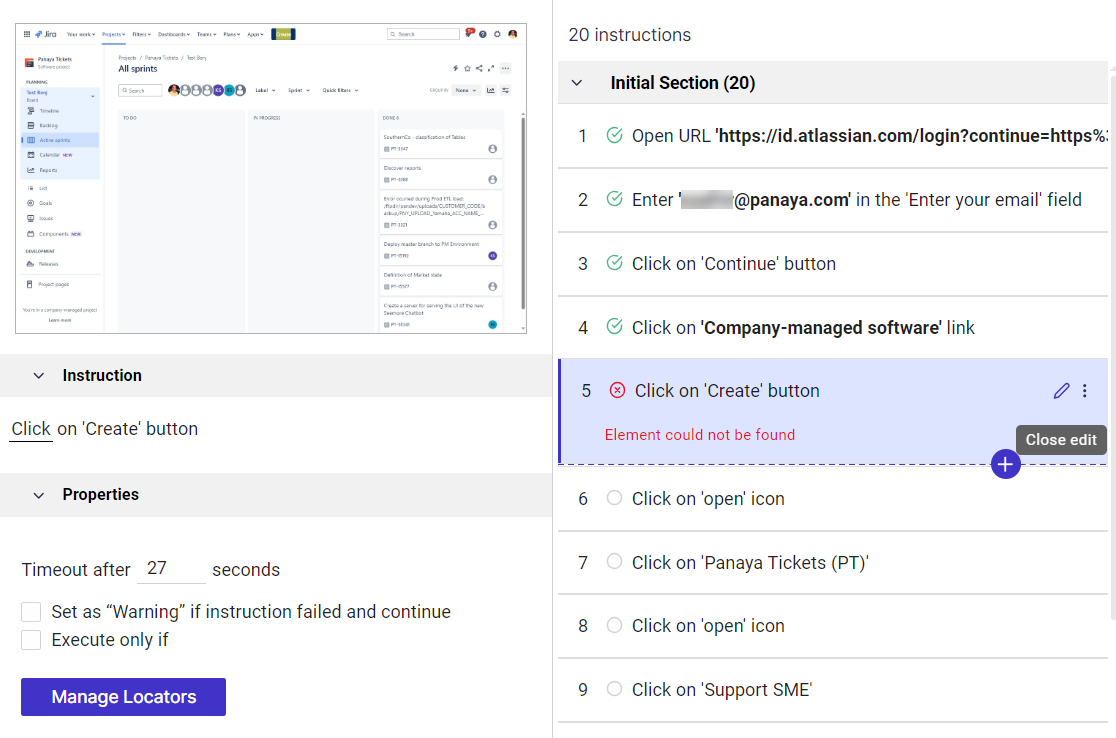
In this article, we will take a look at the example below of a Create button, and how to update the XPath so that the instruction can be successfully played.
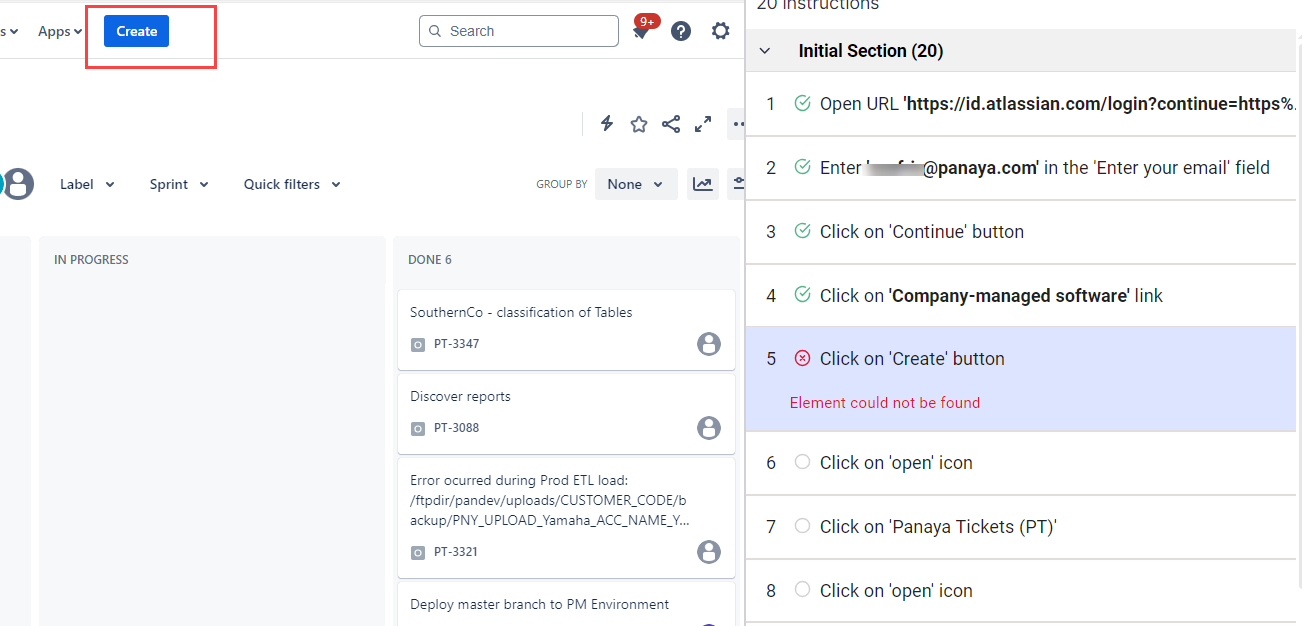
If you tried to re-record the failed step, without success, the next step is to manually update the locator Xpath.
To find the Xpath value of the element, right-click on the element and select Inspect.
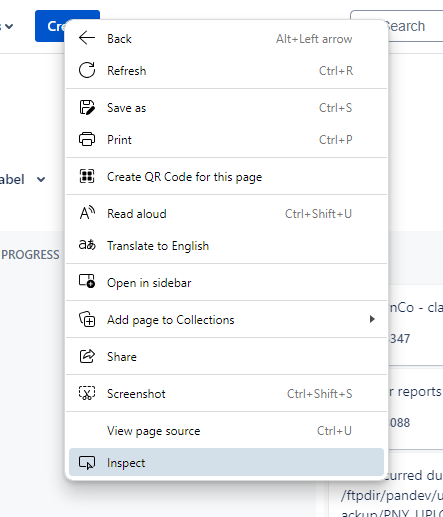
In the developer tools, highlight the element you have selected as shown below.

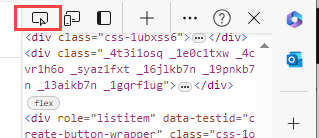
If you cannot locate the element easily, click Inspect Element and hover over the relevant element. Sometimes, you may have to click on the element, for example, inside a text field.

Right-click on the highlighted element, and select Copy > Copy XPath.
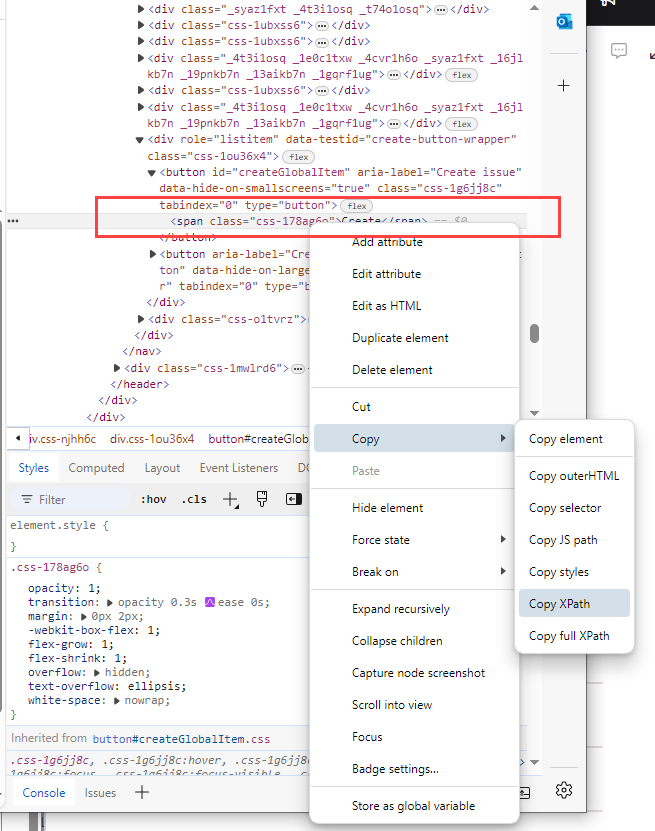
In our example, this was the copied value -
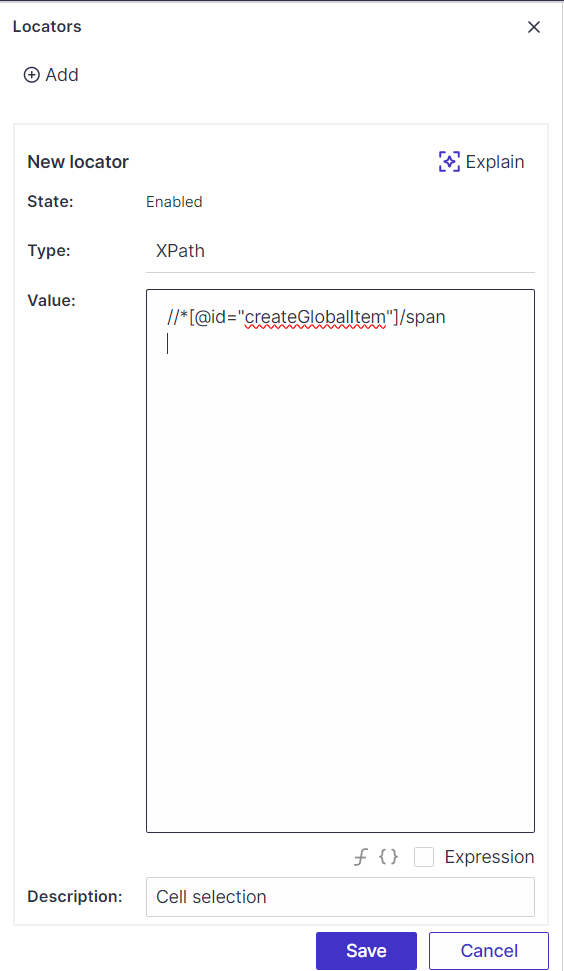
//*[@id="createGlobalItem"]/span
Edit the failed instruction in ScriptBuilder by highlighting the relevant instruction and selecting Manage Locators.
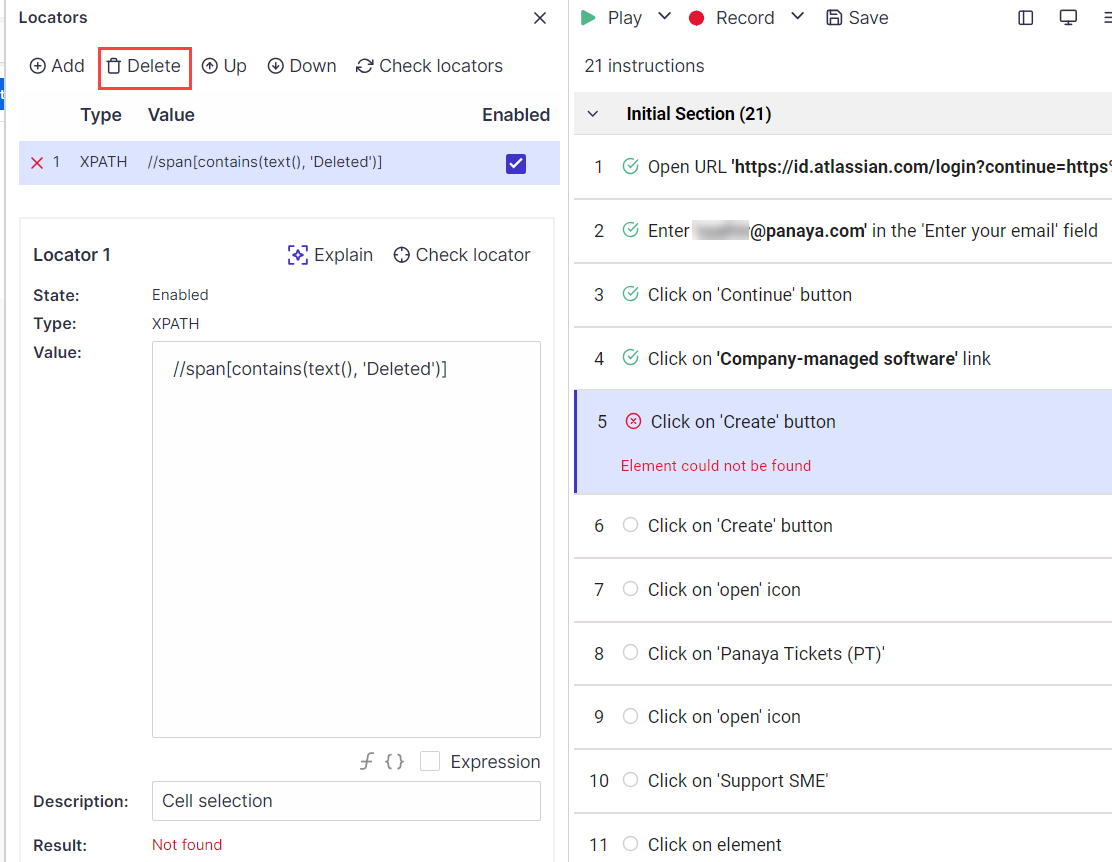
Delete or disable the existing locators. You may also want to check the validity of existing locators, as explained in this article.
Paste the new locator of type XPath and Save.
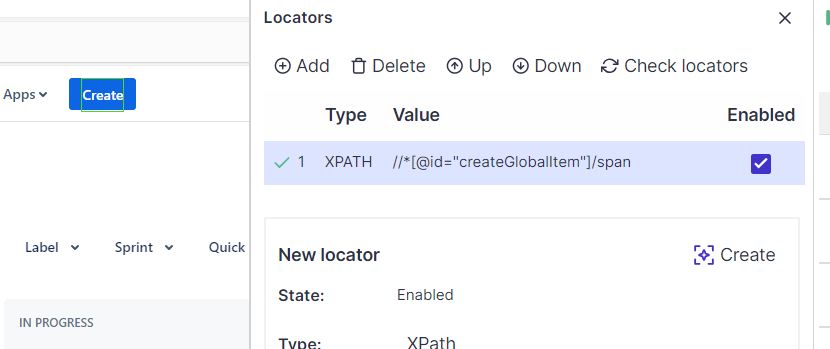
Use the Check locators option and verify that ScriptBuilder can find the element successfully.
Play the instruction to verify success.
