You may encounter issues when recording custom text editors with the ScriptBuilder, where some of the user actions may not be interpreted correctly. For example, an "Enter" text action may be interpreted as a "Click on" element one. We can resolve these issues by using Locators and some additional steps.
For example, suppose we wanted to update the below custom text editor field, Description:

This can be done by recording a regular text input field and then adjusting its locator to match the one being used by the text editor. In this article we will explain how to do this.
We could start by recording a regular text field shown in instruction 10 below - in our example Summary - or use any existing instruction in your script that recorded the input of text in a regular input text field
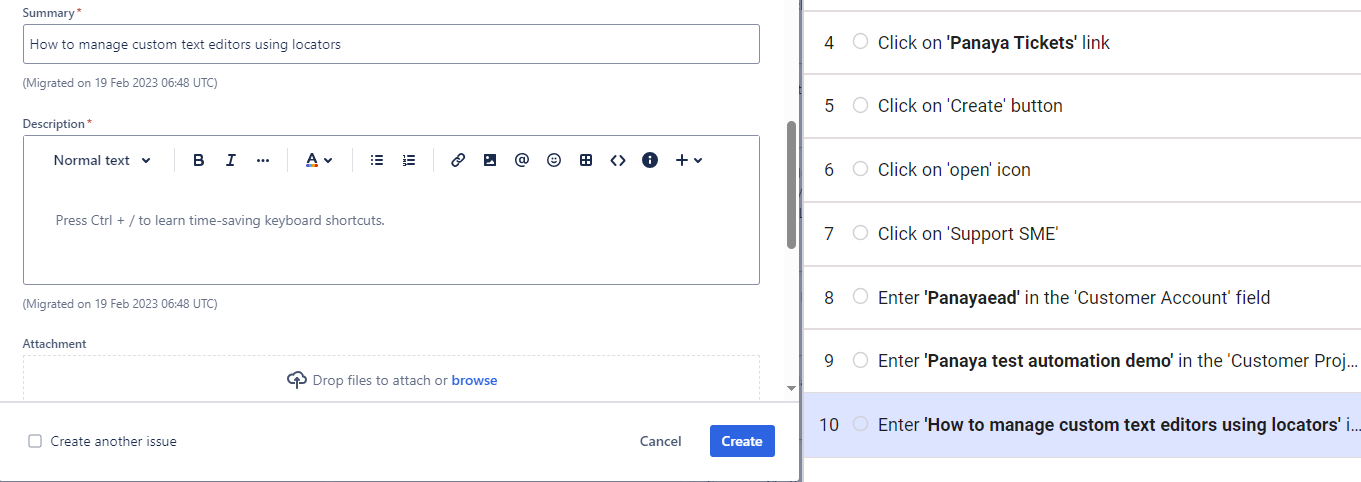
You could then stop and save the recording and copy and paste the instruction which was for updating a regular text field like Summary:
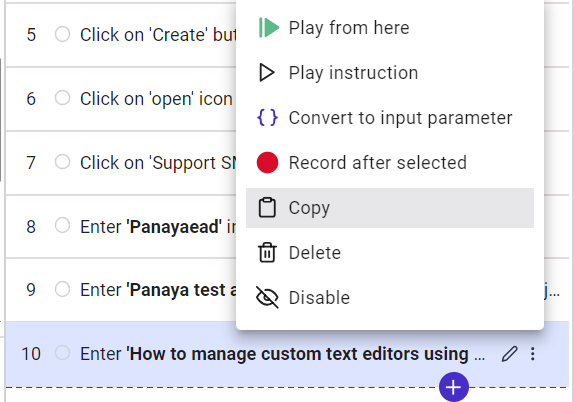
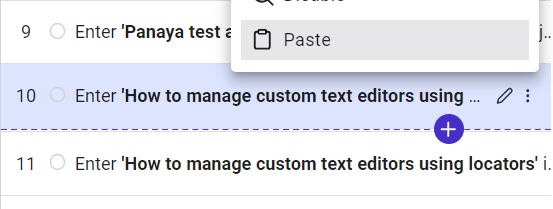
We would then need to do 2 things:
1. Update the locator
2. Update the copied instruction (11) with the text we want
First, we need to find the Xpath value of the custom text editor. Let's right click on the text we manually entered there and Inspect:

It should then open the developer tools and highlight the text you have entered, as seen here:

If it does not, or you don't see it easily, you can then click on the element inspection once more and click on the text that was entered in the Description field:

Once the element and text are opened in the developer console, right-click on the text, Copy, and Copy XPath:

The result of the XPath in this example is:
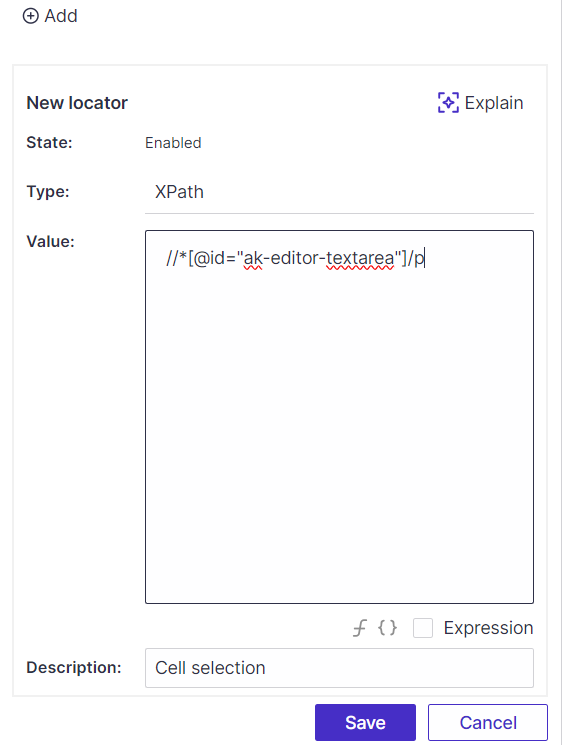
//*[@id="ak-editor-textarea"]/p
We will enter this value in the copied instruction to update the text we want. We edit that instruction by first updating the instruction label, "I would like to use this text here." Note that you can also convert the instruction to an input parameter and dynamically choose your text. More information can be found here.
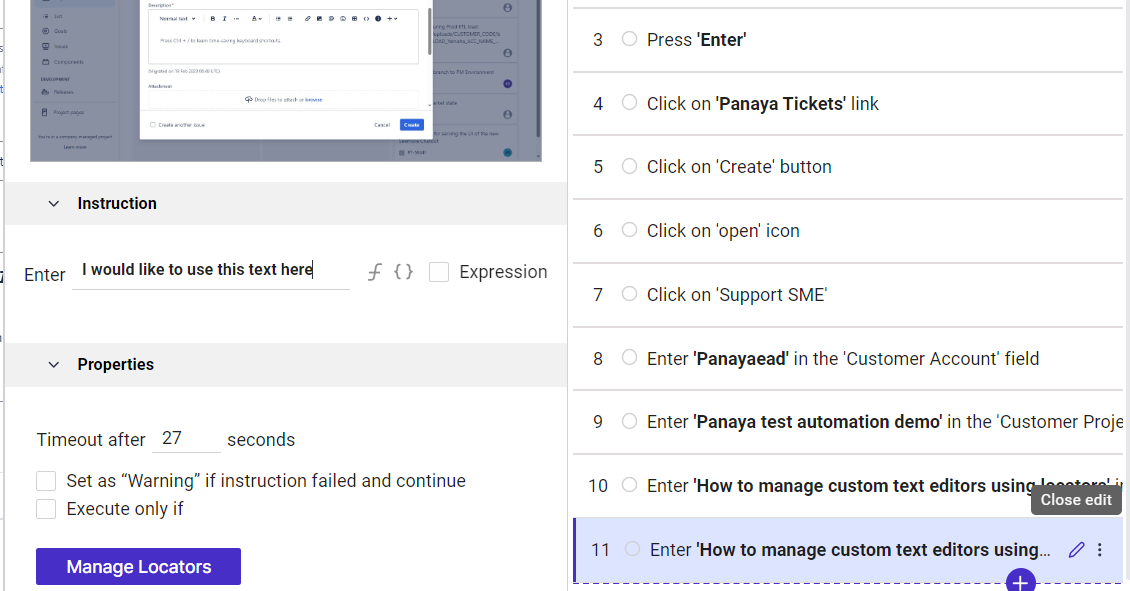
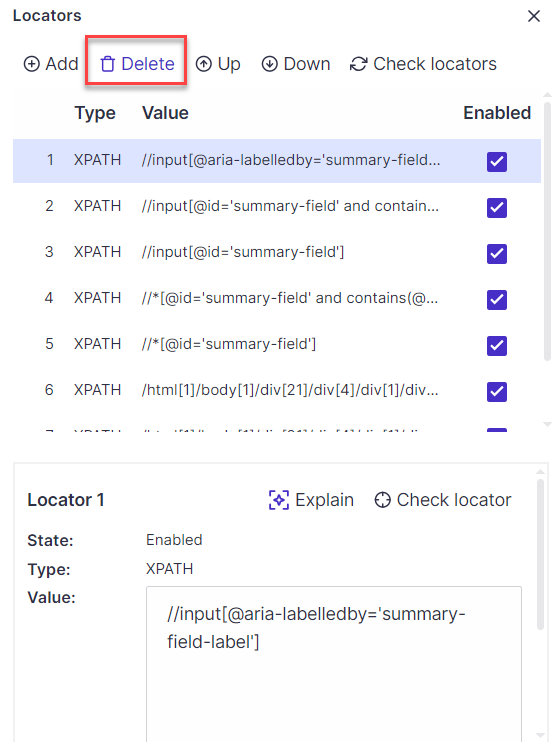
Next, we enter the Manage Locators screen and Delete all of the locators there:
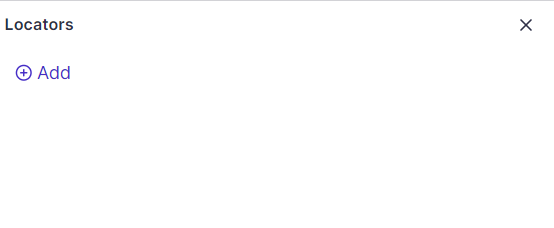
We will then Add a new Locator:
If it is not already selected, select the XPath type and paste the value you received from the developer console, and Save:
You can use the "Check locators" functionality to confirm that the element can be found on the screen:
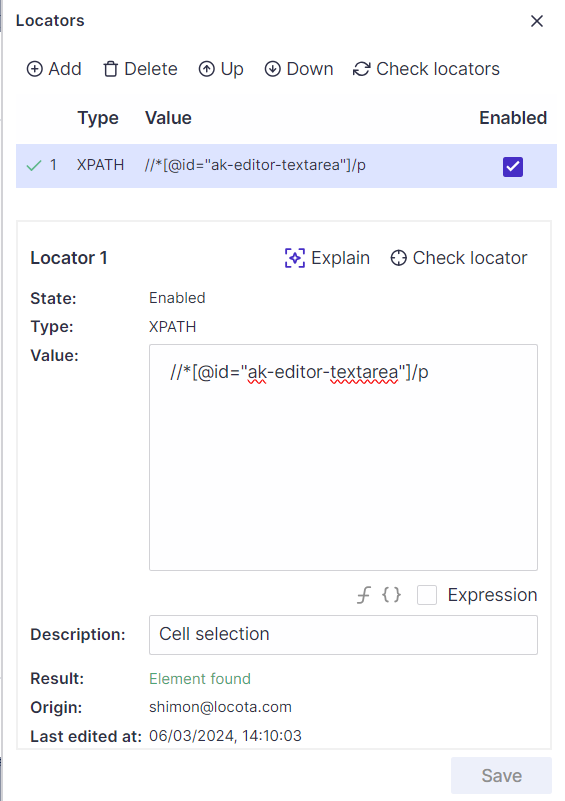
Now, when the script executes, it will set the text you require in the custom text editor -
