You need to be assigned the API Execute permission to use your token to authenticate to Panaya.
If the email of the user who created the token changes, the token will need to be created again
To create your Access Token -
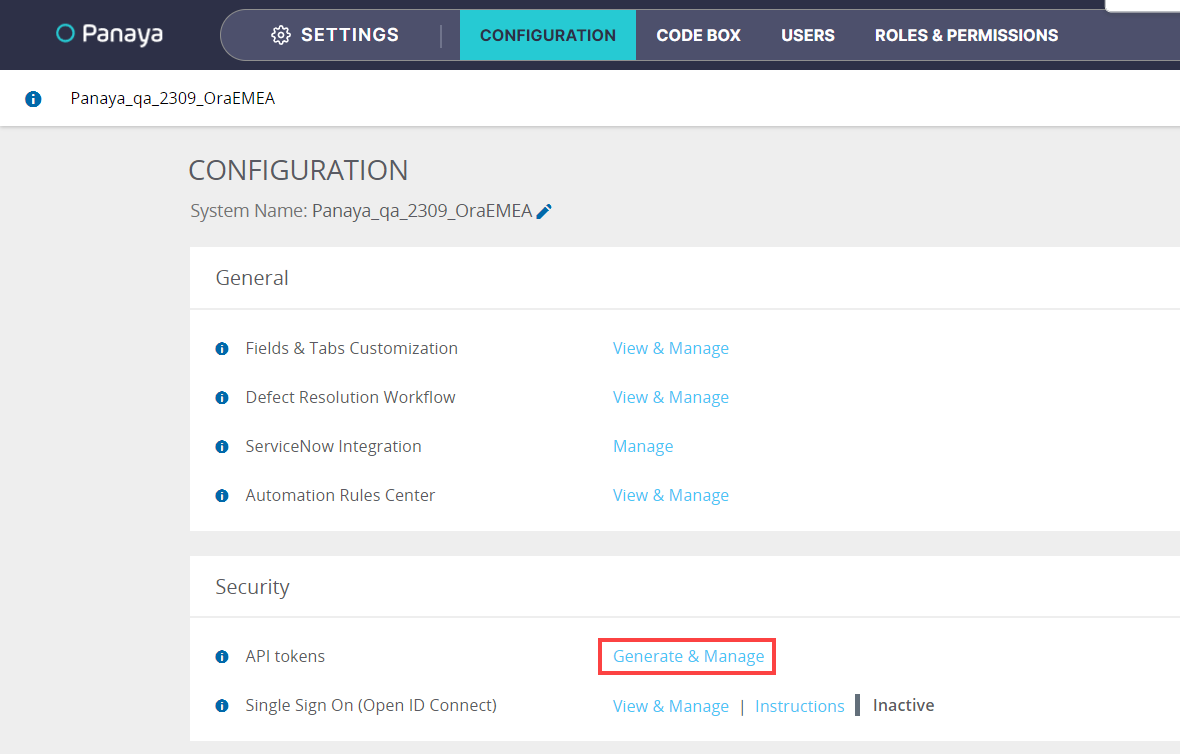
- Click on Settings
 to open up the Configuration panel
 - In Security, select Generate & Manage API Tokens
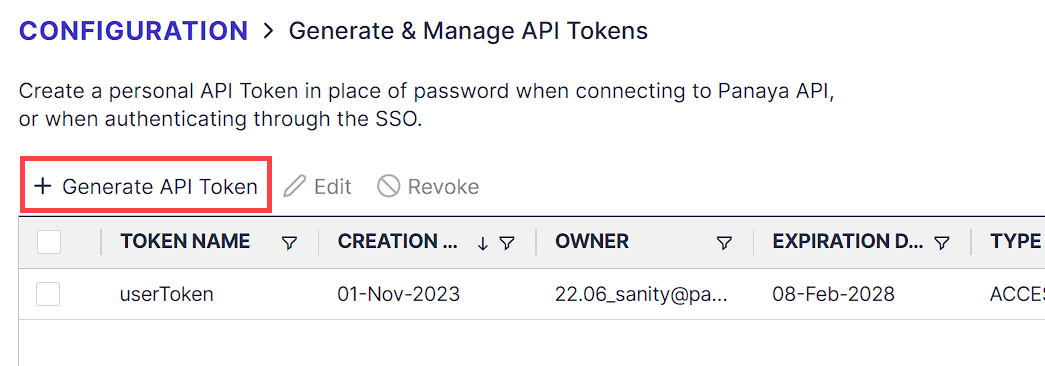
- Click on + Generate API Token
- Select the token type -Good to know!For Worksoft or Jira Integration, an Access Token needs to be used.
For the automatic ETL extraction, currently only an Access Token is supported.
The API Token will not work for these integrations.
API Token (Recommended)
Enables quick Panaya authentication with the HTTP Authorization request header. Does not expire.
For API Tokens, set the token name and click on Generate.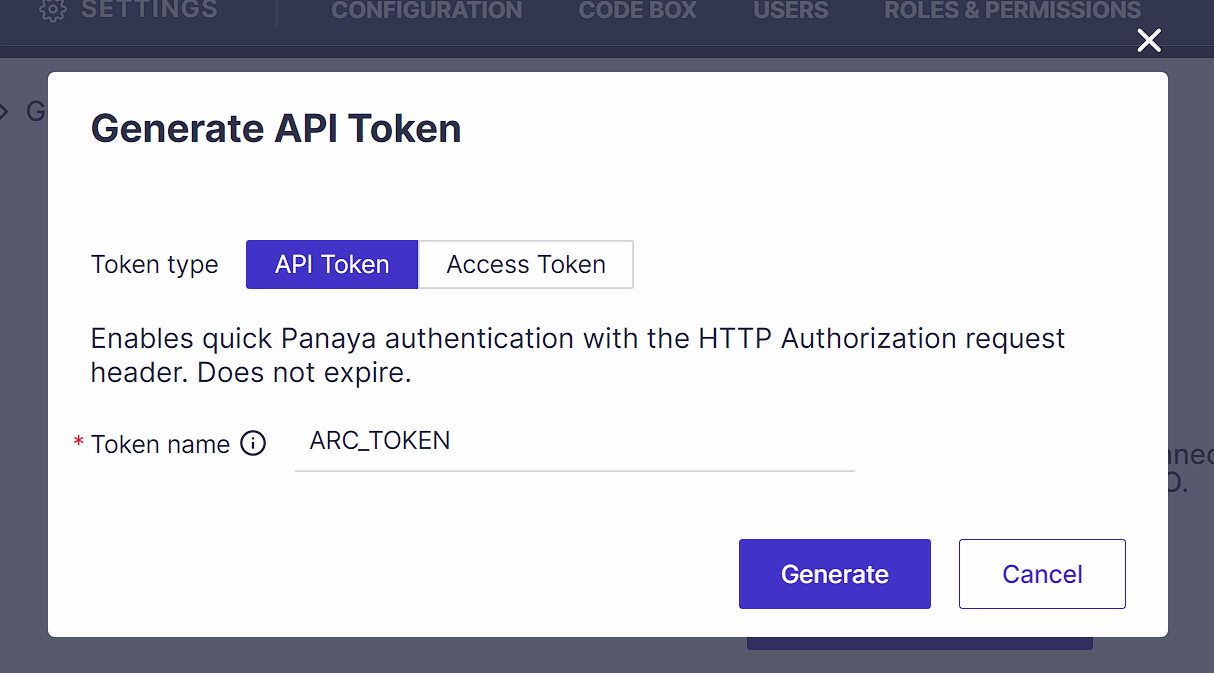 Use the Copy to clipboard button to copy the token. Note: After closing the pop-up, you cannot view this token again.
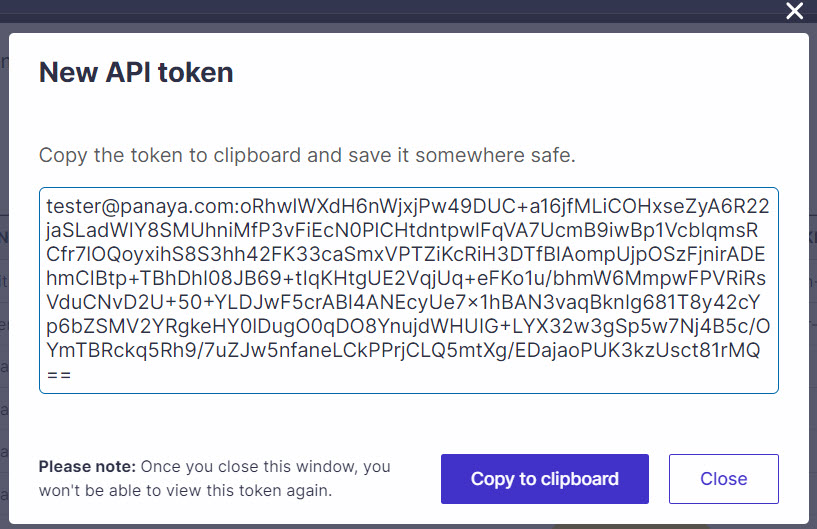
Access Token
An expiring token is used for calling the Login API (mainly for Jira integration).
Set a Token Name and Expiration Date for an access token, then click Generate.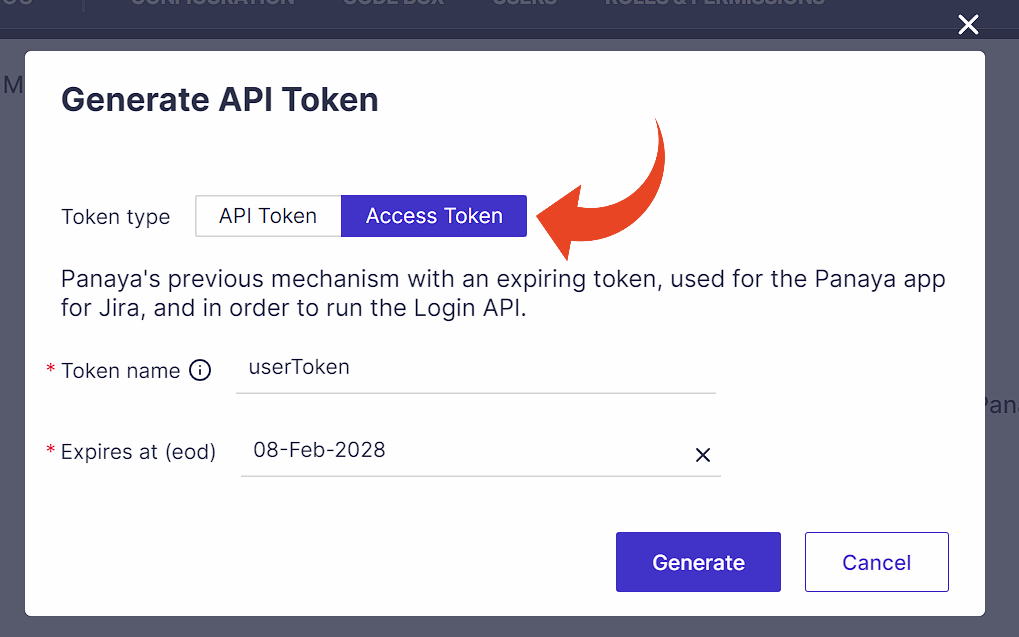
- Copy the token to the clipboard to be used in your Rest simulator (such as Postman)
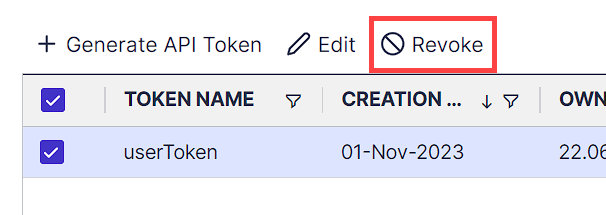
- To disable a token, select the token in the list and click on Revoke
User Admin?
You can monitor and deactivate user access tokens at any time.
Do you have more than one Panaya account?
The Token user can only be associated with one Panaya account.