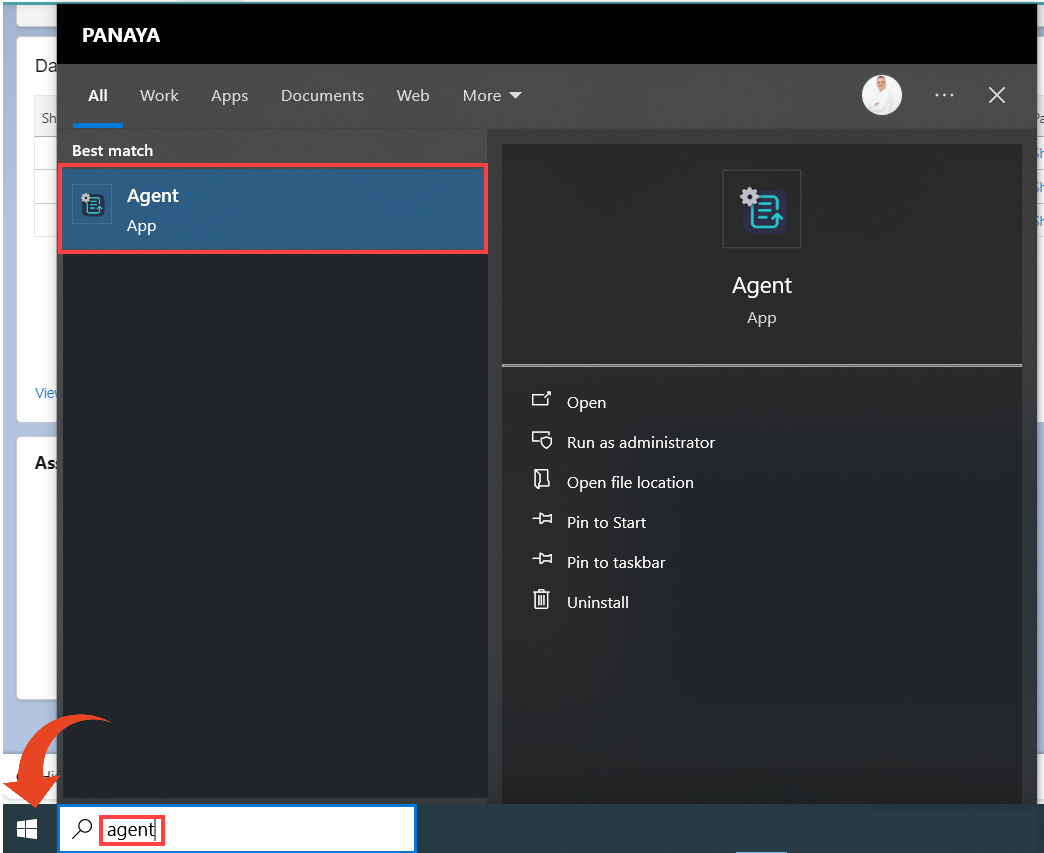
Initiate the Agent from the Windows applications menu.
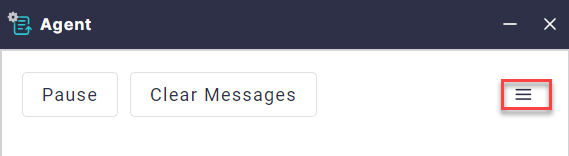
Click the Menu button on the right side of the Agent and select Settings.
Set up the Agent Settings as described below.
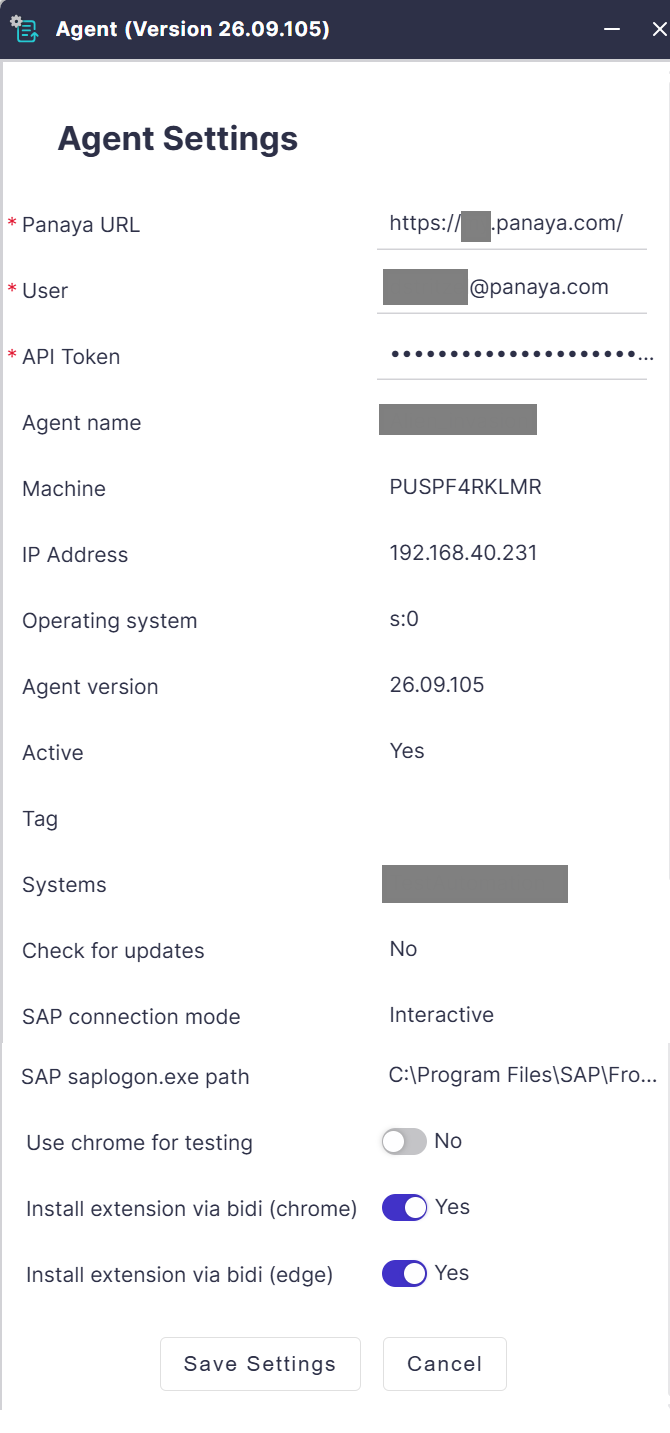
Panaya URLDepending on how you log into your Panaya account, fill in either https://emea.panaya.com/ or https://my.panaya.com/
System ID
If your Agent requires this field, please update it to the latest version. Newer versions of the Agent no longer require the system ID.
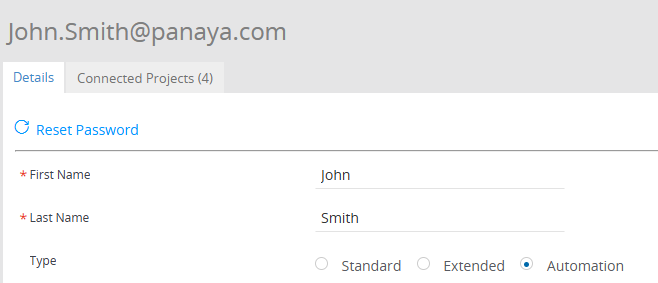
UserFill in your Email (which is your username) in Panaya, the same way it appears in User Management, as it is case-sensitive.
Example: John.Smith@panaya.com is the Username, and the J and S are uppercase letters; the user was set up this way:
API Token
Fill in the API Token Key you created using the steps in this article.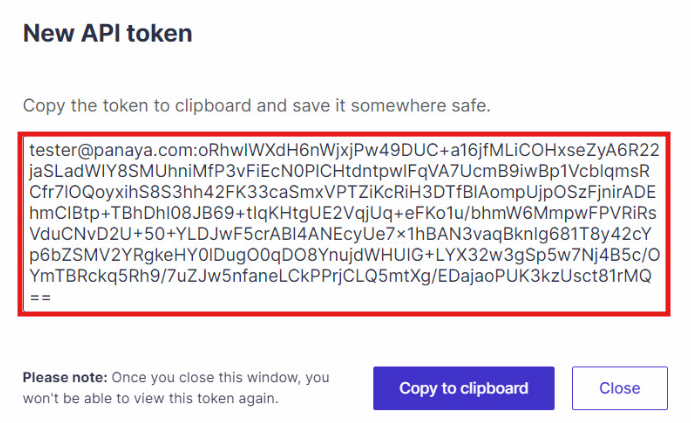
Agent NamePlease fill in any name you would like to give the Agent. This name will appear in the Manage Execution Agents configuration page.
Need to update the agent details?
You can modify the name, tags, systems, auto update and SAP connectivity in the Execution Agents view.