To create automated tests for SAP GUI screens, ensure that at least one SAP connection is defined. When recording scripts with Panaya ScriptBuilder, users can choose a system by its connection name. Also, be sure to configure your script to record SAP GUI or Web Browser + SAP GUI applications, per the instructions here.
Creating new SAP connections
Click on the Settings button
 to open up the settings panel.
On the configuration page, scroll to Test Automation and click View & Manage SAP Connections.

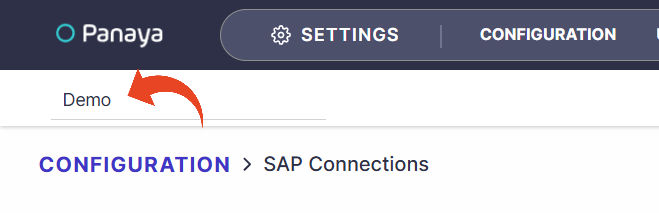
Check that the relevant Panaya system is selected in the drop-down list.
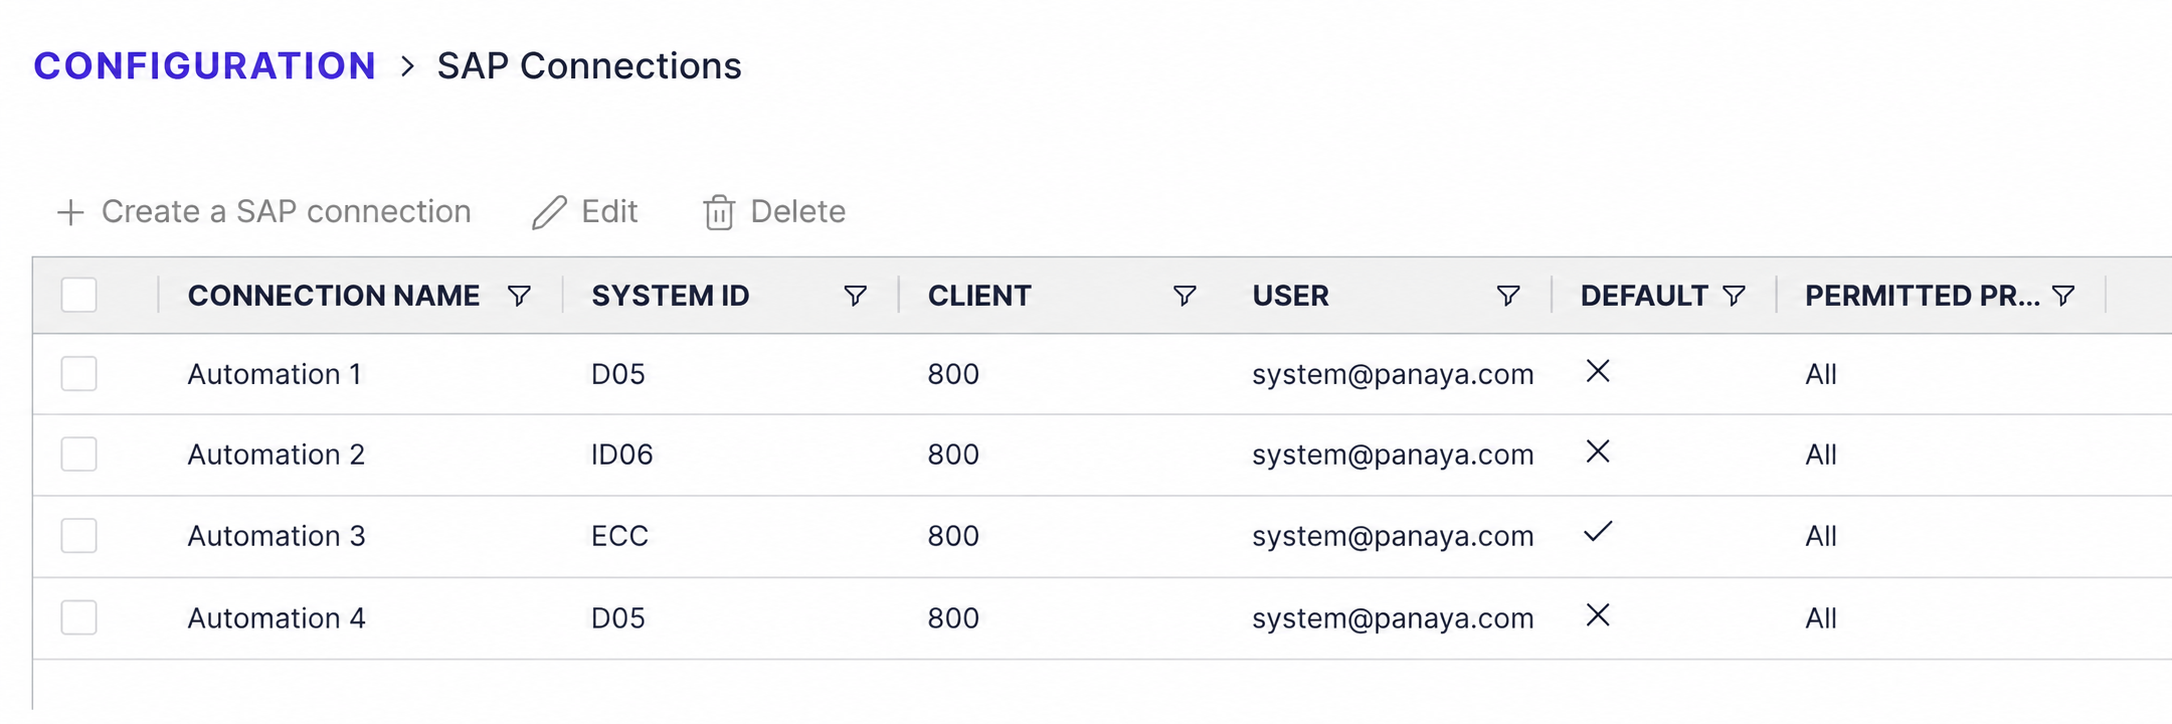
Click Create an SAP Connection and fill in the details.
The Connection name field is a unique value that users will see when connecting to SAP from ScriptBuilder. Use a unique Connection name field to distinguish between connections.
Complete the remaining details from your SAP server: SID, User, Password, and Client.
Use the Permitted project option to restrict access to this connection to users associated with a specific project. Otherwise, select All to allow access across all projects.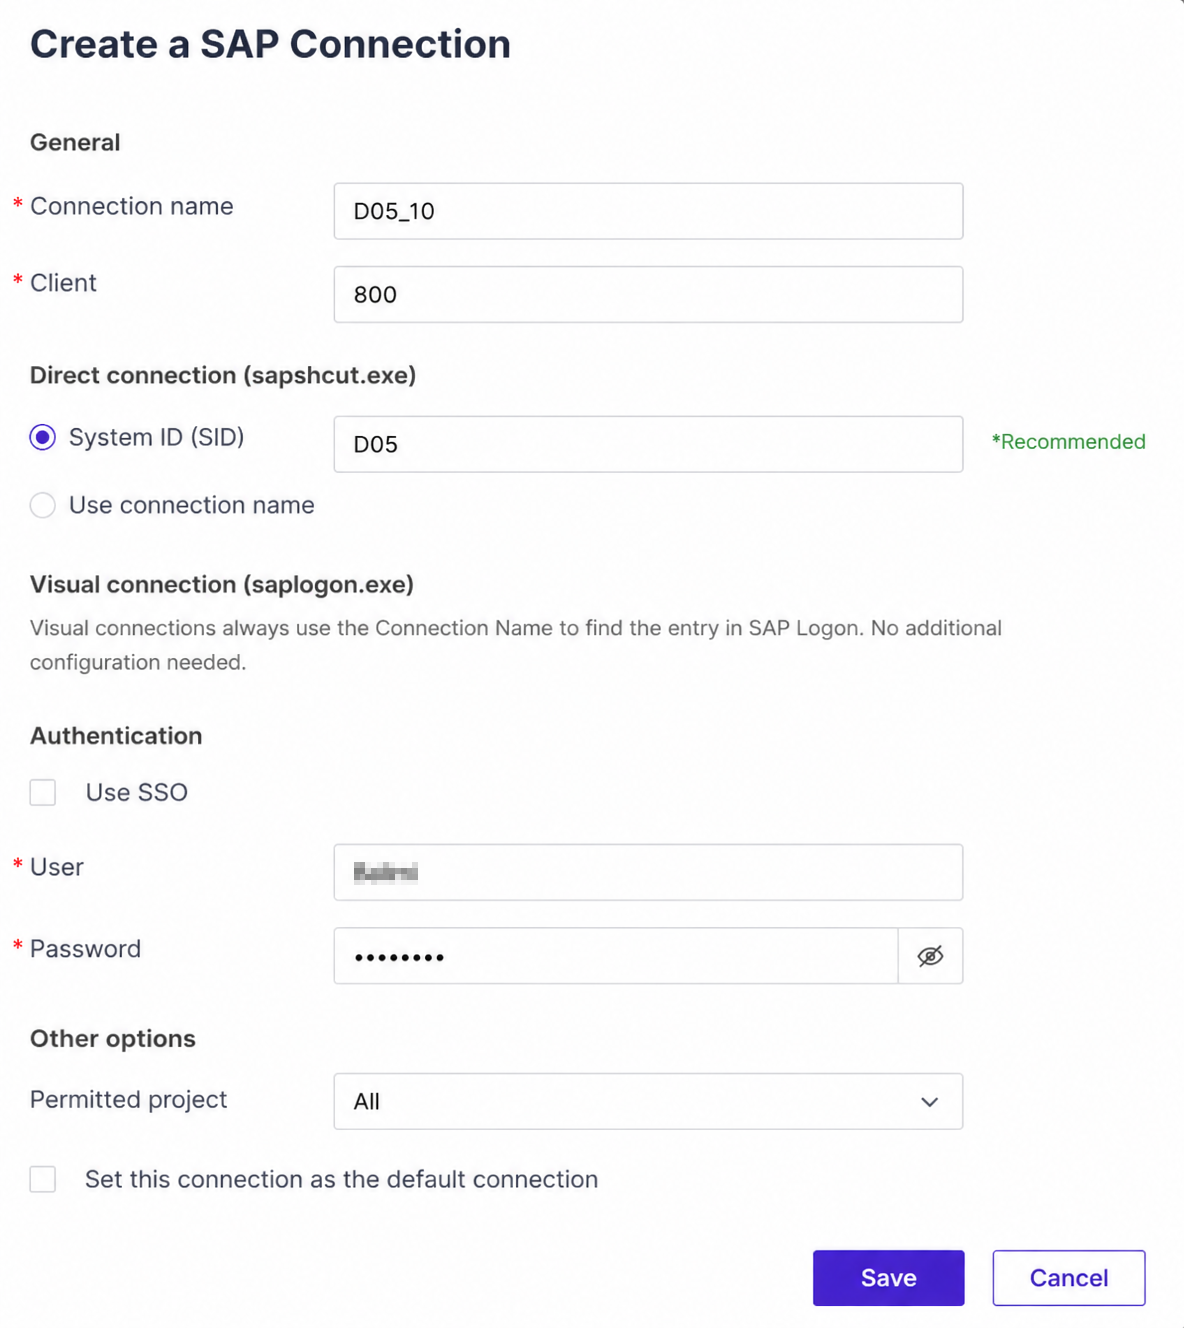
Click Save.
Editing SAP Connections
Select a connection in the list and click on Edit.

Make the needed changes and click on Save.
How to modify the SAP Connection
When capturing scripts with Panaya ScriptBuilder, users can select a connected system ID from the pre-defined systems.
You can select between a direct SAP GUI connection and an Interactive SAP GUI connection.
If you use a different SAP login exe path (from the default one), use the below suggestion to set it up.
To modify the SAP Connection, open the ScriptBuilder.
In the first recorded section, ‘Connect to SAP System‘ - Click on the Pencil icon and the second Pencil icon on the left Instruction page.

Replace the connection to the one you wish to connect to and click Add.
