This article explains how to mass-update Panaya user Roles.
Important!
When using this method, the roles are assigned for each user across all connected Projects.
Exporting Users
Export the list of users that you wish to update
Click here to learn how to export users to a list
Importing Updates
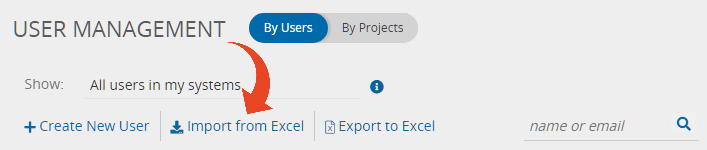
Click the Setting button
 to open up the Settings panel, then select Users.
Select to Import from Excel
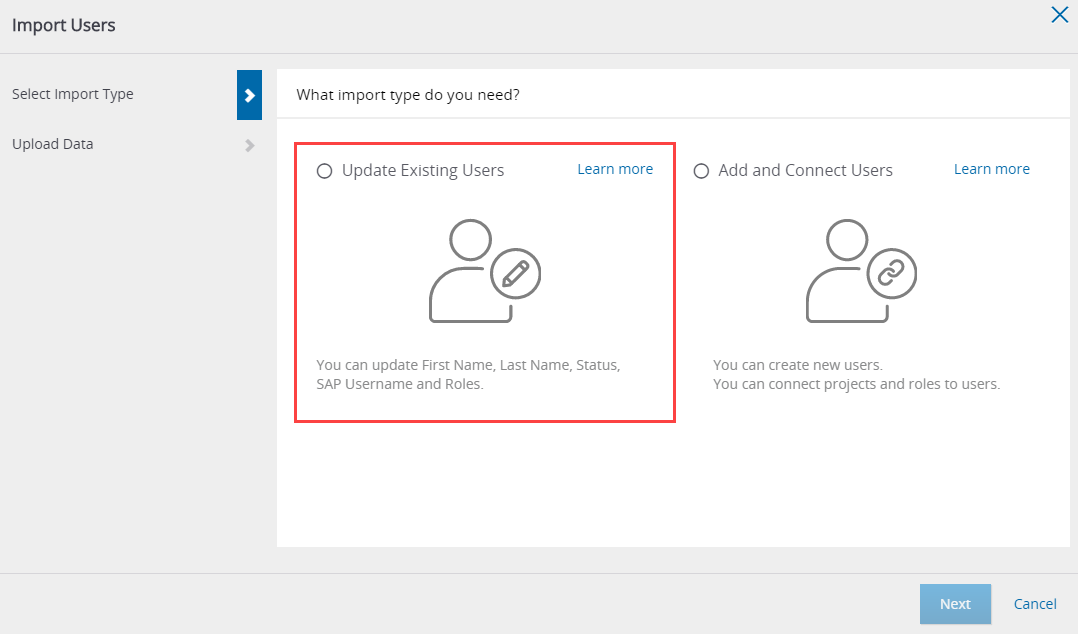
Select the Update Existing Users option and click Next
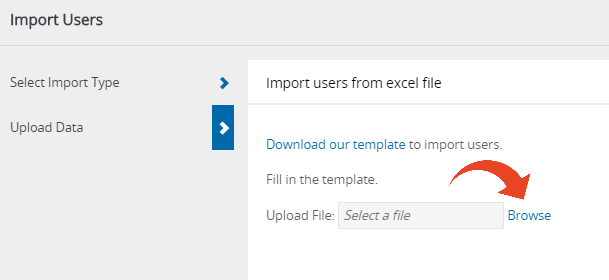
Click on Download our template and save the Excel template file locally
Use your exported list of users from step I and use it in the downloaded template file.
You can also update the First and Last Name, Status, and SAP User Name.
Define the Roles Action and Roles columns -
Fill in one or more Roles for each user in the Roles column.
You can select from Predefined Roles.
To learn more about how to customize Roles, click here.
For multiple Roles, separate each role with a comma.
Roles are case-sensitive.
Undefined roles will be ignored.
For the Roles Action column, select one of the following options for each user -
Add
To add the role (s) defined, in addition to any existing user rolesRemove
To remove the role (s) defined from existing assigned rolesReplace
To replace all existing roles with the list of provided rolesClear all
To clear all existing rolesDon't Change
To avoid making any changes to currently assigned roles.
Panaya will only make changes to Roles if -The Roles exist in the current Panaya account.
If you have more than one Panaya account, verify that the relevant account is selected using the Switch Accounts button.The user is associated with Projects you can edit
Save the changes to the template file locally.
Click on Browse and select the file you saved in the previous step, with the relevant updated Roles Action and Roles columns.
Click on Import Users