Importing Development Items
- 1 Minute to read
- Print
- DarkLight
- PDF
Importing Development Items
- 1 Minute to read
- Print
- DarkLight
- PDF
Article Summary
Share feedback
Thanks for sharing your feedback!
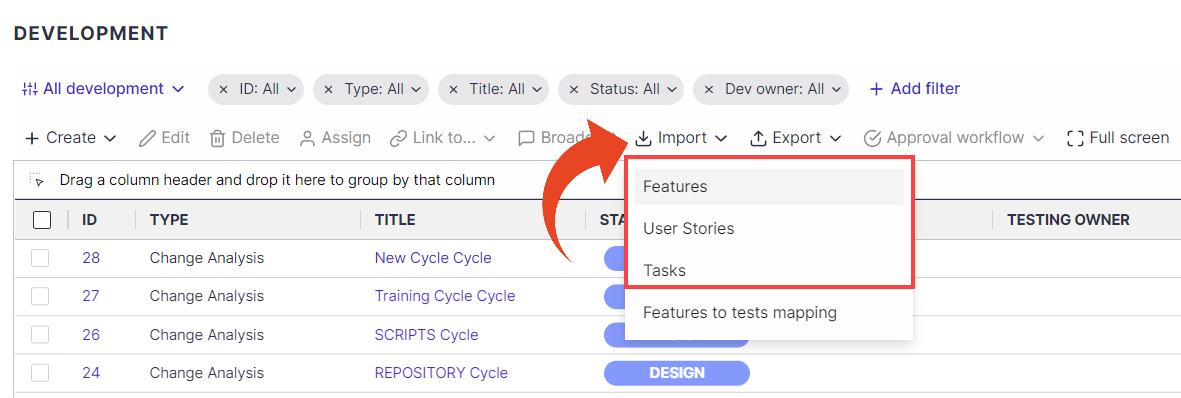
You can import Requirements \ Features, Features \ User Stories, and Tasks (level 1-3) activities).
From within a project -
- Select the Development \ Requirements \ Workstreams \ Workspace tab in your project.
- Click on Import and select the type of activities you wish to import.
- The Import Wizard will appear.
Click on Download template and save the file locally. Before you continue
If you plan to use custom fields for Requirements, you should define these fields before importing your requirements. Once custom fields are defined, they will appear in the Import Requirements Template. - Open the Panaya Requirements Template Excel file and begin inserting the details.
For level 1 development items- The following are mandatory fields for each Requirement / Feature -
Title, Description, Requirement Type (Business/IT), Business Priority, Technical Priority, Test Plan Status
For level 2 development items- The following are mandatory fields for each Feature / User Story -
Type, Feature, Title, Description, Status, Technical Priority
You will also be required to select the relevant Requirement / Feature for each item.Note
The maximum number of rows in the imported template should not exceed 50,000.
If you use the External ID field, each Requirement should be provided with a unique number across all Projects. - Save the template locally and go back to the Import Wizard in Panaya
- Click on Select Files... to browse and locate the saved template, then click Next
- Click Next to proceed to the User Mapping section.
When Importing Requirements into Panaya, the Wizard allows assigning users in the template file to the relevant users in Panaya.
Click here to learn more about User Mapping. - Panaya will Display the number of activities ready for import, mapped, or newly created users and the number of activities containing errors. Review the information and click Import Requirements / Features / User Stories.

