Automated Test Details & Tabs
- 3 Minutes to read
- Print
- DarkLight
- PDF
Automated Test Details & Tabs
- 3 Minutes to read
- Print
- DarkLight
- PDF
Article Summary
Share feedback
Thanks for sharing your feedback!
This article describes the various automated test tabs and fields.
Test Header
The test header includes basic information about the test.

Automated Test ID – automatically generated automated test ID
Automated Test Name - Click on the Test Name to change it. Test name should not include the following special characters: @!$#^%&*'~?`{}[]/\".
Ready to Test Indicator - Learn more about when Tests are Ready to Test
Test Status - The status displayed here is the aggregation of all planned run statuses and is directly impacted by the defined Automation State.
General tab
The test general tab can hold metadata information for testers and test designers. The fields are arranged in different sections. Below are explanations of the available sections and fields in this tab.

Description
Description, Test Objective, Prerequisites – Information about the the test according to specific guidelines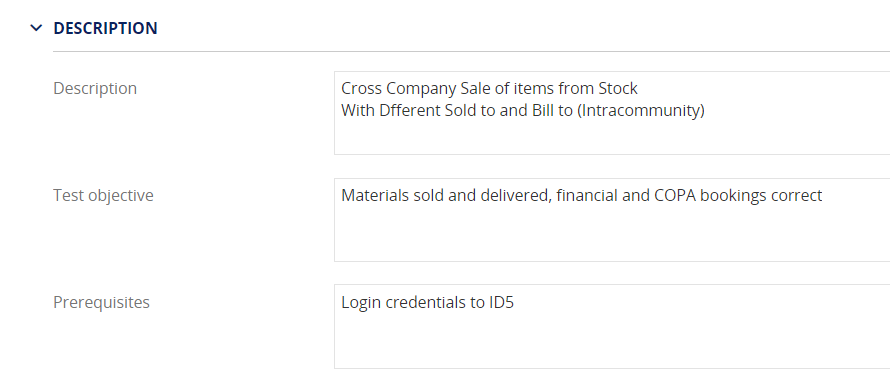
Details
The Details area includes the Automation State and Priority.
In addition, the details area provides additional information reflected in various reports, such as the Functional Area and Usage, among others.
Automation State
The Automation State can be Not Started, In Progress, Maintenance, or Ready. The test will be ready to test and execution when it ismarked as Automation State = Ready. All other statuses in this field will block the agents' execution of the automation test.
Use this field to allows test automation engineers to communicate with each other from within the automated script, regarding its readiness. The script can be in creation or in maintenance state due to adjustments that are pending. Once the script has been stabilized and is ready to be selected for execution, the test automation engineer should change it to Automation State = Ready.
Priority
The Priority is High by default but can be changed to Low or Medium priority and will be reflected in lists, reports and dashboards.

Additional Info
This section includes any custom fields defined and associated with the project.
Essential
Path - This is the location in the Tests Tree where the current Test is located (i.e., the name of the Cycle, Folder, and Business Process)
In-Scope - A Manager can define whether the specific test is part of the scope of that Cycle (Reports mainly account for “In-Scope” tests).
Reviewed - An additional control for preparing the tests before execution. Learn more about how to mark Tests as Reviewed
Defects - The number of Defects -currently associated with the Test and their current status
Creation
On the right-hand side of the screen, you will see the name of the person who created the test and the date when the test was initially created in Panaya.
Ownership
This is where you can define the IT owner and Business Owner of the Test.
Script tab & ScriptBuilder
You can click on the Open ScriptBuilder button for newly created automated tests. The ScriptBuilder will then load and you can begin creating the automation script.

If a script exists, you can review the instructions previously created with the ScriptBuilder. If you wish to edit and debug the script, you can do so from the ScriptBuilder tool by clicking the Open ScriptBuilder button. Upon completing, click the Save button in the ScriptBuilder for changes to reflect in the Script tab. Script sections and instructions cannot be edited directly within the Script tab.

Planned Runs tab
The Planned Runs tab allows you to create, edit, and manage the planned runs of the script when executed.
Linked Requirements / Features / Workstream

If the Test is linked to one or more Requirements, these will appear here.
This is also where you can link Requirements to the Test activity.
Learn more about Requirements Traceability
Defects Tab
The defects tab displays a list of Defects that are currently associated with the automated test and their current statused.

Attachments Tab
The Attachments tab allows the user to attach any relevant artifacts.
The maximum attachment size is 10 MB per file.
To attach video or EXE files, archive them as ZIP and attach them to the test activity.
Comments Tab
This tab displays free-hand comments added by users.
You can collaborate with other project users regarding the automated test; click here to learn more.